Trello Project Management: How It Works and How It’s Done
Trello is one of the most popular project management tools out there. Its simple Kanban methodology means you can quickly see what you need to work on at a glance, and managing a team is that much easier. But Trello project management can get make even the most productive among us feel overwhelmed.
Not sure how you can effectively manage your cards, lists, and tasks? No worries! Trello project management doesn’t have to come with stress and headaches. Here’s a full guide to managing projects with Trello — including eight tips you might not have seen elsewhere.
What is Trello?
Trello is one of the original project management tools, and probably one of the first ones you heard about. It uses the Kanban methodology to run all sorts of projects; one of the easiest methodologies to get your head around. Here’s how it works.
- You use a board (or a wall) to represent the overall project you’re running.
- Individual cards — like Post-It Notes — represent individual tasks that need to be completed.
- As you work on an individual card, it moves across your board’s columns until it’s done.
Most Kanban boards use three columns — To-Do, Doing, and Done — to represent progress. That’s the system Trello is built on. But since it’s a digital platform rather than a physical board, it’s easier to use for cross-team collaboration.
So how do you use Trello for project management?
Trello project management: a step-by-step guide
Never used a tool like Trello before? You might want to check out our beginner’s guide here.
Step 1: Set up your board
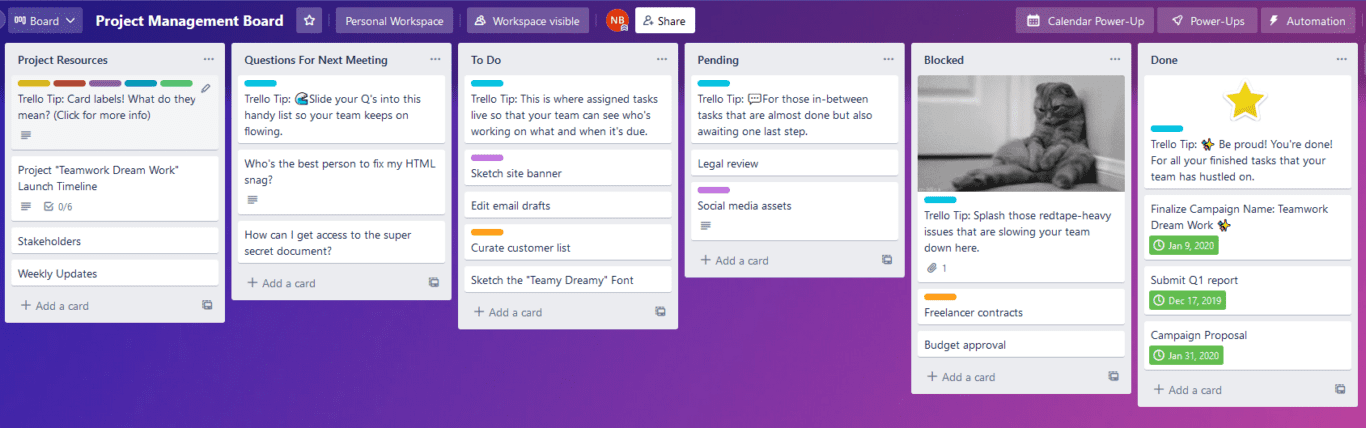
Before you start your project, you need to create your board. You could start from scratch, or you could use Trello’s project management template. All you need to do then is click on the blue Use Template button and you’ll have your project management board all set up.
Step 2: Create cards
Trello’s project management template already comes with cards to give you an idea of the kind of work you can get done. So if you’ve already broken down the work that needs to happen before your project can be completed, it’s time to put it in Trello. You can either just modify the cards that are already in this template or delete them all to start from scratch. Let’s see what doing the latter is like.

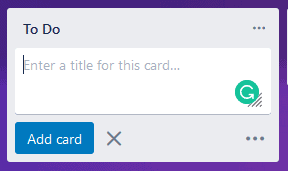
Starting with an empty board, let’s click on + Add a card in the To Do list.
Next, let’s give it a title. Something like “Build Resource Management Database.”

And just like that, you’ve got your first card. Let’s click on it to see what else can be done with it. Click on your new card to open it up.
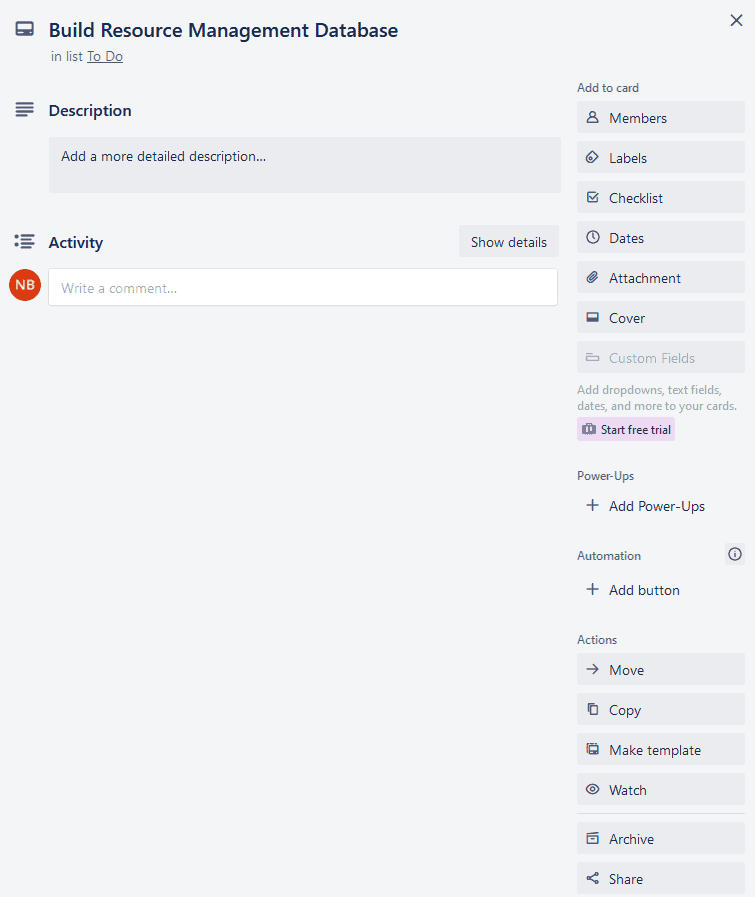
Here’s a quick rundown of some of the things you’ll want to do here:
- Click Members to assign this card to someone on your team.
- Use a Checklist to represent the bite-sized amounts of work you need to do before completing the main task.
- Apply a Label to your card so you can quickly pick out different card categories at a glance.
- Hit Dates to set a due date for this card.
- Add Attachments to your card.
So what would your Trello card look like after using some of these options?
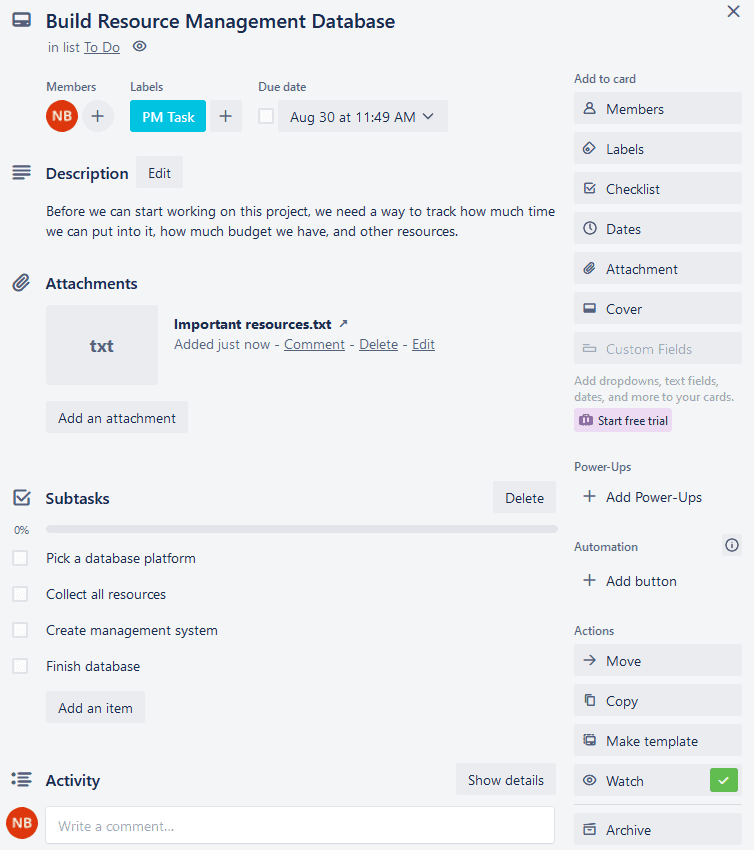
Already, this card does a great job of representing an essential task for this project. Create cards like this to represent everything you need to do in your project, and you’ll quickly have a grasp on what needs to happen to push it across the finish line.
Step 3: Move cards along as you work on them

Cards that represent your tasks will usually start in a To Do list. In this template, the other lists to represent progress are Pending, Blocked, and Done. As you work, you can move your card along your board to show this. This’ll let your team know how each task is going. If, for example, you move your card to the Blocked list, you can signal that you need help. That’s key to the Kanban process.
Step 4: Repeat and refine
Keep using this system until you complete your first project in Trello. Once that’s done, it’s time to have a retrospective. Look back on your project and see how Trello helped — or hindered — your project. Did everyone save time overall? When did things get complicated? Are there specific Trello features or Power-Ups that might have made things run a bit smoother?
By checking in with your team, you can make sure your Trello boards help your projects along rather than getting in the way.
9 simple tips for better Trello project management
1. Use labels
Trello enables you to add color-coded goals, tasks, and projects to make keeping track of cards a lot easier.
Let’s say you’re managing a team of content writers. People on your team are on different stages of the content creation cycle and are working with different clients. To keep track of everyone, you can create a label for each client, enabling you to see which teammate is doing what, and where they are in the content pipeline.
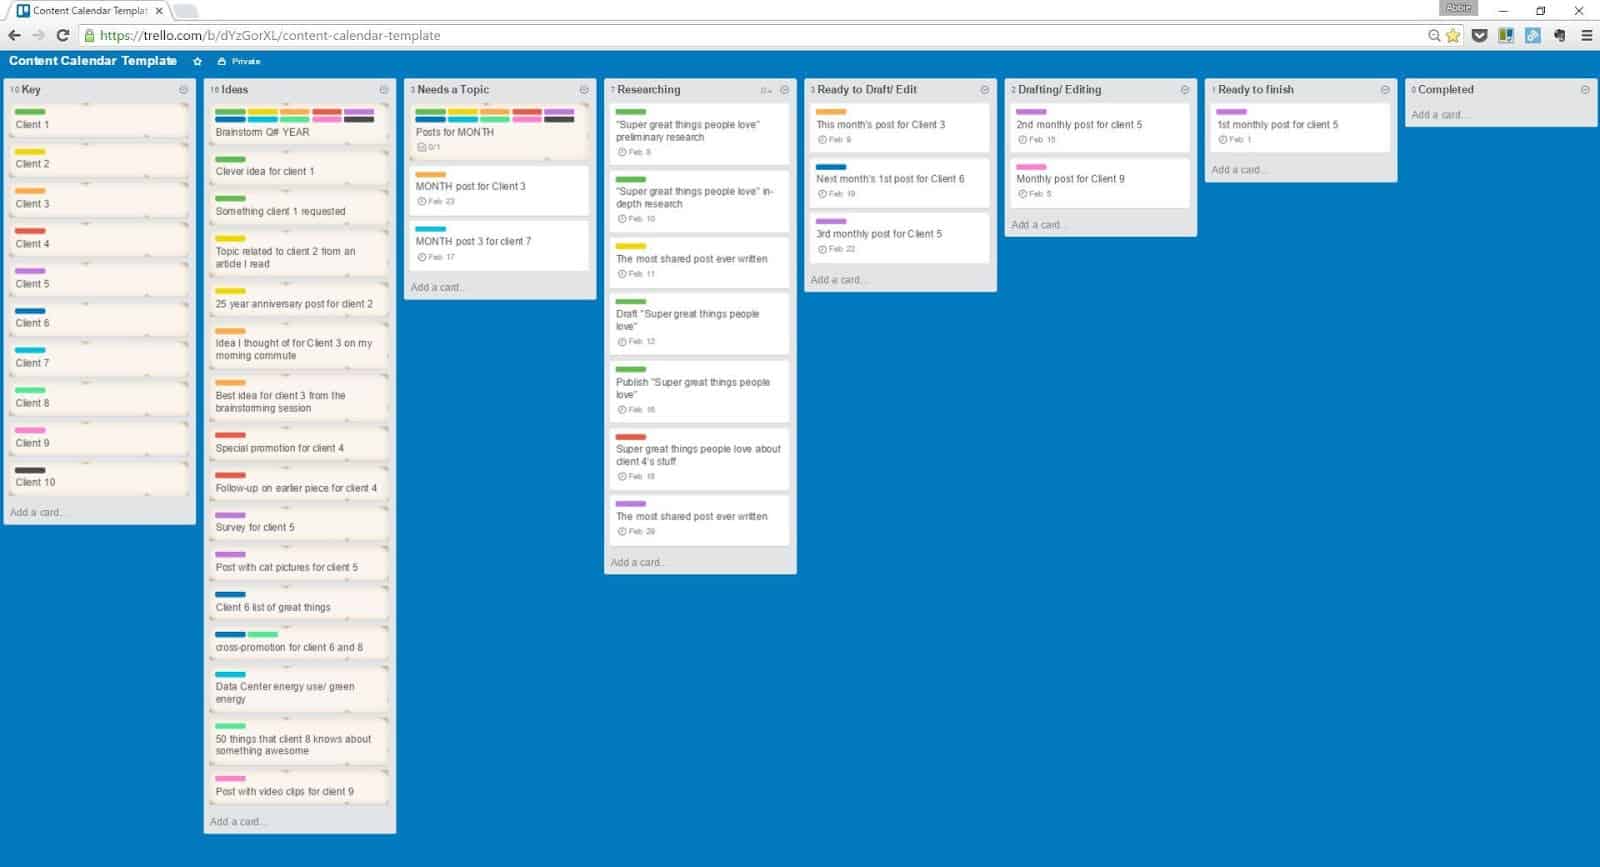
If you’re a project manager with a team of developers and marketers, you can create color-coded labels for each team. This way, teams can easily pinpoint the tasks assigned to them.
Here’s an example of the labels you might want to try out:
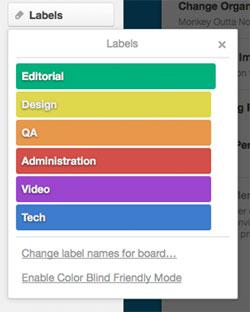
How can you get started?
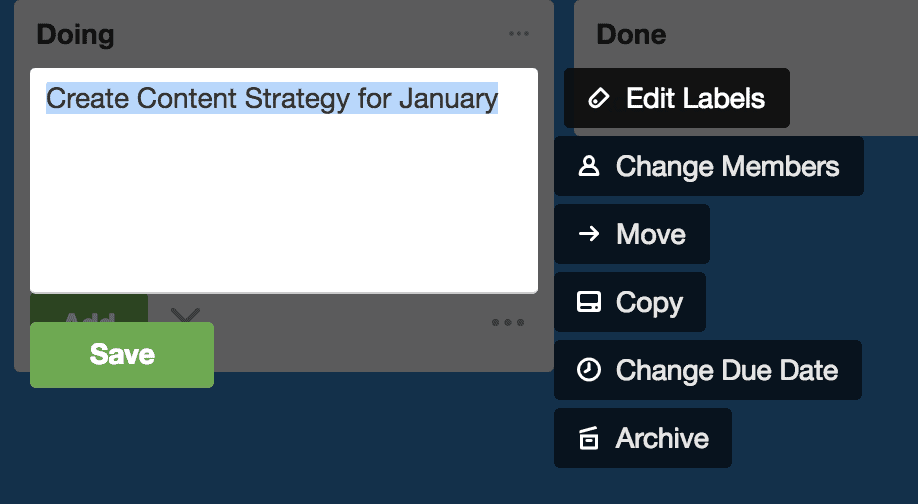
To create a label, click the pencil icon at the top right corner of the cards and select “Edit Labels.”
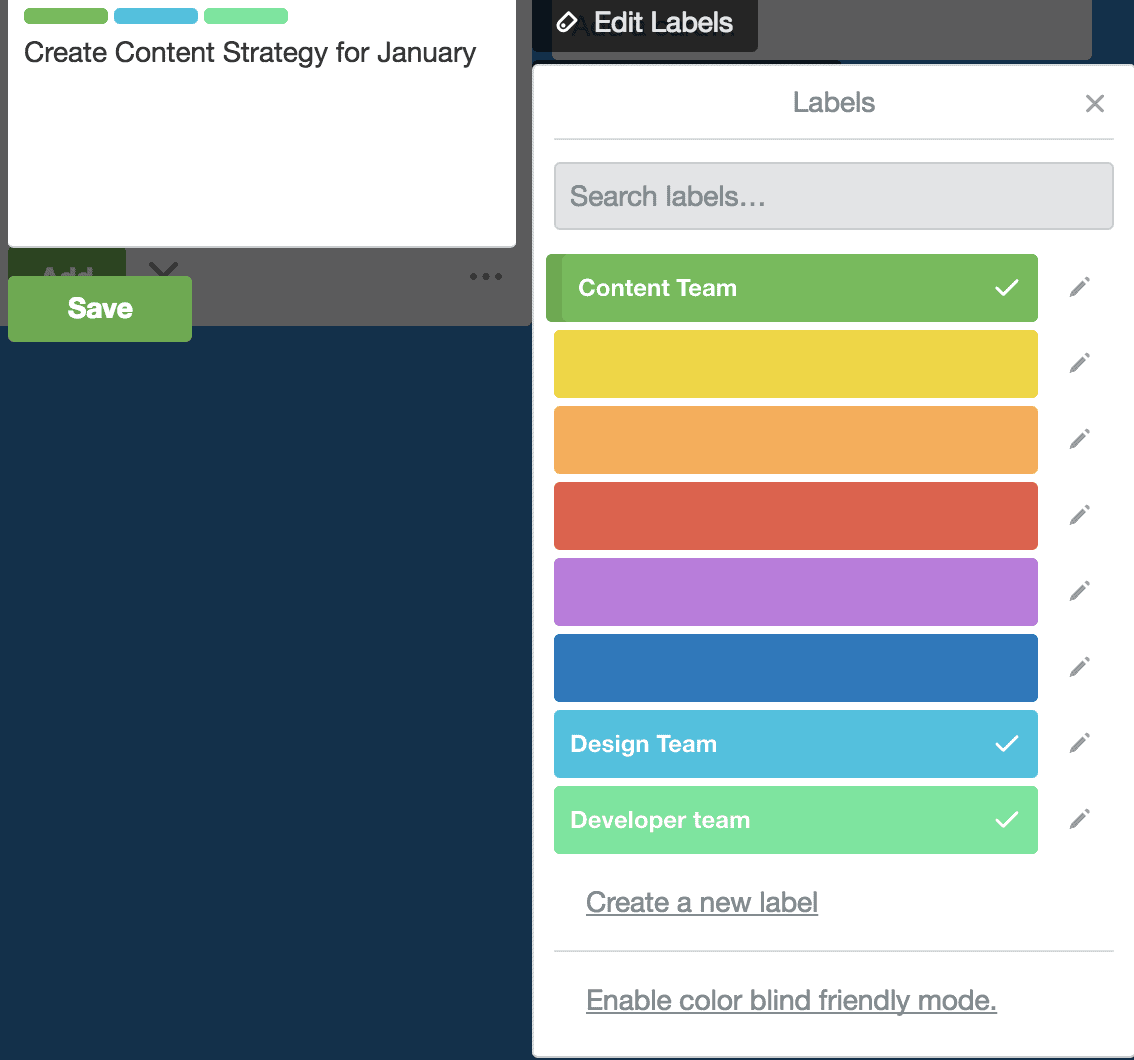
You can choose a colored label by clicking the pencil icon on the right side of the label.
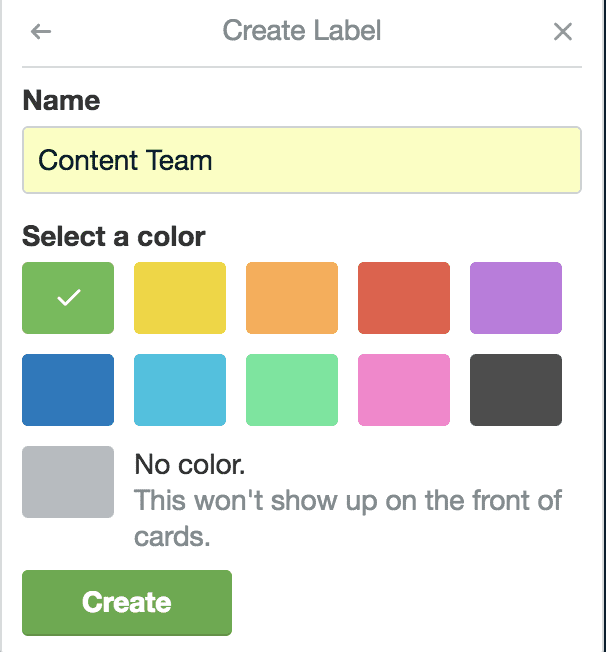
Next, name the label and click “Save”
The great thing about having colored labels is that they provide you with a simple overview of your entire pipeline. If you have multiple projects and teams, viewing your cards by label is a scannable way to see what everyone is up to.
2. Break big tasks into easy steps with checklists
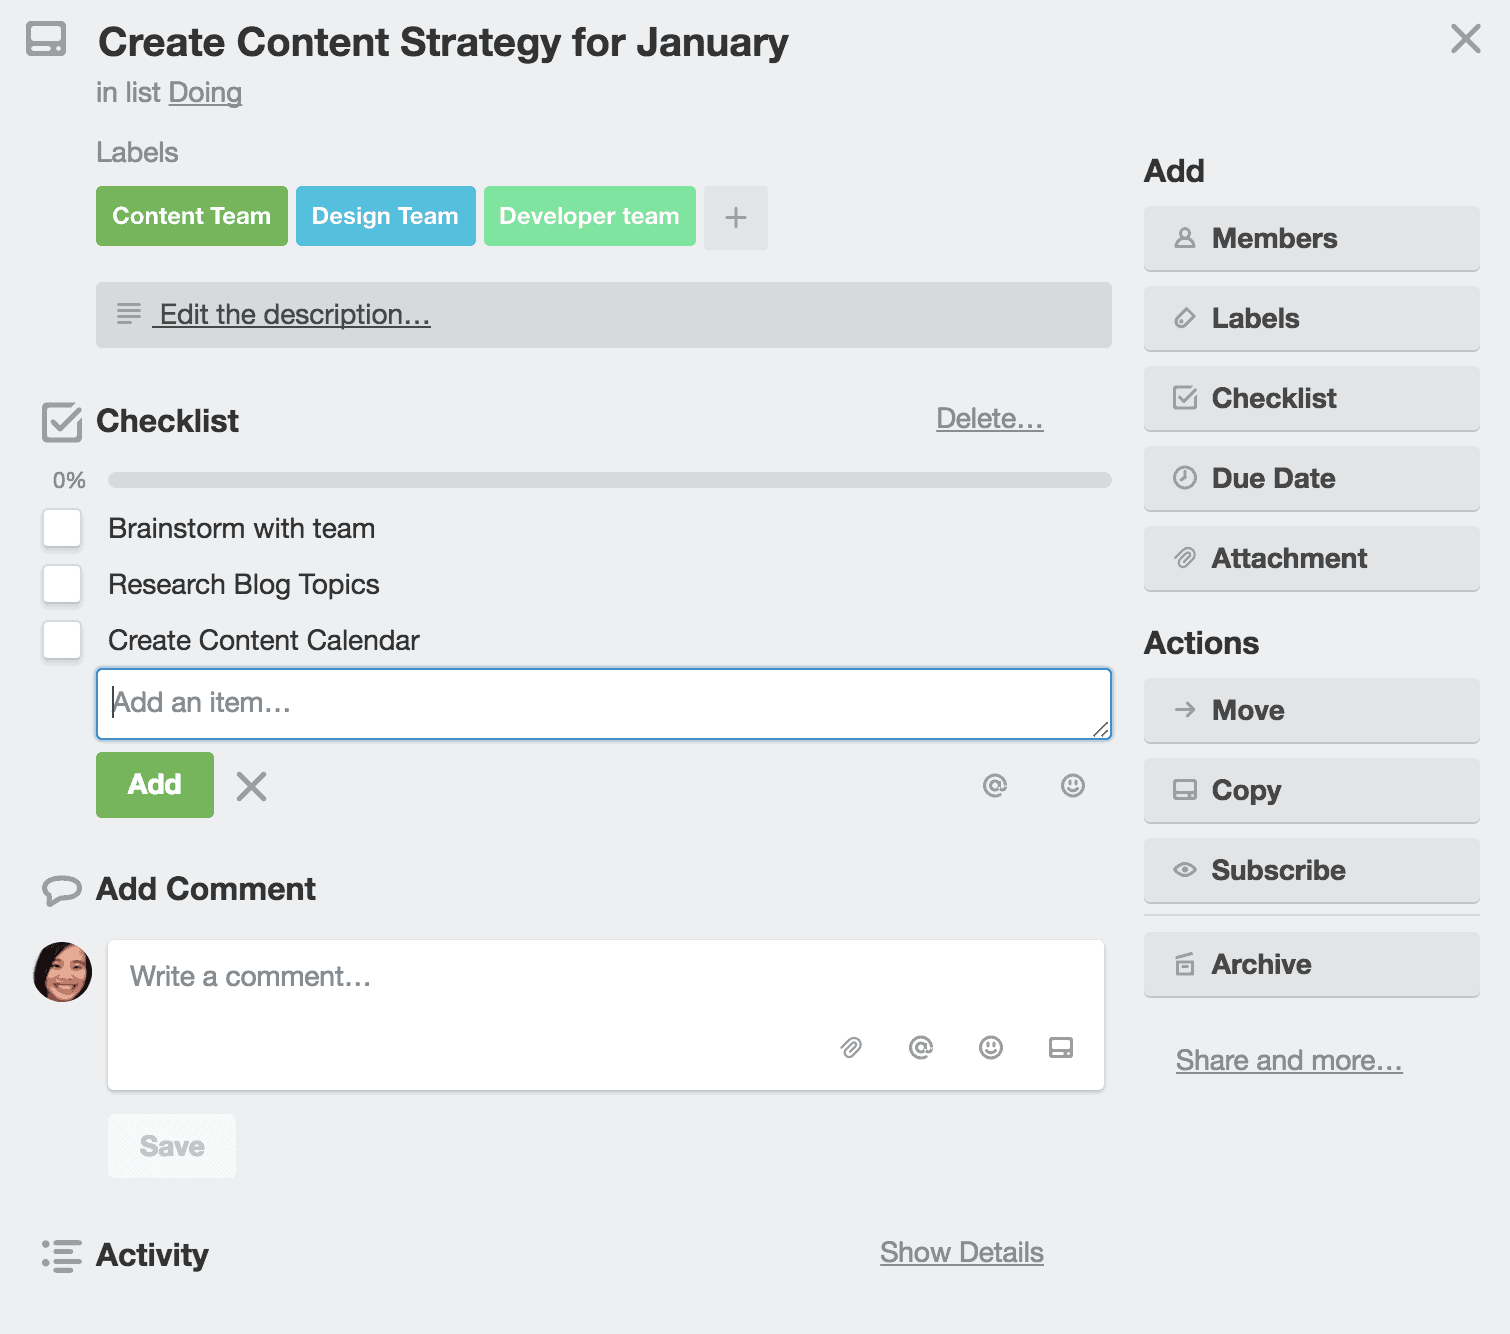
You may have tasks that take several actions to complete. A good example is a task like “create a content strategy.” It’s not something that can be tackled in one go, and will require steps like brainstorming with your team, researching blog topics, and creating a content calendar.
This is where checklists come into play. To get started, click the “Checklist” button on the card and the “Add” button.
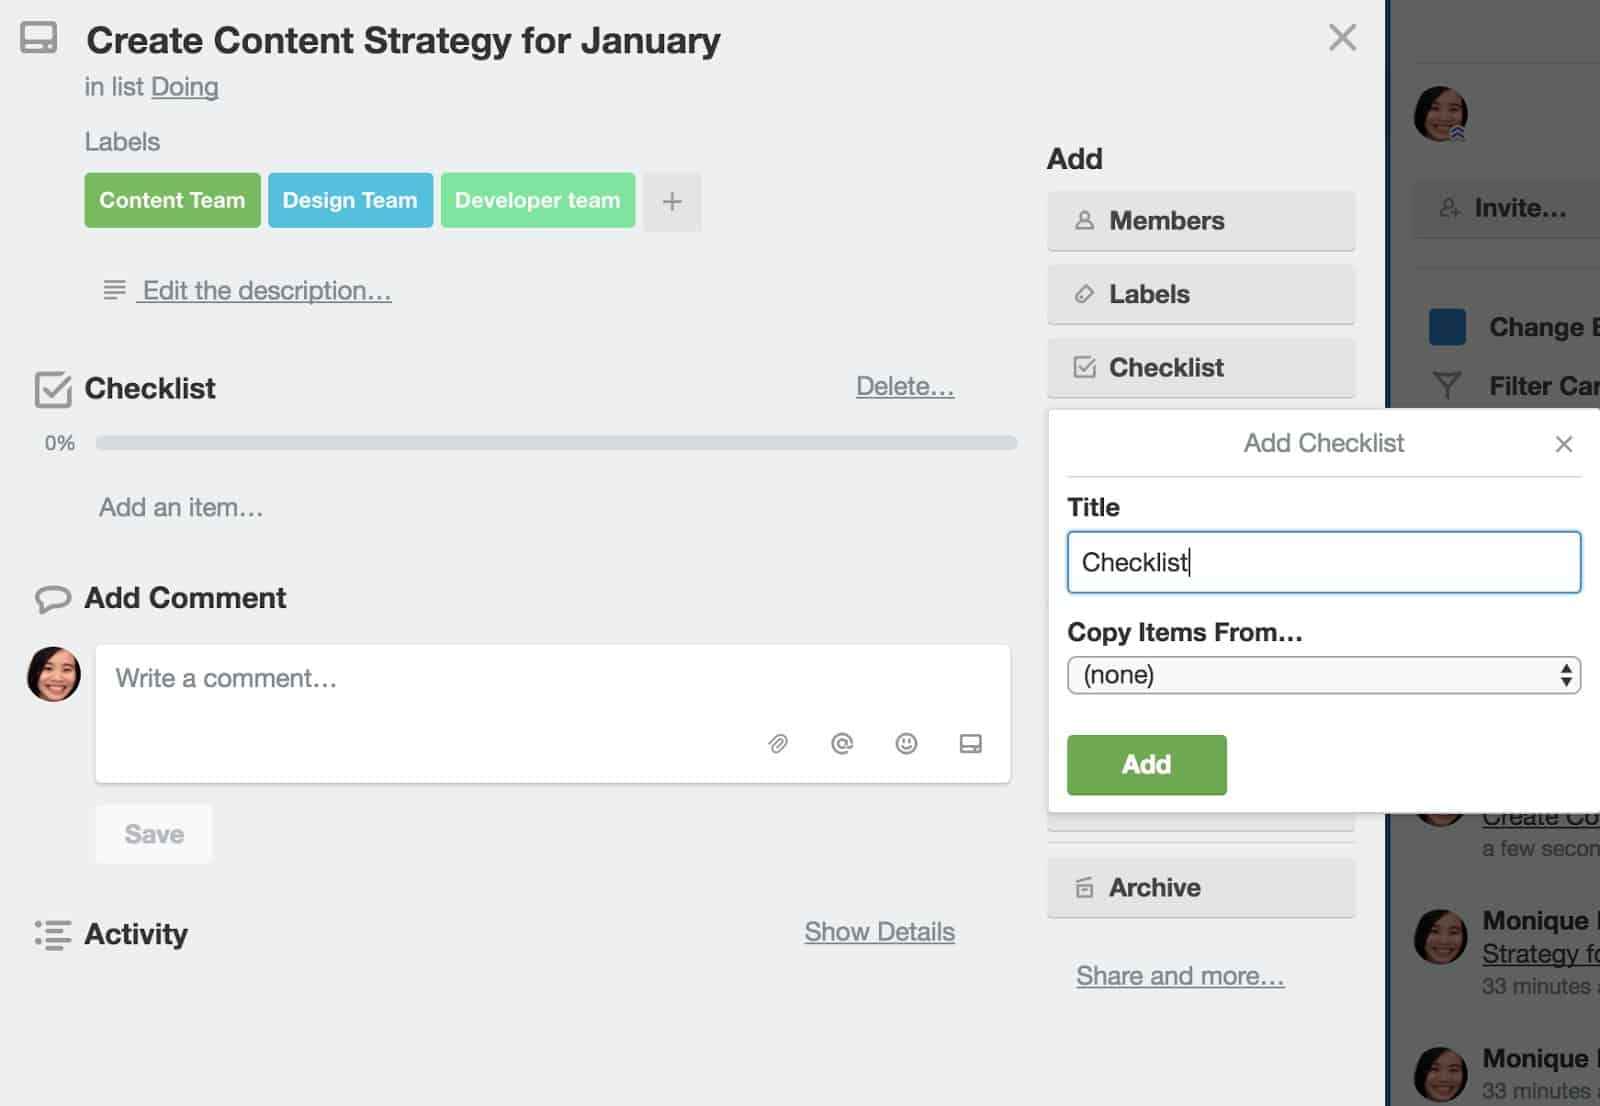
After that, click the “Add an item” button and indicate the task.
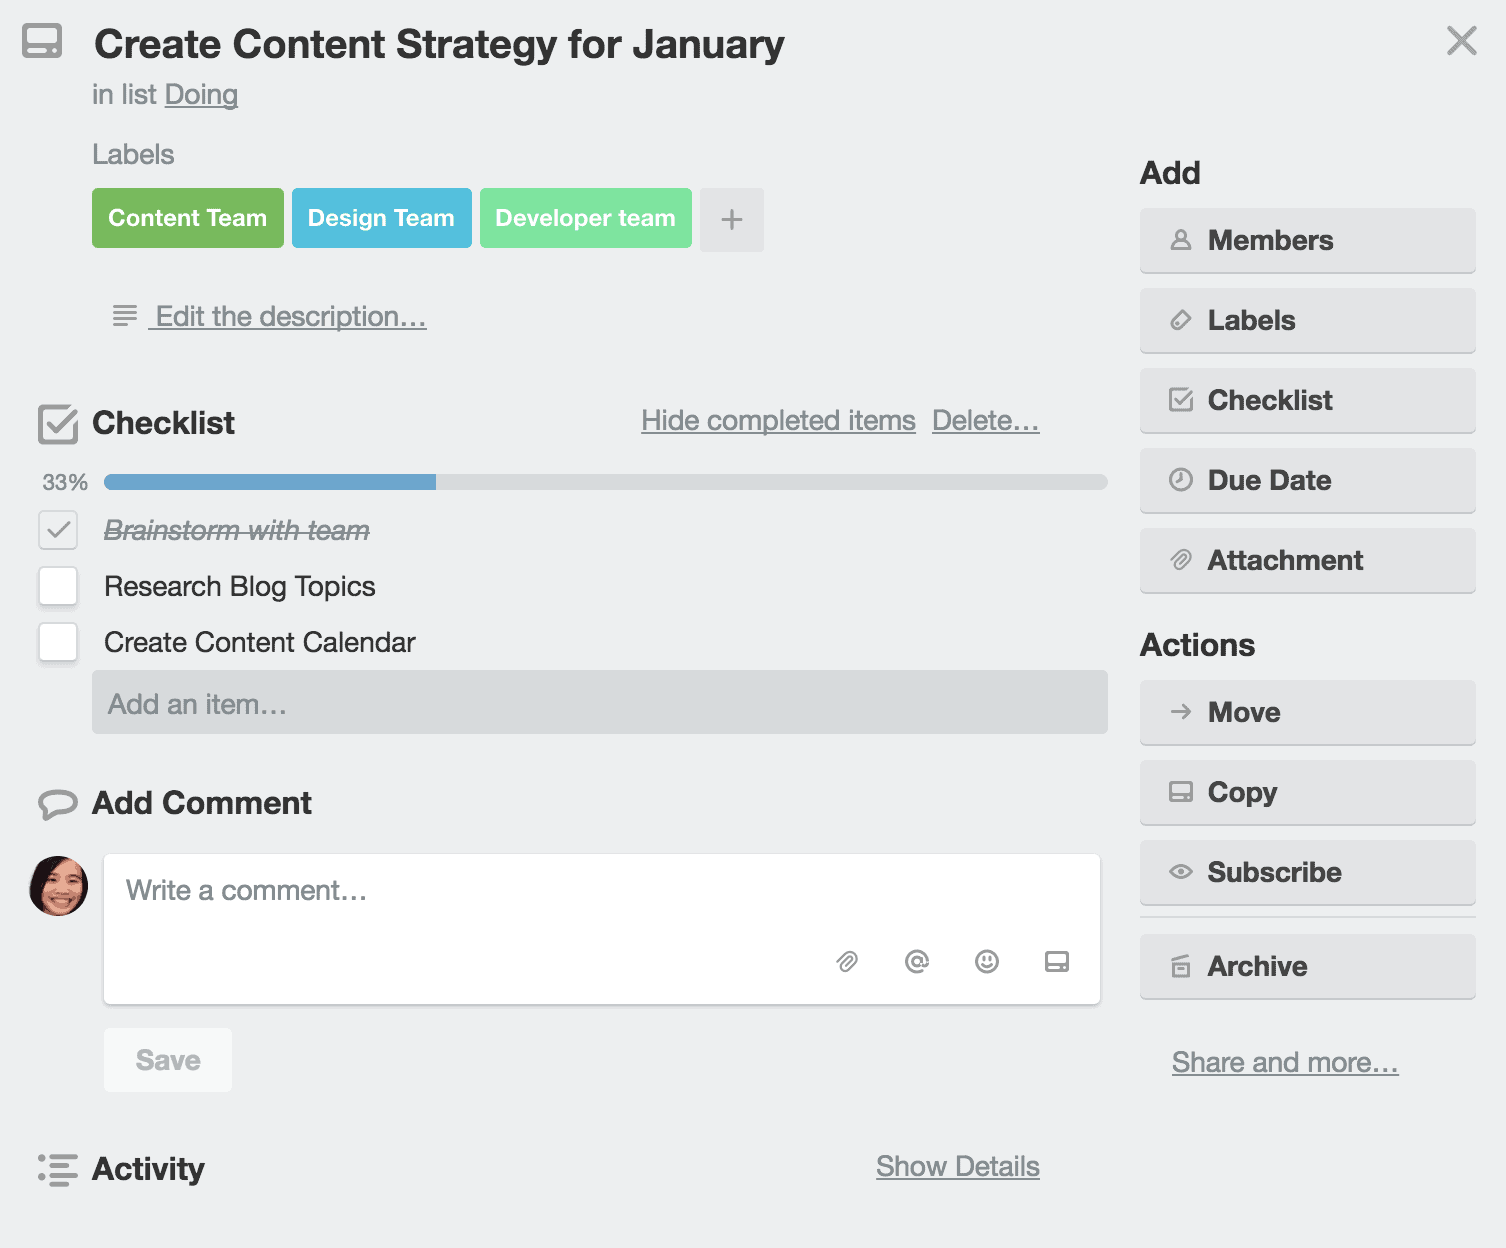
Whenever an action on the list is finished, you can view a member’s progress, with regards to a specific task.
3. Monitor due dates with the calendar view
How can you keep track of your deadlines if you have multiple tasks in multiple lists? One way is to use Trello’s built-in Calendar view.
To get started, click Board in the top left of your Trello board, and choose the Calendar view in the dropdown.
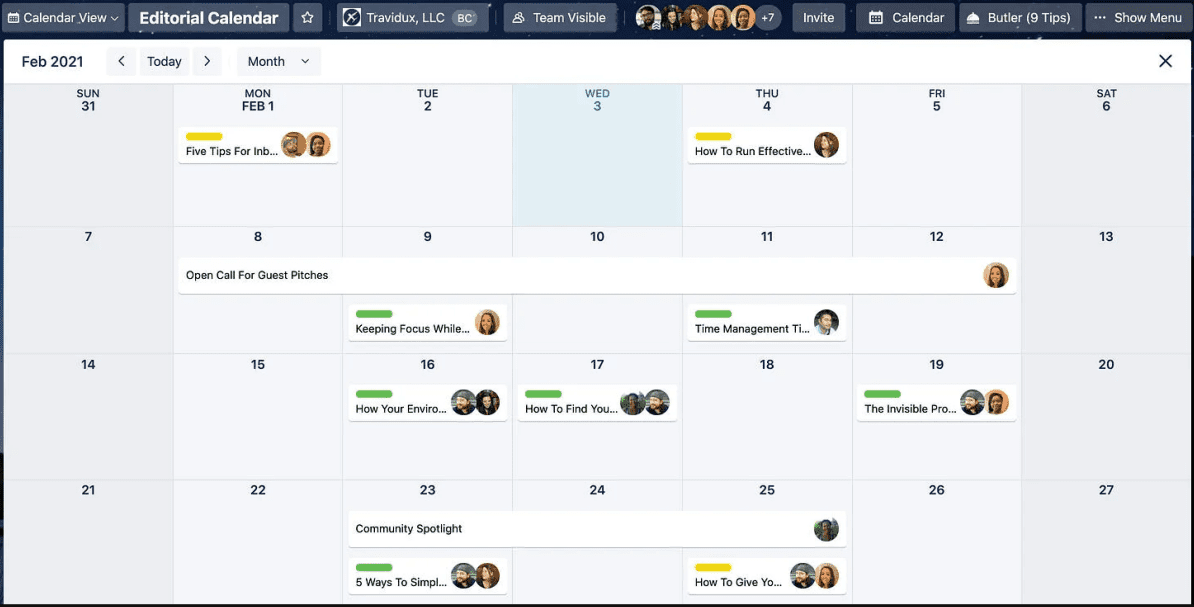
If a deadline was changed, drag and drop the card across the calendar to update its due date. You can also export your Trello calendar to third party apps through its unique iCalendar link.
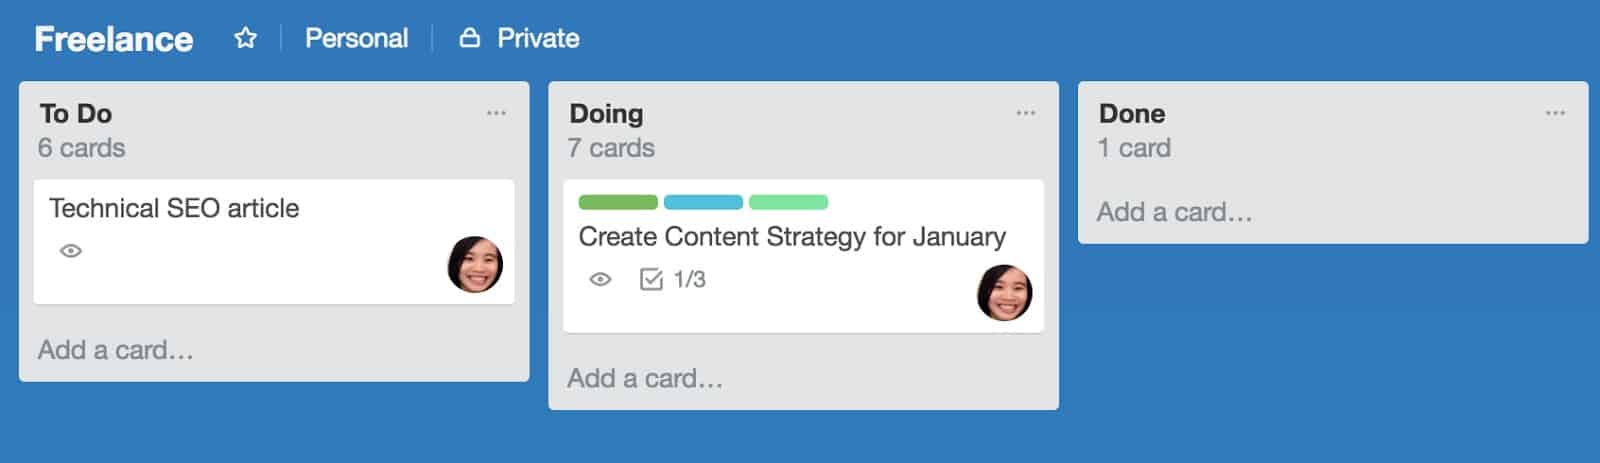
4. Remember the best shortcut for Trello project management
The ‘q’ button is an important shortcut in Trello. Tapping ‘q’ instantly removes cards which you are not a member of from your board. This clears your board of irrelevant information.
In the image below, an employee used the ‘q’ shortcut to view the cards that are assigned to her.
You can also copy and paste the board link in your browser to send your manager a copy of the tasks assigned to you. That way, you can both easily keep track of your progress and accomplishments.
5. See all your cards in one place
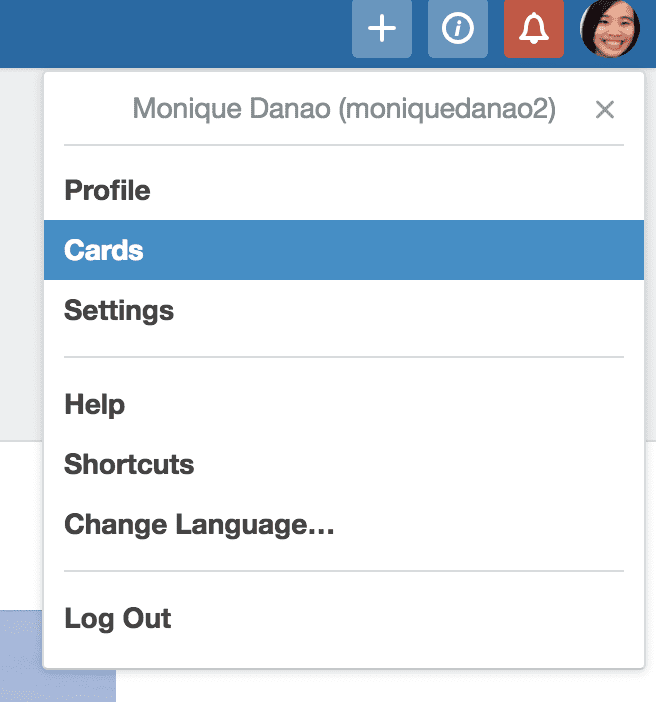
If you’re a member of multiple Trello boards, you may be worried about losing track of all the cards assigned to you. However, you can easily view all the cards across your boards by clicking your avatar and selecting the “Cards” button.
This redirects you to a new page, with all your cards, cascaded by board.
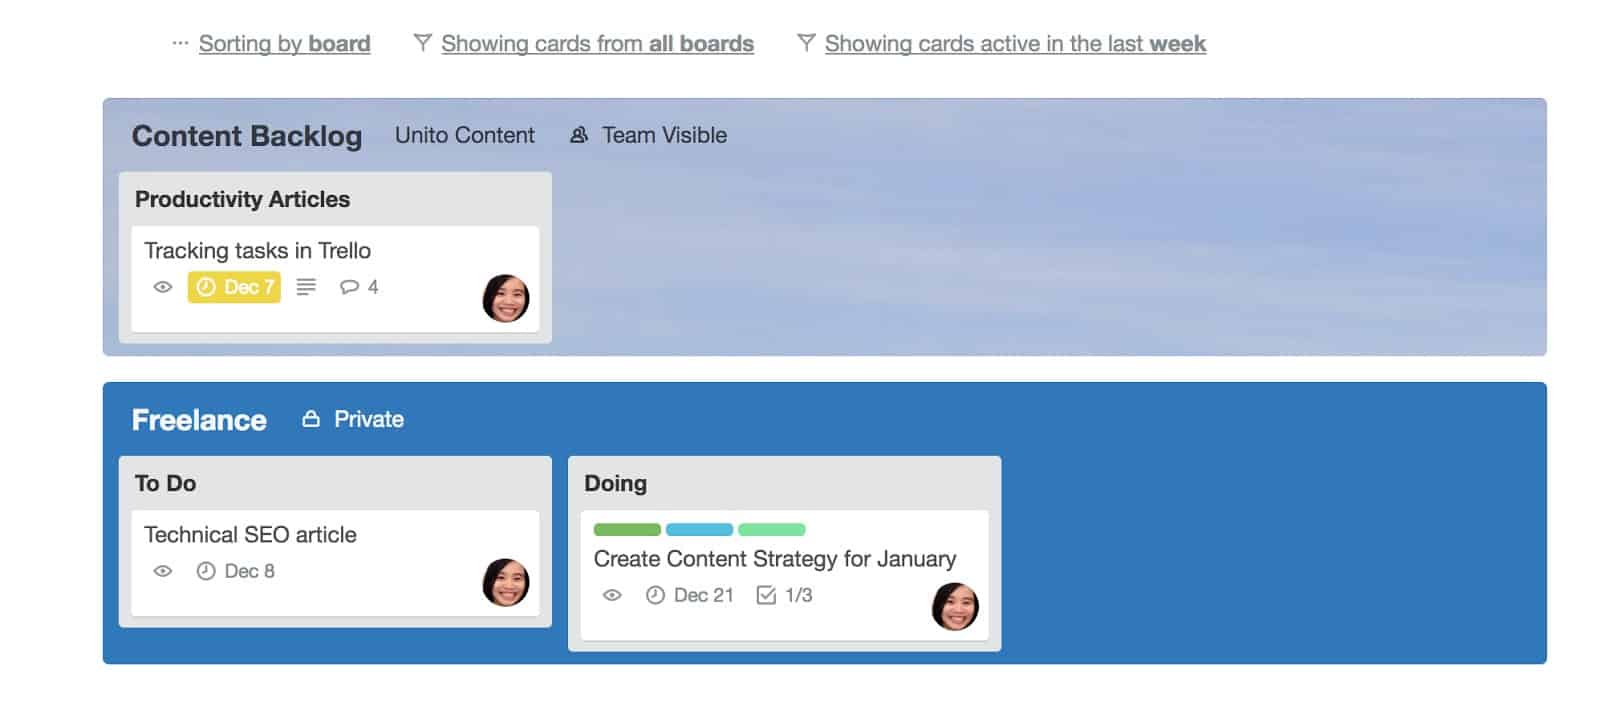
You can also sort the cards by due date. Just click the “Sorting by” button on the top left corner.
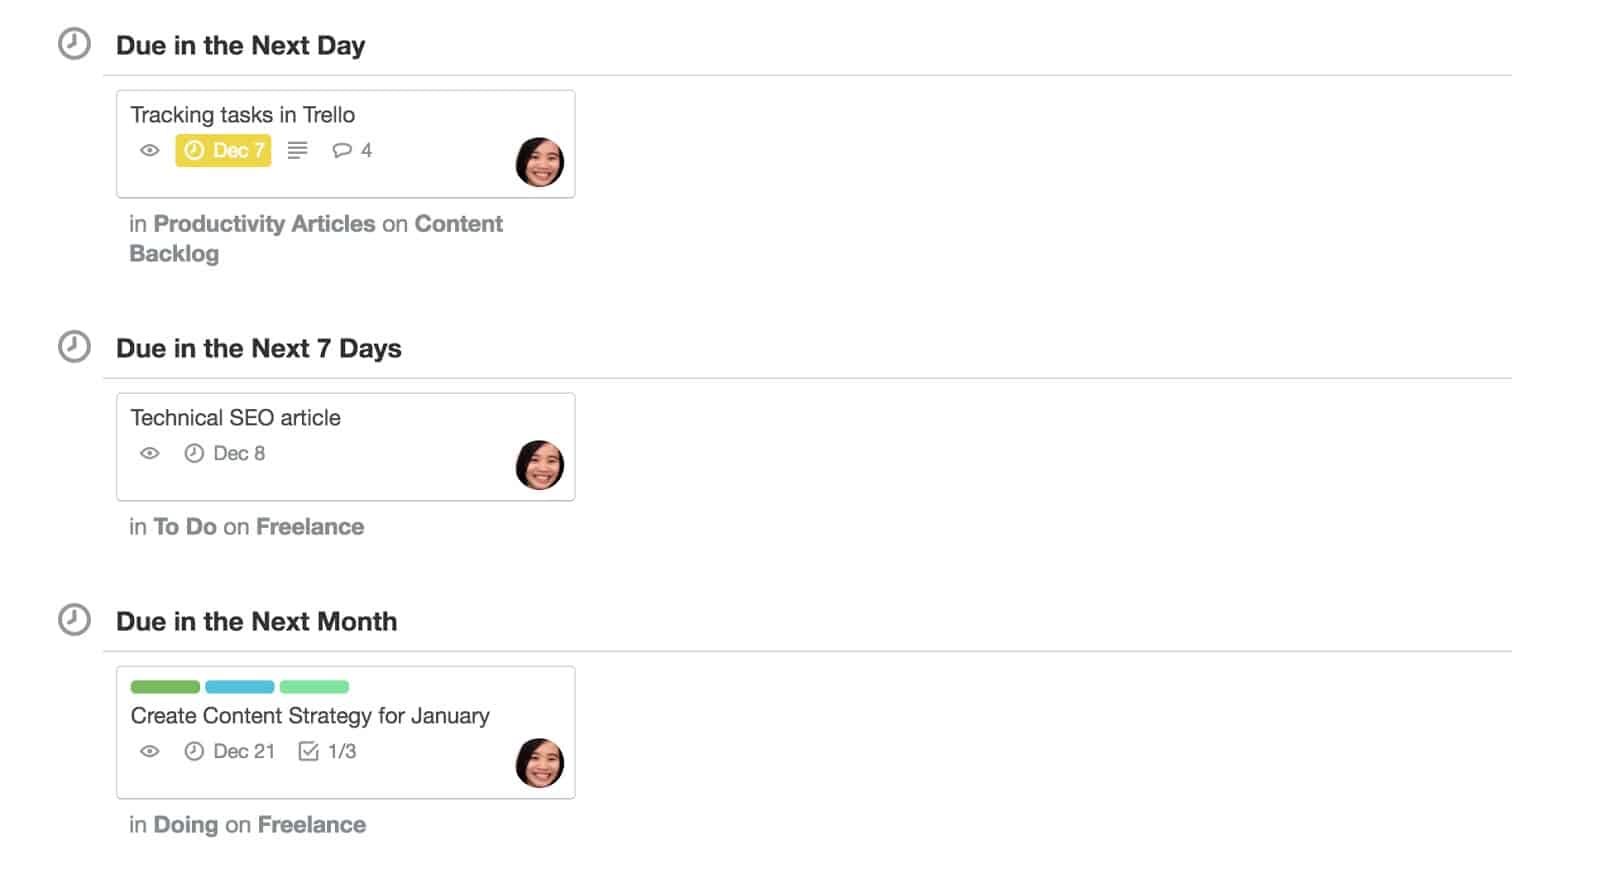
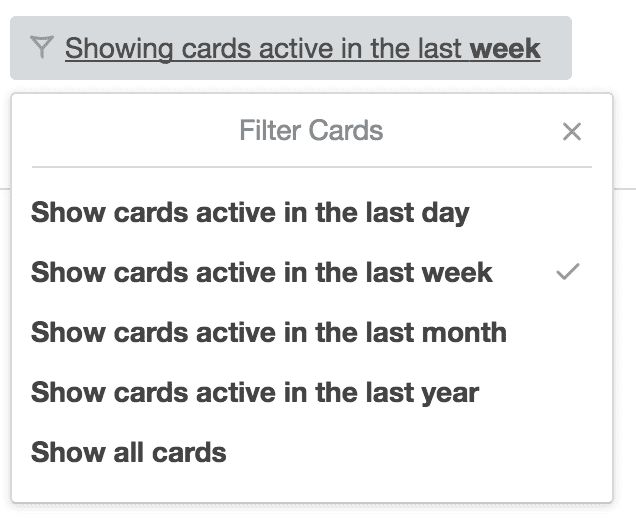
You can also choose to show cards from a specific board, and filter cards according to when they were last active — last day, week, etc.

The good thing about this option is that it helps you see your due dates across all of your teams. This way, you can easily plan for the week ahead.
6. Use the card-aging power-up for visual Trello project management
When it comes to finding forgotten cards, the Card Aging Power-Up is key. This allows you to determine which cards have not been touched in the past few weeks.
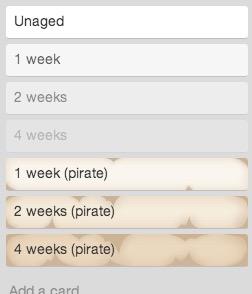
It has two modes: “Regular” and “Pirate”. In regular mode, cards that haven’t been edited or moved in a while fade out. Meanwhile, in pirate mode, cards will start to tear and crack like an old pirate map.
Here’s how the unaged, regular, and pirate mode cards appear in the app:
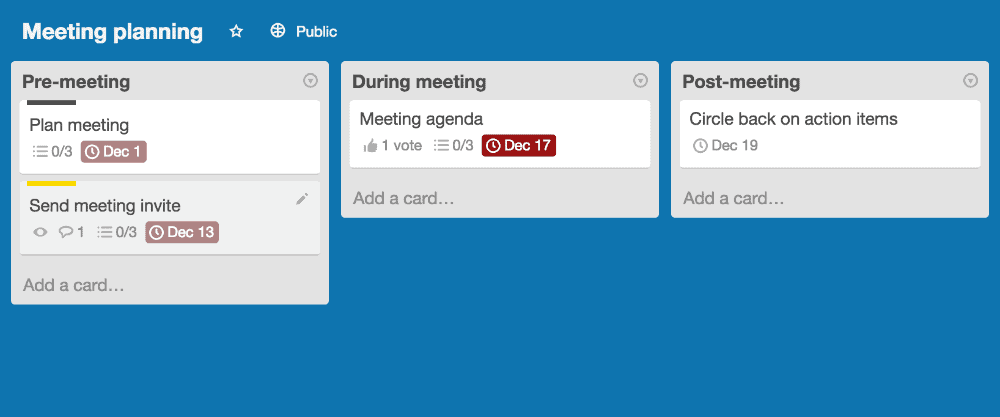
In the image below, the task “Send meeting invite” is a card that’s been left untouched for the past two weeks:
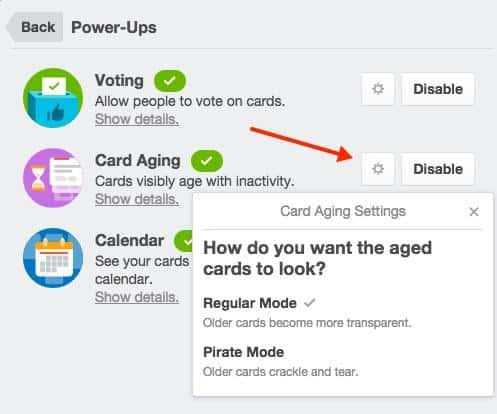
To enable the Card Aging Power-Up feature, click your Avatar and select Settings. After that, choose your preferred mode by clicking the gear icon.
The great thing about having the Card Aging option is that it provides you with a way to determine which tasks might have been forgotten. If your team member is too busy to do a task, then another member can take ownership.
7. Remember to declutter
Ever have Trello boards with so many cards that you just can’t even? Maybe some tasks were finished a week or a month ago. Or, maybe some members are packrats, who prefer not to delete cards. If this problem sounds familiar, we have a solution.
You don’t have to delete any card in Trello. Instead, archive finished items and retrieve them at any time.
Simply click the Archive button on the card to remove it from the board.
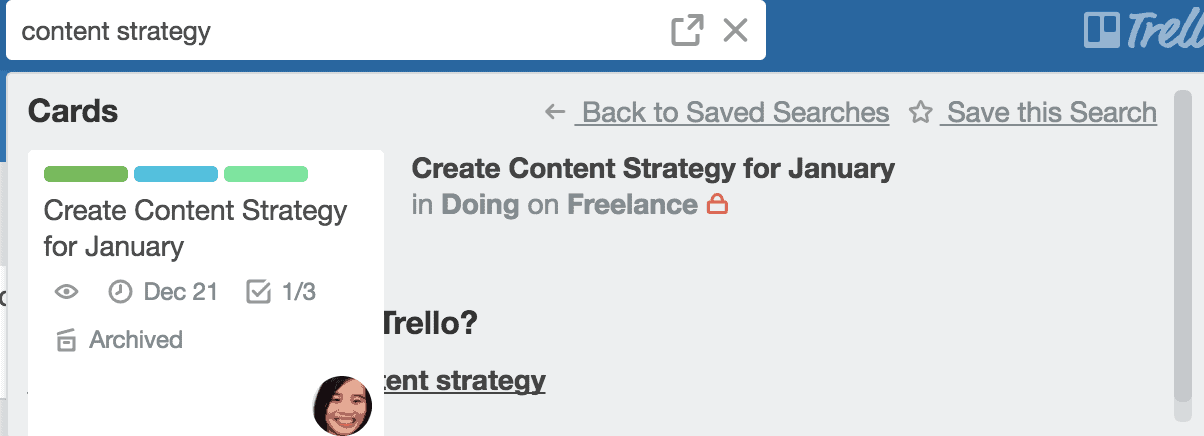
Once archived, you can find the card via the search bar.

Remember to archive and declutter your boards regularly, so that you can focus on the tasks that matter.
8. Use a master board for better Trello project management
Now you know just how you can stay on top of all your cards. But what if those cards are spread out over multiple boards? You have a recipe for headaches and frustration. Instead of flipping through multiple boards to track everything you need to, try building a Trello master board.
Trello project management is that much easier when you can see everything you need to do in one place. With a master board, you can create a single place where you can see everything you’re responsible for. Information is kept updated across boards, and you never have to worry about missing a crucial update again.
Want to learn how to build your own? Check out our webinar on building the Trello master board. You’ll see how you can completely upgrade your Trello project management skills in just a few clicks.
9. Sync data from other tools to Trello
While your Trello board might be your hub for everything you need to get done, that’s not necessarily true for everyone on your team — or the other teams you collaborate with. Some collaborators might work in different project management tools. Crucial projects might depend on data in a spreadsheet, a knowledge base, or another tool. That means someone has to manually copy and paste that data back and forth.
Unless you use Unito.
Unito is a no-code, 2-way integration platform for some of the most popular tools on the market, including project management tools, spreadsheets, databases, and more. When you pair tools with a Unito flow, work items you create in one tool are automatically created in the other and both are kept up-to-date.
Curious to see how this works? Here are in-depth guides to pairing Trello with other tools with Unito:
- Syncing Confluence and Trello
- Connecting Trello and Jira
- Syncing Trello and Google Sheets
- Integrating Trello and Wrike
- Sync Trello cards with HubSpot work items
Ready to get started?
When it comes to managing your tasks and deadlines, the trick is to use Trello wisely.
Know the Power-Ups and shortcuts. Monitor your due dates in calendar view. Organize and use color-coded labelings. And when in doubt, you can always start with decluttering your boards.
When it comes to keeping your Trello organized, Unito can help!
Try Unito for 14 days, absolutely free.