Workflow Diagram: What It Is and Why You Need One
In a time before everyone had a GPS in their pocket, people would usually buy a map before a road trip. If you missed an exit, you could pull over, pull out your map, and retrace your steps until you figured out how to get to your destination. A workflow diagram is like that.
Mapping out your workflow is the first step to optimizing it. You might know it like the back of your hand, but there’s plenty to gain from mapping it out for everyone involved.
What is a workflow diagram?
A workflow diagram is a flowchart representing every step of your workflow, including dependencies and responsible parties. It can range from a hand-drawn graphic on a napkin to an advanced visual created with dedicated workflow software. Drawing yourself is like using a map. Workflow software is the GPS.
A workflow diagram should also show the tools your work is going through. That way, if you have a blocked task, you should be able to tell where it’s stuck and what tool you need to check for next steps. From there, you can troubleshoot your way through the blocker or contact the person responsible. Here’s an example of what this might look like for a simple cross-functional project workflow:
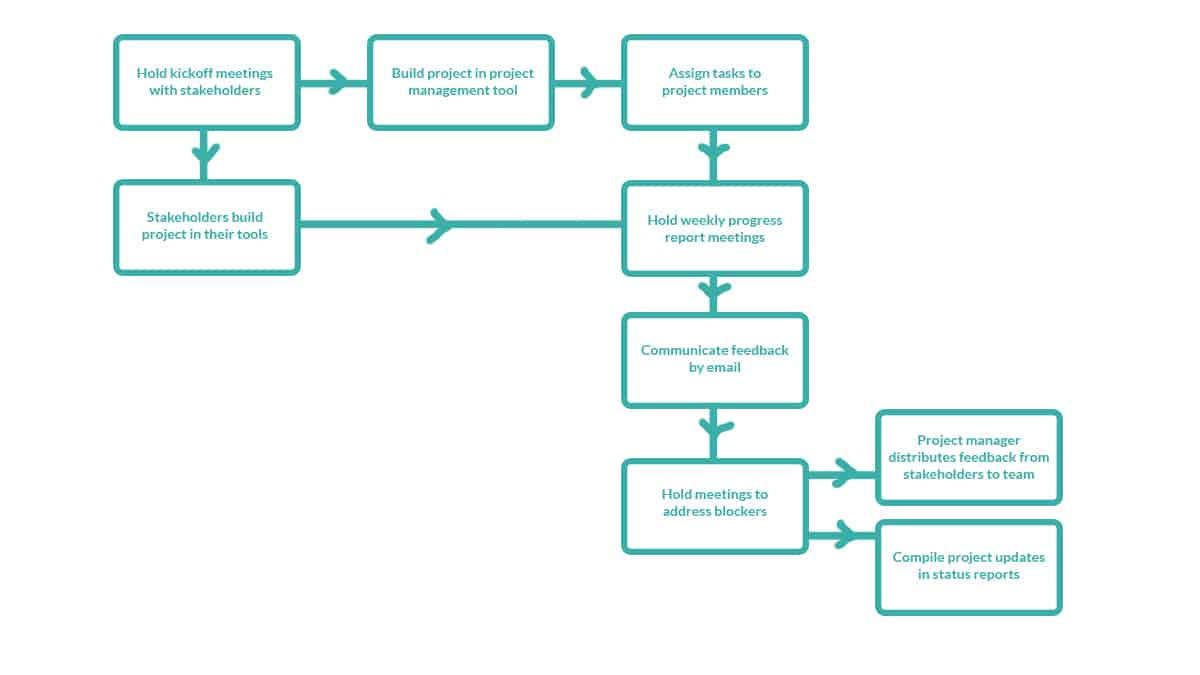
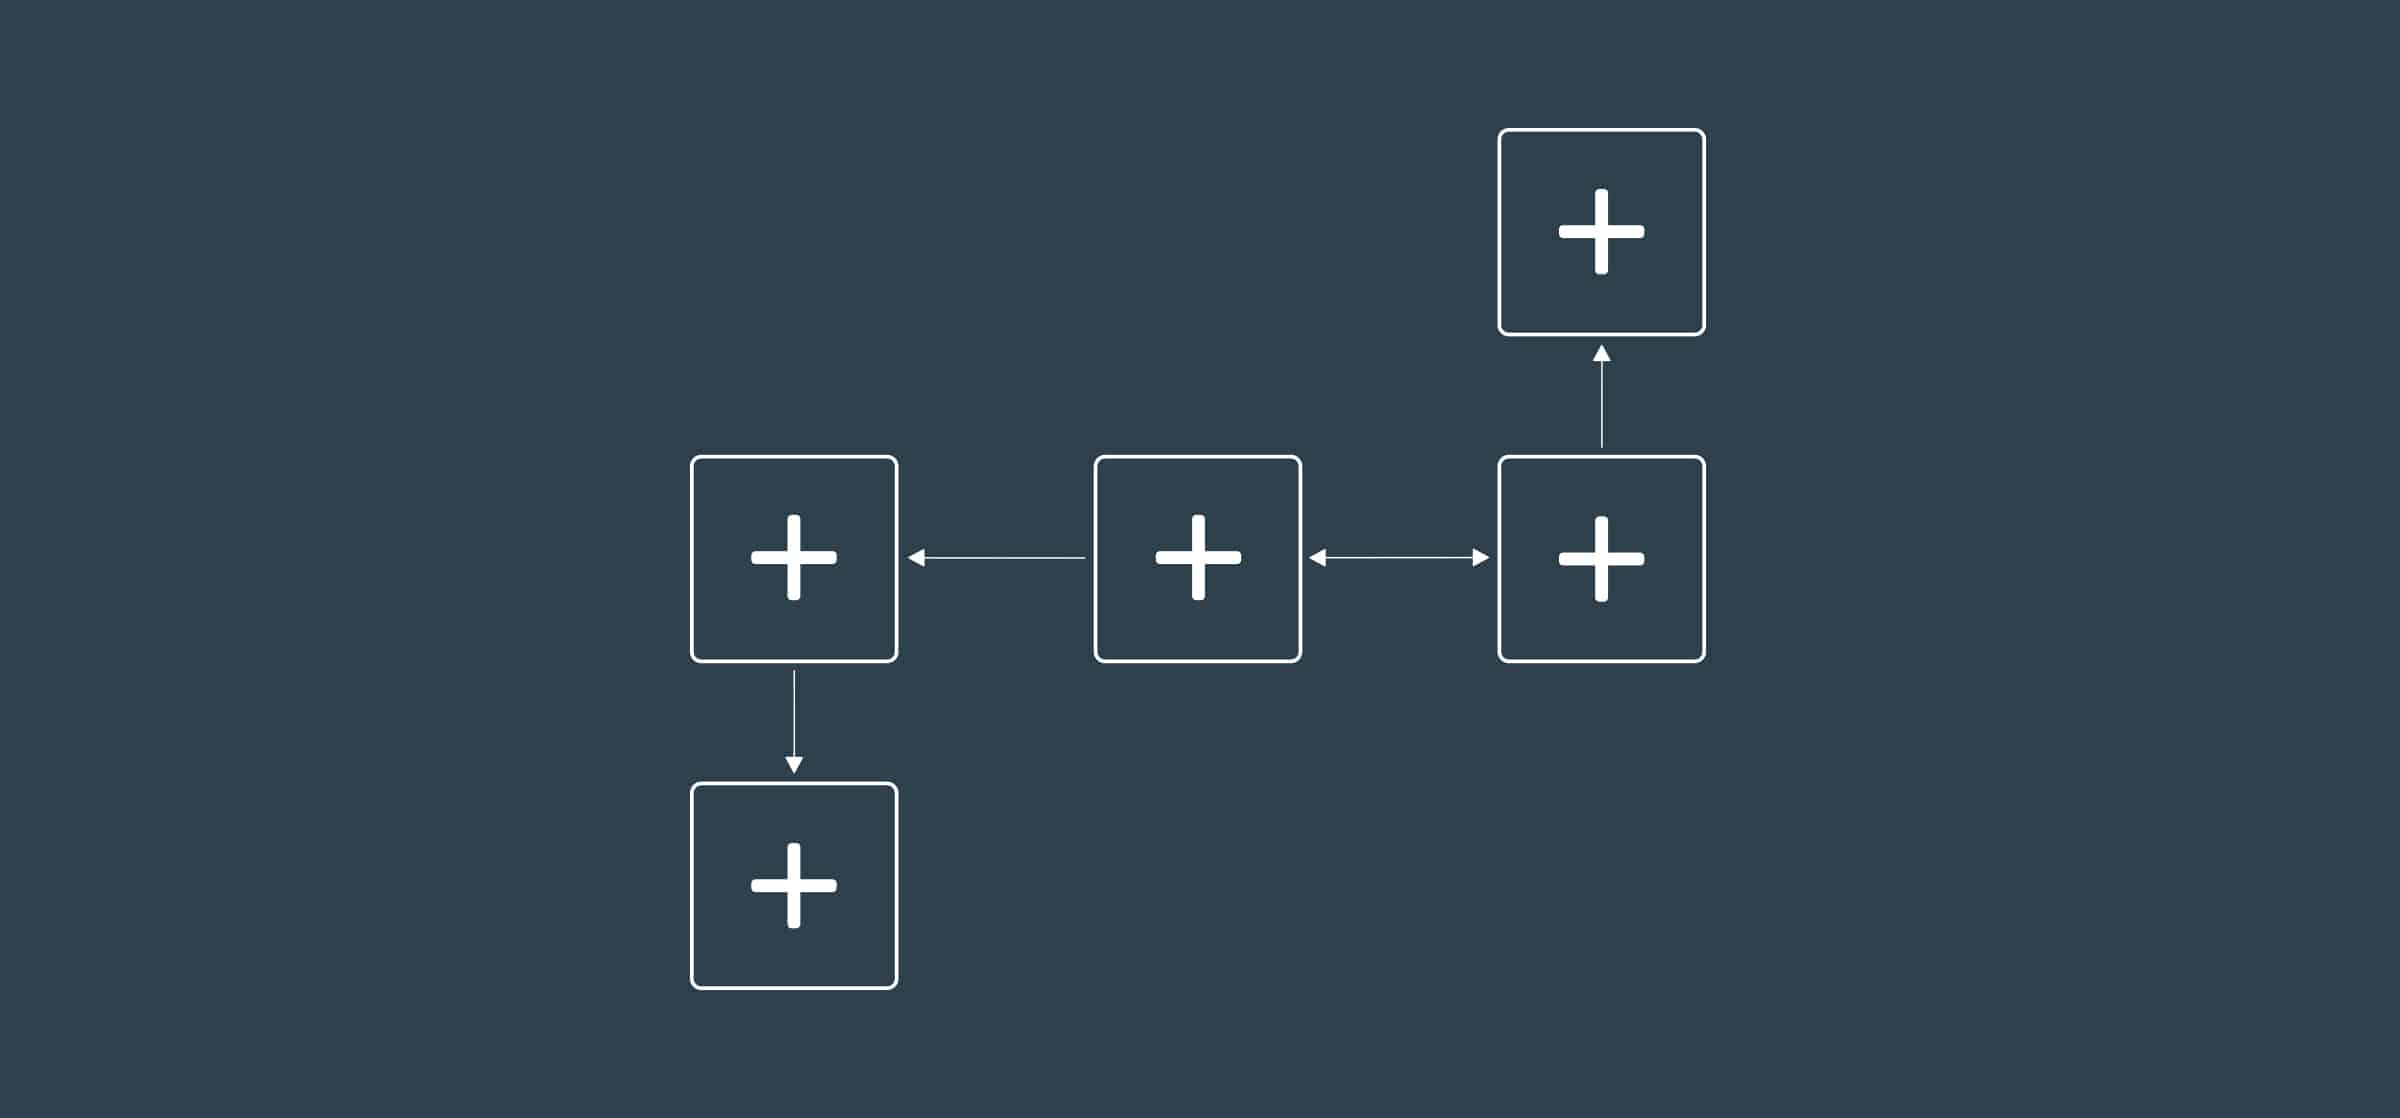
Each step of the workflow is a node, linked with a directional line to show how work flows from one step to the next. Most workflow diagrams have branching paths, usually to reflect what happens when blockers are encountered.
Why you need a workflow diagram
Optimization
When you take the time to map out your workflow, you might come across inefficient steps or places where your team frequently runs into blockers. This exercise alone can help you make your workflow more efficient. You could even pull people in for a brainstorming meeting to discuss regular blockers and find solutions for them.
But this doesn’t end when the workflow diagram is done. Imagine that your team suddenly needs to switch to a new work management tool or a series of new hires changes how your team needs to work. If you have your workflow mapped out, you have something to use as a base when reworking it. Instead of being on the backfoot when change happens, you’re more prepared for whatever the future might bring.
Visibility
Workflows don’t stay within a team. Sure, a diagram is a great reference for the team, but it can also be a tool to use when communication breaks down and a task seems hopelessly blocked.
If you’re often working with other teams, you know that collaboration can quickly get tricky. It can feel like they just don’t understand how you work or they’re always asking the same questions. For example, a development team handling marketing requests might often get poked and prodded with questions on progress and status updates. If developers are getting inundated with these requests, it’s usually for one of two reasons: lackluster communication or not enough visibility. One way to solve these problems is making a workflow diagram available for the teams you collaborate with. That way, they have a visual way of knowing all the work that goes behind their requests. You can also match steps in the diagram with statuses in your work management tool of choice, that way when someone peeks into your tool they have an idea of where your work is at. Add time estimates to each step, and you’ll save yourself plenty of progress check-ins.
By building workflow diagrams that capture how work flows between teams, you’re better able to react to dependencies, and everyone can see where they fit in to the bigger picture.
Onboarding
New hires have a lot to learn in a short amount of time. They have to remember everyone’s name, figure out the company culture, and learn how the team works. Two teams with the same job description can have a very different way of working. And if you’re onboarding an entry-level hire, you have to train them on their role and help them become independent as quickly as possible.
Creating a workflow diagram not only gives your team something they can reference, it also creates a resource new hires can rely on. For an entry-level hire, a well-designed workflow diagram can become a lifelong resource. For someone who’s more advanced, you’re giving them a tool they can use to get onboarded faster and become a working member of the team.
Having fresh eyes on your workflow might even help you find places where it can be improved.
How to start creating a workflow diagram
Here’s a step-by-step guide to creating your own workflow diagram:
- Start with questions: What is your workflow trying to accomplish? Who is involved? What other tools and resources does this workflow require?
- Go through the process: Take an imaginary task and run it through your workflow. Start with the ideal situation; what does your workflow look like if everything goes off without a hitch?
- Think about blockers: Now what if things don’t go according to plan? What happens when a customer support ticket gets escalated? Or when a bug just refuses to be fixed? No matter the workflow, there are ways it can go wrong. Find these issues and map out what happens after.
- Add stakeholder names: Who’s the engineer responsible for your escalation workflow? What about the editor handling blog edits? Having these names on your workflow diagram can make your workflow diagram more useful for other teams and new hires.
- Map out the workflow: Now that you’ve done the thinking, it’s time to draw up your diagram. You can do so manually, or use workflow software to create it. Usually, each step is treated as a node, with a line linking each one. Make sure to leave room for branching paths.
- Review your diagram: Take that example task you imagined earlier and run it through your diagram. Are there any steps you missed? If so, add them in. Maybe you’ve added in a few redundant steps too; make sure to remove them.
And that’s it! You’ve just created your first workflow diagram.
Mapping out your workflow
Creating a workflow diagram is your first step for optimizing your workflow, and it’s a great visual aid for everyone involved. Take the time to map it out, and you’ll be surprised by how much efficiency you can gain.
What’s next?
1. Want to read more about workflows? Do that here.
2. See the power of Unito in action.
3. Ready to start? Try Unito free for 14 days!