
How to Quickly Migrate to Google Analytics 4 From UA
While Google has been pushing hard to get companies migrated over to Google Analytics 4 before the July 2023 deadline, some organizations have still missed it. That means that you have not been able to track your analytics for months now. If you have completed your migration or are about to migrate to GA4, here’s our guide to reporting in Google Analytics 4 so you can set up a fully customizable dashboard for marketing reporting.
And for those of you who have been putting off your GA4 migration due to its complexities, we’re here to help. Need a shortcut? Start syncing your GA4 data with Unito with this step-by-step guide.
In this article on how to migrate to GA4:
- Overview of GA4
- Reporting Differences between UA & GA4
- How to set up your GA4 property
- Link Google Ads to GA4
- How to add custom events in GA4
- Audience segments in Google Analytics
- Archive your UA data
Overview of Google Analytics 4
Before you migrate to GA4, it’s important to understand how it’s different than Google Analytics 3 (Universal Analytics). The main distinction is that GA4 now allows you to track data cross-platform, meaning that if you have both a website and app, you can track both in the GA4. Not to mention the fact that Google is phasing out cookies in July 2024.
Another major change is that GA4 leverages AI and machine learning to provide you with more insights into your data. For example, it can provide you with forecasts on how many sales/how much revenue you could make in the next month.
One last thing to consider: while UA was mainly based on session data, GA4 is solely based on event data. Everything is an event – a page view, a site visit, a link click, a form fill – everything. Most of the events that you’ll need to track will already be setup, but in some cases, you might need to add custom events to ensure that you’re getting the same data that you did in your UA setup.
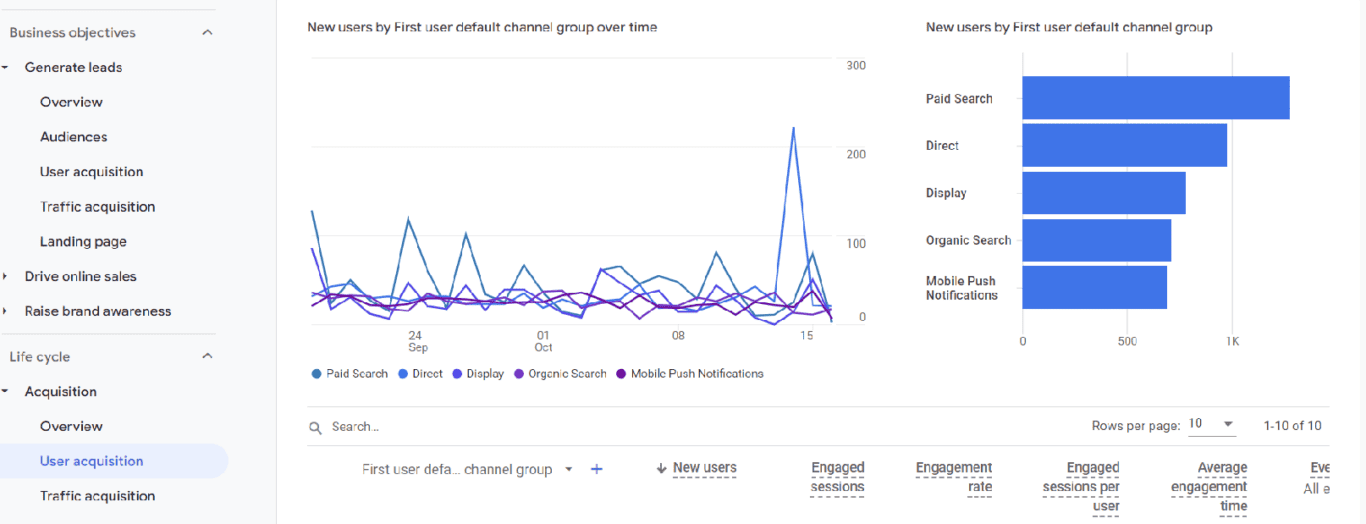
The setup of the platform is also different than the old UA platform. So, you may want to take some time looking through the various reporting options once your GA4 migration is complete. One place to start is with Google Analytics 4 exploration reporting.
Reporting Differences between UA & GA4
As mentioned, GA4 focuses on events, not users or sessions. Every action is now an event. You don’t need to set up Category, Action, or Label to make something an event. So, data might be slightly different.
Understanding Pageviews and Purchases in GA4
Pageviews and purchases should be about the same as UA, but there may be slight differences based on your filters. Some other metrics, however, will be different. In the past, there were only two metrics for users: Total Users and New Users. Now, GA4 has “active users”. These are users who have actually engaged with your site or app. Here’s how to measure pageviews in GA4.
Conversion Tracking: Goals vs Conversion Events
Conversions in the past were based on goals. Now, they will be based on a conversion event. UA only counted one conversion per session for each goal. GA4 will count every instance of a conversion event. This could lead to more conversions in GA4 than UA. Here’s how to set up a conversion tracker in Google Analytics 4.
Sessions and events
Sessions are also different. In UA, session was the time frame in which someone was actively using your site or app, and it’s for a defined period of time. If the user comes back after the session has finished, it will be a new session. A new session will also start after midnight.
In GA4, however, the start of a new session is triggered by the “session_start” event. This will create a new session ID. A session will only time out after 30 minutes of inactivity. Sessions do not restart after midnight. Only after a session times out and the user comes back will that trigger a new session.
Data Privacy in GA4
GA4 is also more privacy focused due to new privacy guidelines. For example, it won’t log IP addresses. You can also set up regional controls so as not to collect data from certain areas. When you set up Google signals, you can set it up to collect data on a per-region basis.
How to Set Up Your GA4 Property
Doing the GA4 migration is, for the most part, simple. If you have an existing UA property, you should have seen something like the below warning:

And if you haven’t migrated your site, it will still be there. If you click the “Compete GA4 setup” button, you’ll be taken to the Property Setup Assistant.
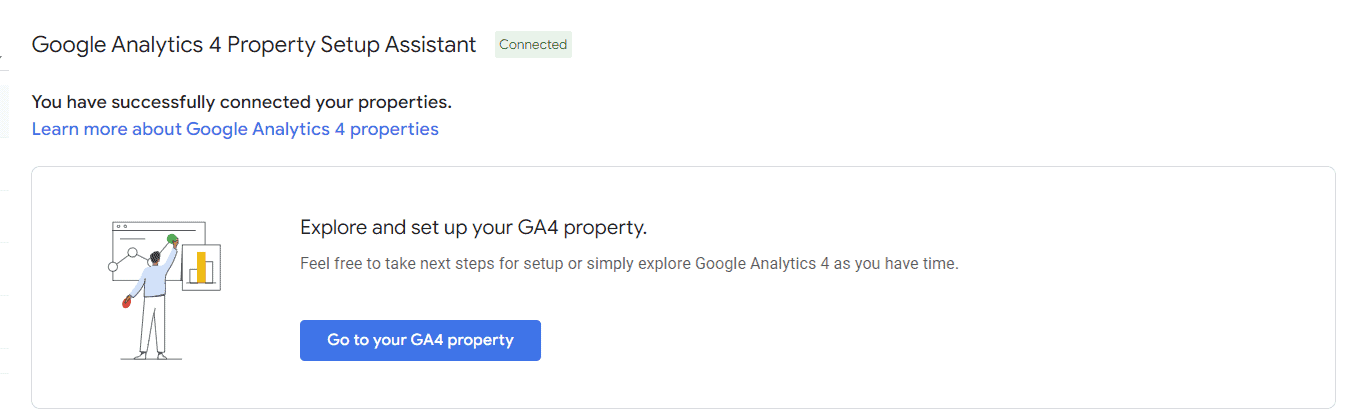
From here, you can start setting up your new GA4 property
If you have never had a Google Analytics account, then you’ll need to set up a new GA4 account from scratch. In which case, you’ll go to the https://analytics.google.com/ main page and follow the instructions for creating an account. You’ll also have to add the tracking ID to your website.
Once you get to the Setup Assistant, you’ll see a “Get Started” button. This will guide you through creating your GA4 account. The most important part of this is creating your data streams. Your data streams will be how you collect data. You can create data streams for both a website and an app.

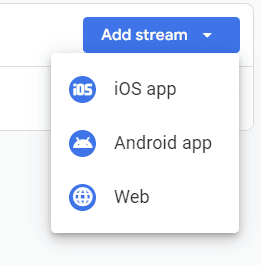
Click Add stream, and from the dropdown menu, select the type of stream you want to set up.
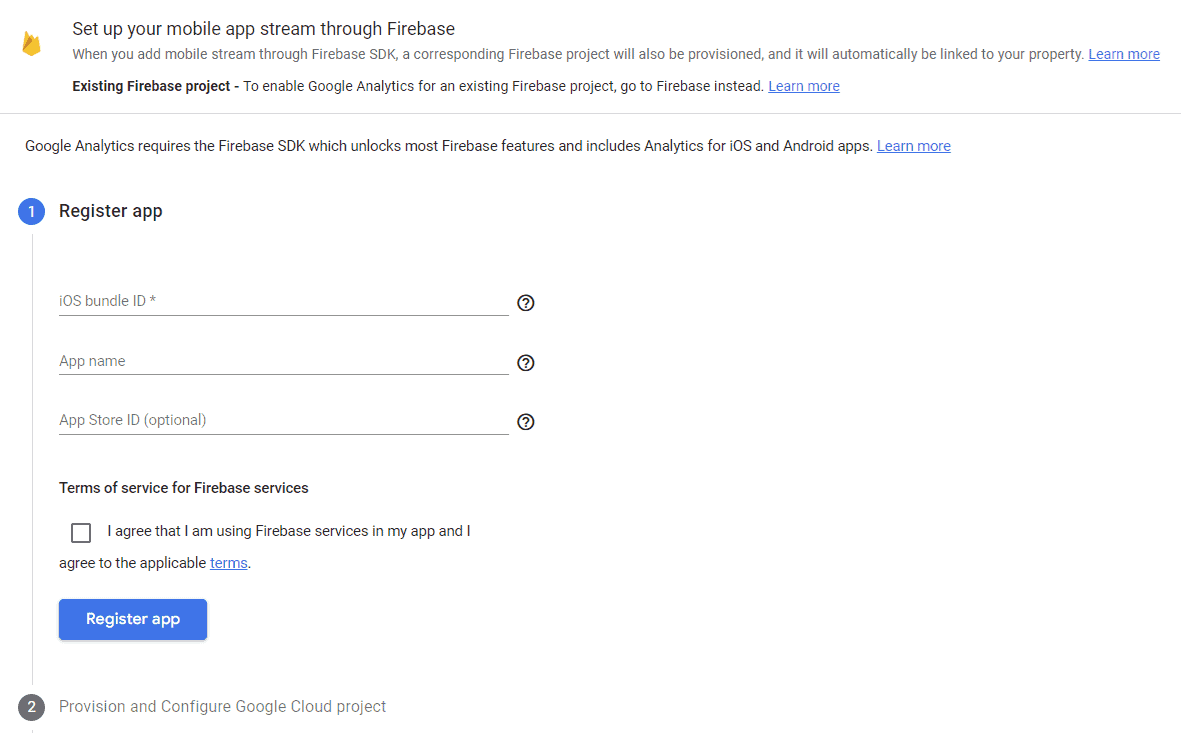
For an app, you will have to obtain the relevant app information and add it to the stream.
Most of us will only be tracking website data. So, in this case, you will need to add your website URL and give it a name. Then, you can create a new stream.
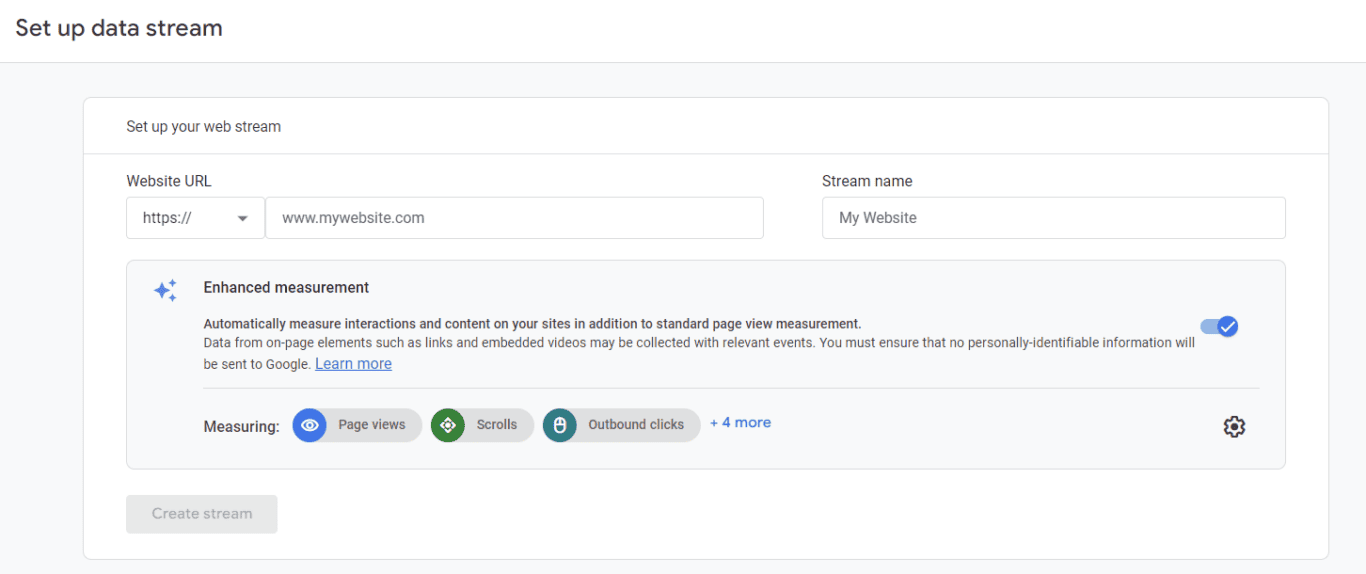
From there, you’ll go back to the main screen and see the below.
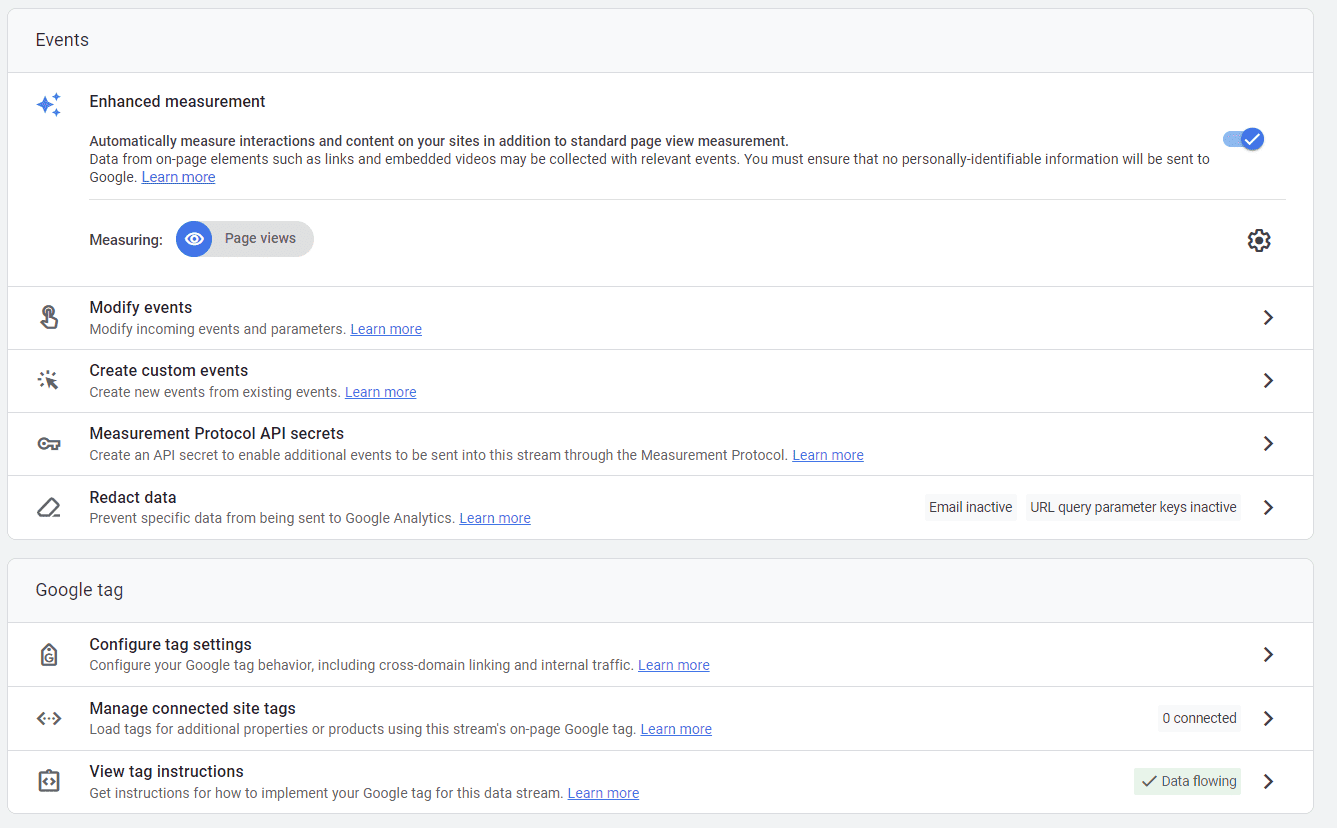
If you’re using the standard gtag.js script, you don’t need to add a new tag to your website. Instead, the data can be collected the same way. If you’re not or setting up a new property, then scroll down to “View tag instructions”. Here, you’ll see ways to implement your tag based on your website:
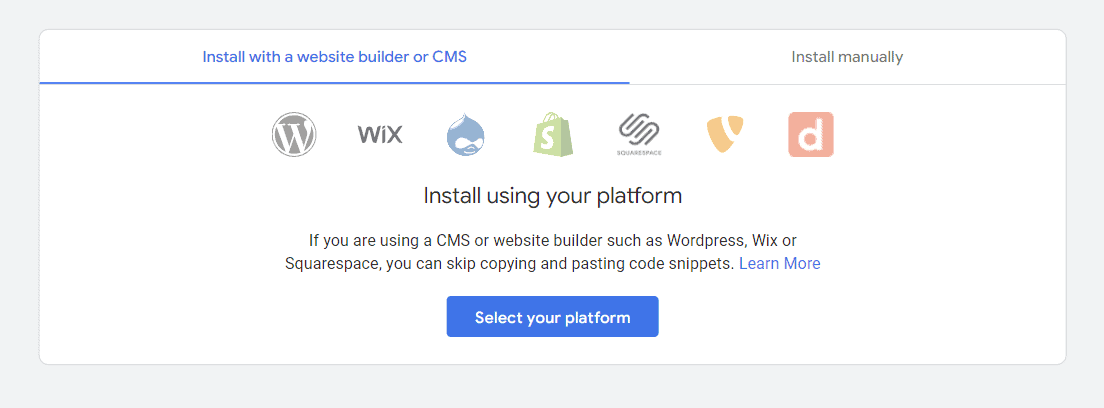
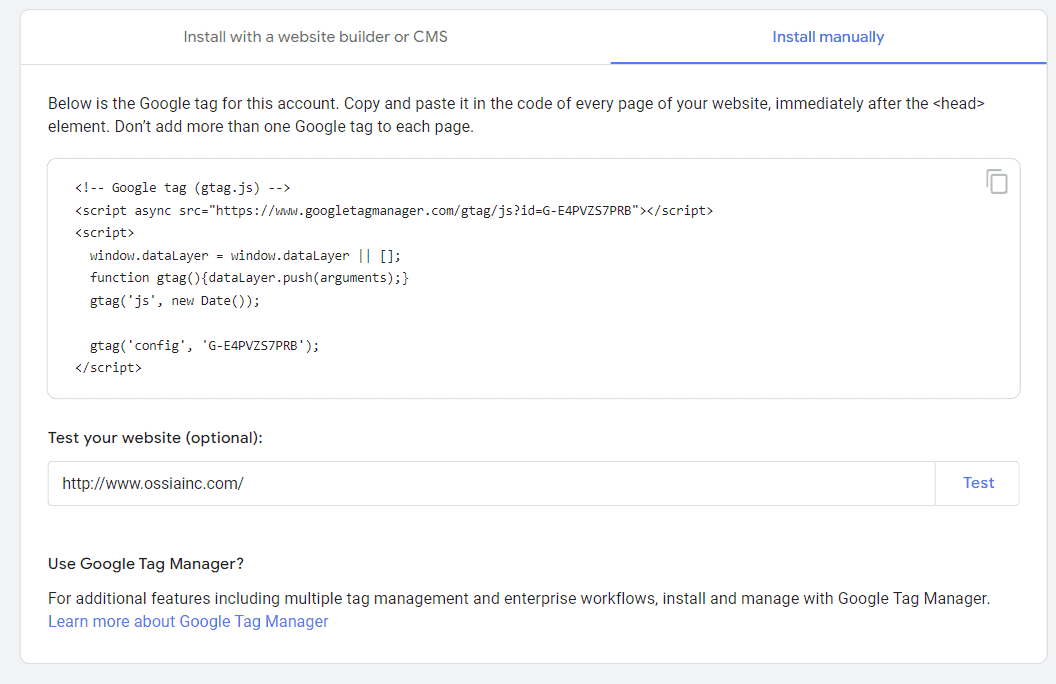
Or you can install it manually by adding the code to your website’s header.
Once you’ve completed these steps, your account is set up to collect data. But there are a few more steps you should take to track information more effectively. You’ll see the below list of collection options in the Setup Assistant.
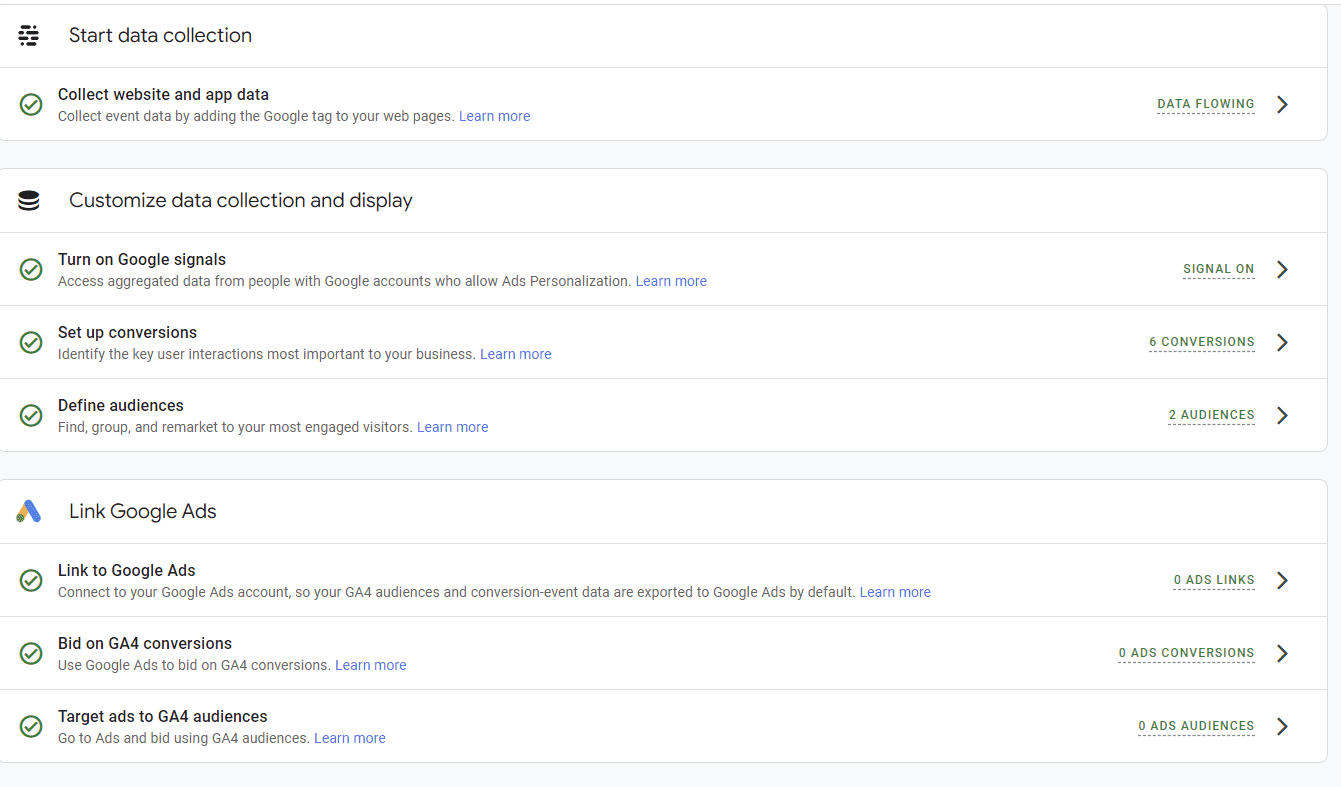
The Customize data collection and display section provides you with some options for ensuring that your advertising is effective. For example, Google Signals are needed for both reporting and remarketing campaigns. It allows for cross-platform tracking. It’s a user’s session data from both websites and apps.
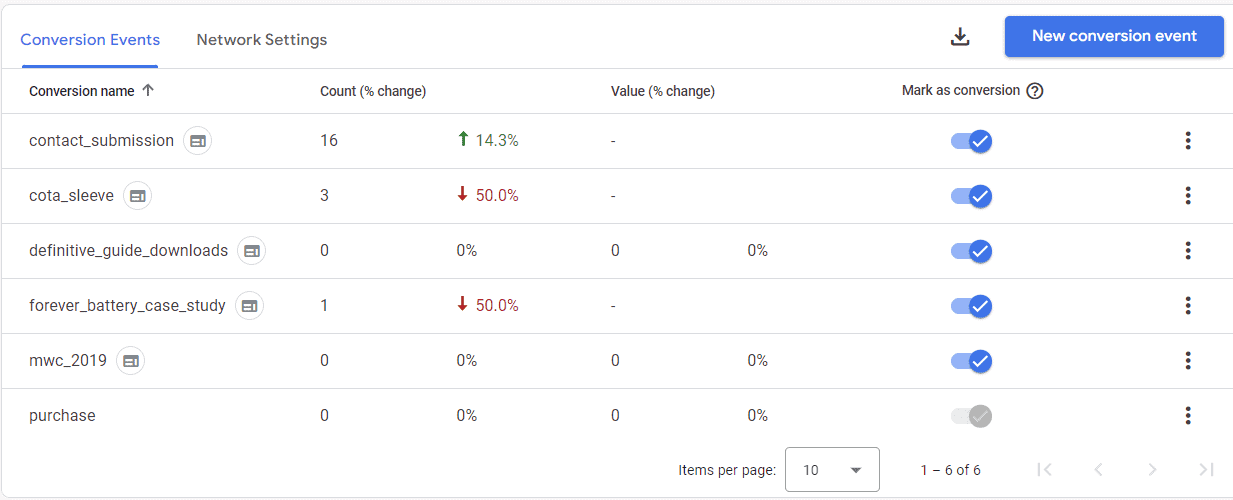
The Conversions in your GA4 are the same as Conversions in UA. These are actions that you deem to be important, i.e., a sale, form fill, newsletter signup, etc. If your GA4 migration originated with a UA setup, then you can import your conversions from your UA account.

You can also mark certain events as conversions by going into “Manage conversions”. Here, you can also add a “New conversion event”.
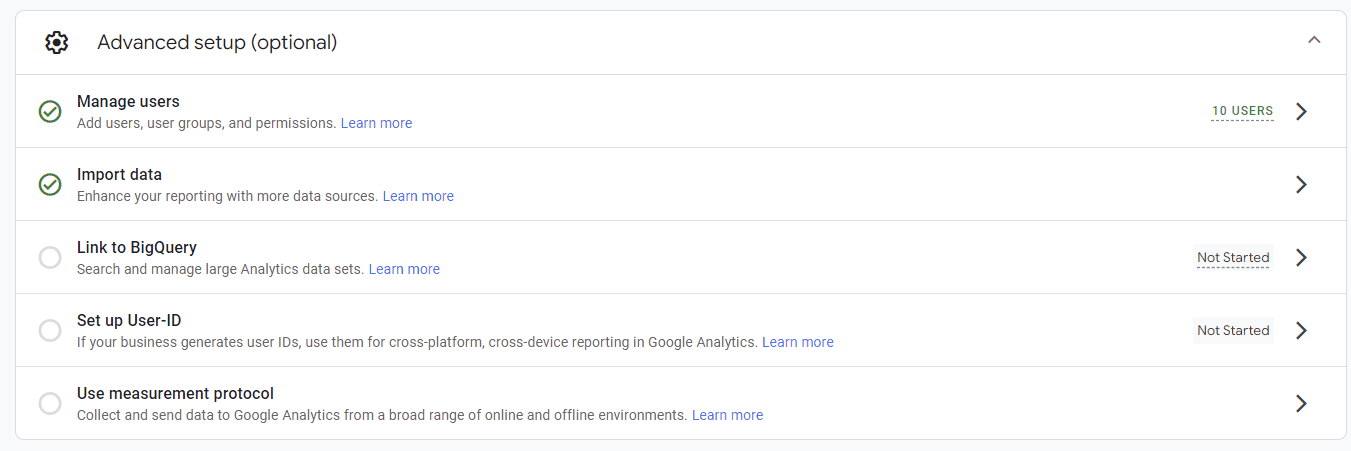
There are some advanced setup options, including the “Manage users” section, which allows you to add users and set permissions.
Link Google Ads to GA4
If you have a Google Ads account, be sure to link it to your GA4 account, which can be done in the “Link Google Ads” section.
If you have a BigQuery setup, you should also link it to your GA4 account.
Once all these steps have been completed, you should see data within your account within 48 hours. While GA4 does automatically set up many events, you still might need a few custom events to capture important data.
Here’s how to set up a BigQuery export.
How to Add Custom Events in GA4
Before adding custom events, make a list of everything that you want to track. Whether it be download of a PDF or a add to cart button click, you should have all your events ready to go beforehand. Events can be added via Google Tag Manager or within GA4 itself.
To add events in GA4, go to Admin and then Data Display. Under the Data Display dropdown menu, you’ll see “Events”.
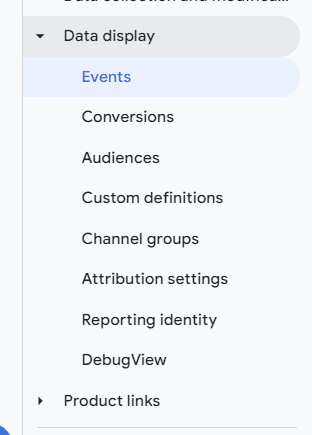
Click on it. It will open a screen that looks like this:

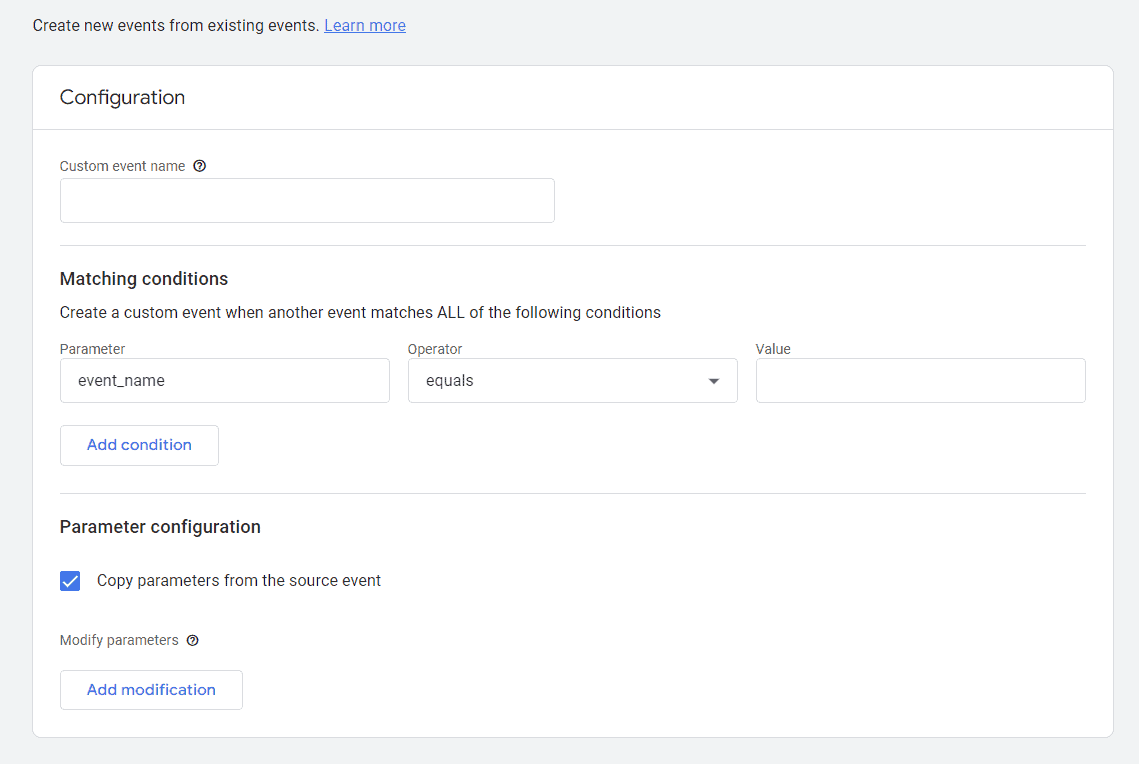
To create an event, click “Create event”. You’ll come to this screen. Click “Create” again. Here, you’ll see all the existing custom events as well.
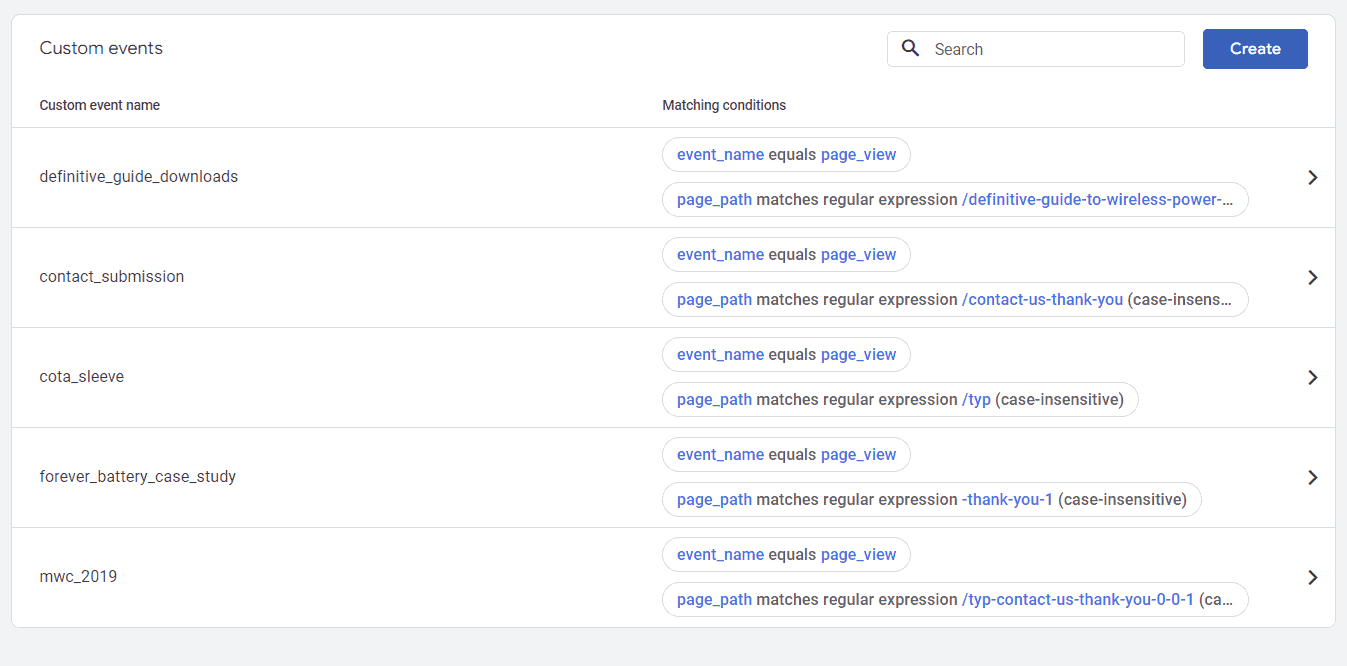
Fill out the parameters for your custom events, and then click “Create” again.
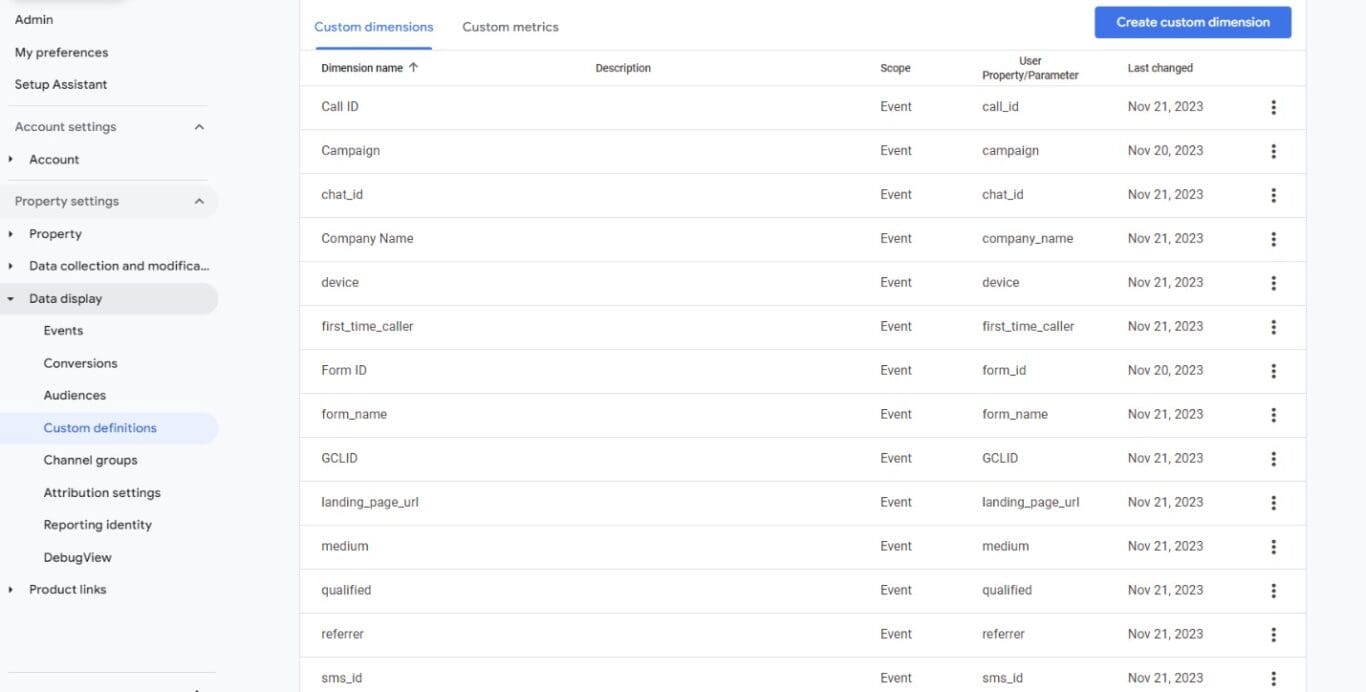
You can also add Custom dimensions and Custom metrics in Data Display. These could be useful for tracking individual actions.
Those are all the steps required to migrate to GA4. But it’s important to not forget about your old data.
How to create custom events in GA4
Embracing GA4’s Advanced Audience Segmentation
With your custom events now set up in GA4, you’re likely wondering about the next steps to tailor your analytics for precise marketing insights. This is where advanced segmentation comes into play. In GA4, segments are more versatile and powerful, enabling you to slice and dice your analytics in ways that were not possible in UA.
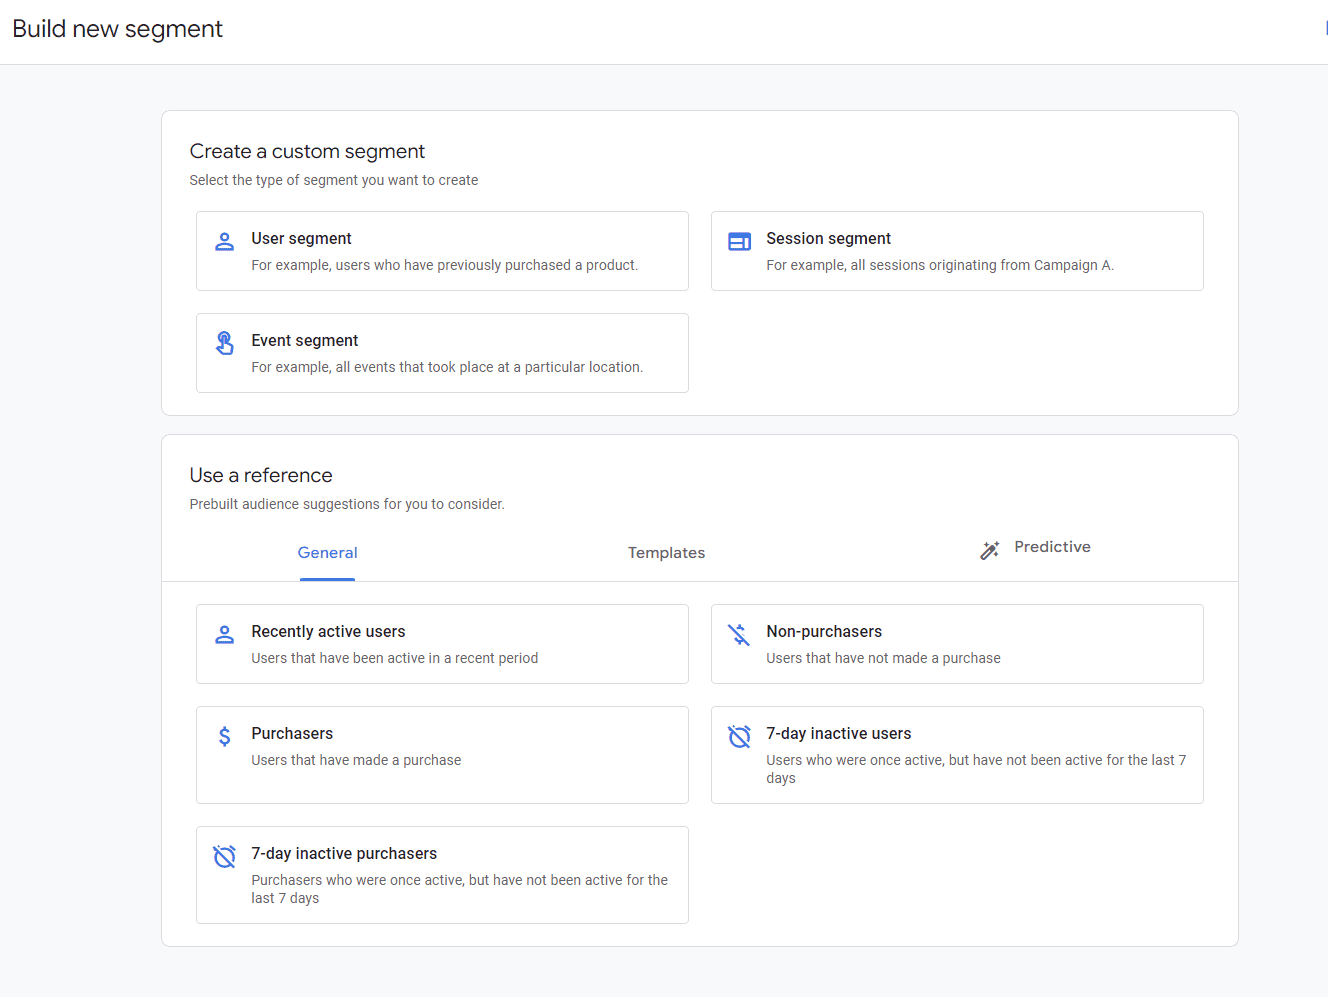
Whether it’s for remarketing lists or detailed analysis, segments will be the cornerstone of your data-driven strategy.
Here’s our comprehensive guide on how to easily set up audience segments in GA4, so you can capture the right data for actionable insights after you migrate to GA4.
Archive Your UA Data
Most of us want to compare past statistics with current performance. So after you migrate to GA4, be sure to download your old UA reports. Take about an hour to go through each section and create archives of your historical data. For some of us, a couple of years’ worth of data will probably be enough.
If your stakeholders, however, are really into trends, be safe and download 5-10 years of your UA reports. You could even download a year at a time and create folders for each year. You can export the data into different formats, including:
- CSV
- TSV
- TSV for Excel
- Microsoft Excel
- Google Sheets
If you have BigQuery, you can upload these reports into your instance, and they will also be available for future use.
Get ready to obtain real, actionable insights from your Google Analytics data
Unito now supports syncing GA4 data! So that means you can connect your marketing data to any other tool (though we recommend a spreadsheet such as Google Sheets or Microsoft Excel) to obtain actionable, insightful data. No more slaving over time-consuming manual reports.
Instead, after you migrate to GA4, you can easily turn data into dashboards that will showcase your digital marketing efforts. Here’s how it works: