
How to Pull Data from Another Sheet (In Google Sheets and Excel)
How often do you find yourself flipping back and forth between sheets in Excel or Google Sheets, trying to get all your data aligned in one spot? When I track expenses, I typically have sheets for each month of the year, but in December I need to pull everything together into a single page for year-end reporting.
Pulling data from multiple sheets into one spot seems like a daunting, time-consuming task, but if you know your way around spreadsheet tools, it’s pretty straightforward. In this article we’ll cover two methods for pulling data from sheets in both Excel and Google Sheets.
How to pull data from another sheet in Excel and Google Sheets
To walk through how to pull data from another sheet in both Excel and Google Sheets, I’ll use the example mentioned above: tracking monthly expenses from a team and pulling everything together for a grand total at year-end.
You can use the same method for both Excel and Google Sheets when it comes to pulling data. For this example, my screenshots are from Excel, but the exact same steps can be used for Google Sheets, too.
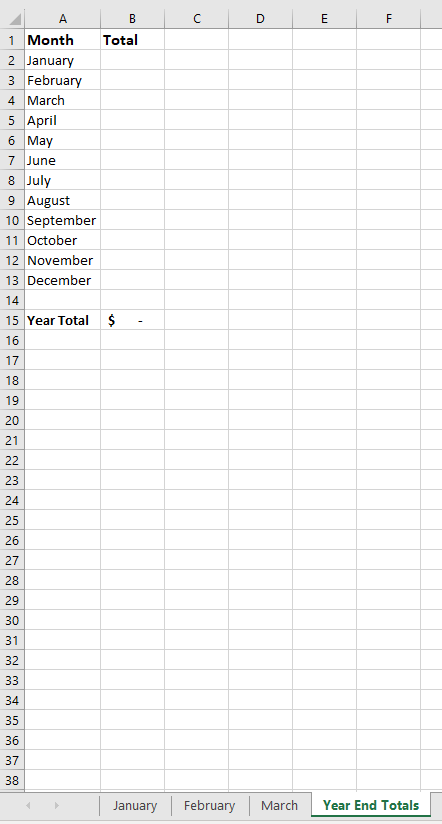
In this workbook, I have multiple sheets across the bottom organized by month, with a final sheet labelled “Year End Totals” – we’ll be pulling data from the “January” and “February” sheets into the “Year End Totals” sheet.
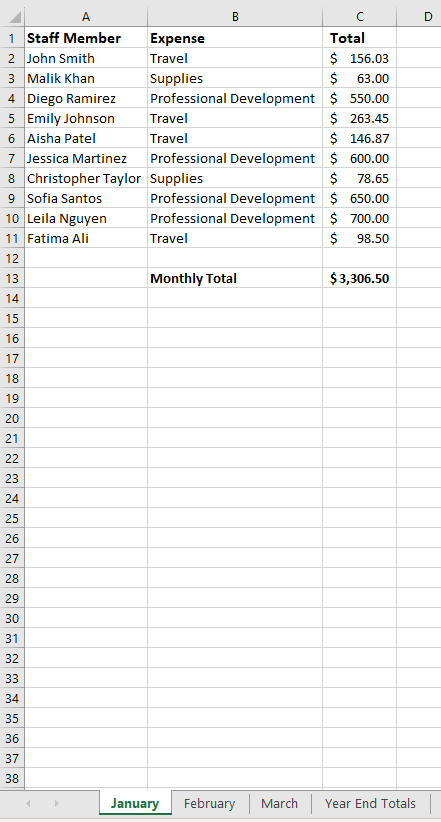
You can see everything is organized by staff member, expense type, and total dollar amount, with a total sum for the month of January calculated at the bottom.
Now, let’s walk through how you’d pull data from each individual month into the “Year End Totals” sheet to add up expenses for the whole year. (It’s important to note that you’ll need to know exactly where you want to place the data you’re pulling, and where you’re pulling it from.)
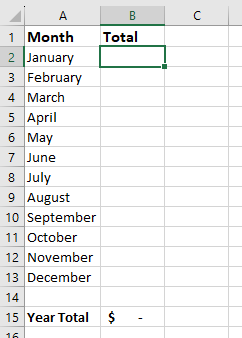
Step 1: Select the sheet where you want to pull data into
In this case, we’re looking at the “Year End Totals” sheet (which is currently blank, as we haven’t pulled any data in yet.)
Step 2: Select the cell you’ll be populating
In this example, we’ll be working in B2 to pull in the grand total for January expenses.
Step 3: Link the data from your source sheet with a simple formula.
In B2, type the following =January!C13 and then hit enter. Success – your data has been pulled from one sheet to another!
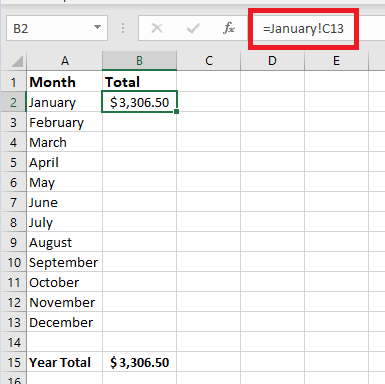
Here’s the breakdown of the formula so you can apply it in other scenarios:
- “=” indicates the beginning of a formula.
- “January” refers to the source sheet.
- “!” is used to pull everything together for this formula.
- “C13” indicates the cell that data is being pulled from (this is from our first screenshot showing the “January” sheet, where cell C13 shows the sum of all expenses incurred in January).
Alternatively, instead of writing out the formula you can also toggle between sheets and click on cells instead. To use this method, do the following:
- Select the cell where you want to pull data into and type an equal sign (“=”).
- Toggle to your source sheet and select the cell where you want to pull data from.
- Hit “enter” and you’ll be brought back to your original sheet, and see the data has been pulled in.
The result is the same, but you select the components of the formula instead of writing it out.
Limitations of this method
While this method is simple, there are some drawbacks:
- Human error: You’re responsible for writing out the formula or toggling between sheets to identify and move information. It’s easy to accidentally reference the wrong cell and pull incorrect data.
- Manual updates: This method relies on an individual manually going through and pulling data; nothing is automatically updated.
- Time and resources: Pulling data this way is time-consuming and eats up precious hours that could be spent on more important tasks.
- Outdated data. Because nothing is being manually updated, it’s difficult to tell if the data you’re pulling is recent. And, once you’re done pulling data to assemble a report, you’ll have to manually go through and make updates if needed. Once a report is done, it’s done; with these methods, there’s absolutely no automation.
Are there other ways to pull data from another sheet without a third-party app?
There are other functions that can be used to pull data, depending on what you’re trying to do, and how much data you’re trying to pull at once. The method above can pull data from within the same file, but for pulling data from other files, you’ll have one of two options, depending on whether you’re using Google Sheets or Excel:
- IMPORTRANGE: If you’re using Google Sheets, this will be your best option. This function allows you to import data by copying and pasting the link to the spreadsheet you’re importing from.
- You can get a full guide to using this formula here.
- VLOOKUP: For Excel this will be the formula you use to pull data in.
- You can get a full guide to using this formula here.
While these formulas can do the trick in some situations, they’re pretty limited. That’s why for most use cases, you’ll need something like Unito.
How to pull data from another sheet with Unito
Unito is a no-code integration solution with some of the deepest integrations for the most popular tools on the market, including Microsoft Excel, Google Sheets, and project management tools such as Trello, Jira, and more. You can even use Unito to sync data between Excel and Google Sheets with automated updates.
Why Unito is the best solution
Not sure if Unito is the right choice? Here’s why you should use it for tasks like pulling data:
- Real-time results. There’s no need for manual updates and wasting time flipping between sheets – Unito will pull everything for you.
- Customization. Make your workflows your own and pair syncs between Excel or Google Sheets with other tools in your arsenal, such as Asana, HubSpot, or Facebook Ads Manager.
- Better communication. Need to share data with specific team members? No problem: you can personalize which details to share when data syncs.
- Test it for free. Still not sure? You can sign up for a 14-day free trial to test things out.
Want to see how Unito works for your spreadsheets? Check out this detailed walkthrough for syncing data from multiple Google Sheets to a single spreadsheet.
How to install the Unito add-in for Excel
To start using Unito to pull data from Excel, follow these steps:
Either get the Unito add-in for Excel in your browser, or:
Step 1: At the top of Excel, click “File” and then select “Get Add-ins.”
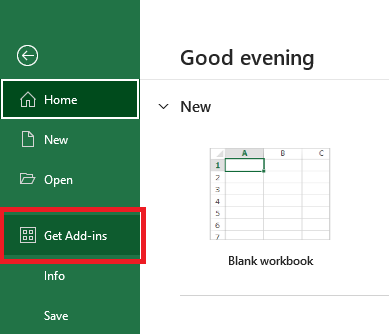
Step 2: In the search bar, type “Unito” and hit enter. “Unito for Excel” will come up in the results.
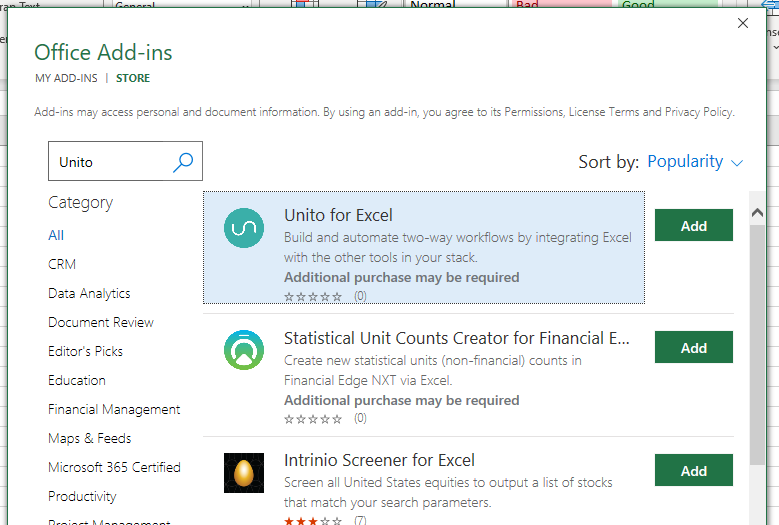
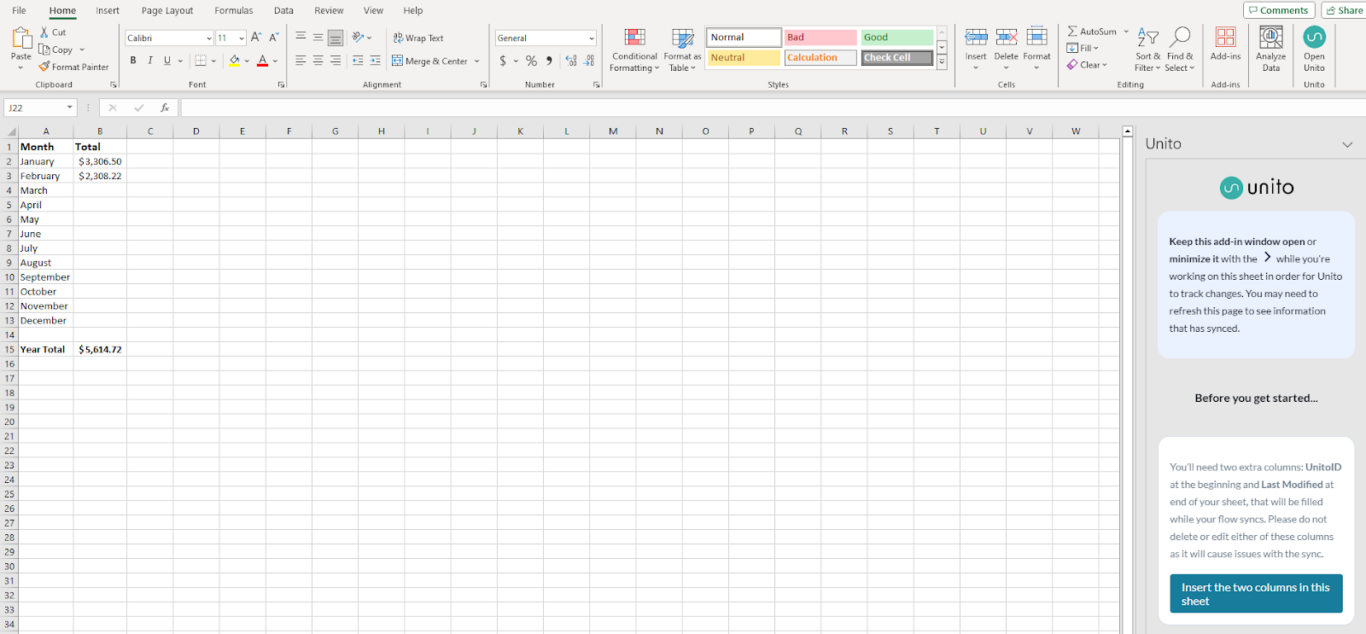
Step 3: Click “Add” and then continue to accept the terms and conditions. Now the add-in will appear on the right-hand side of your workbook to use.
More information on how to use the Unito Excel add-in can be found here.
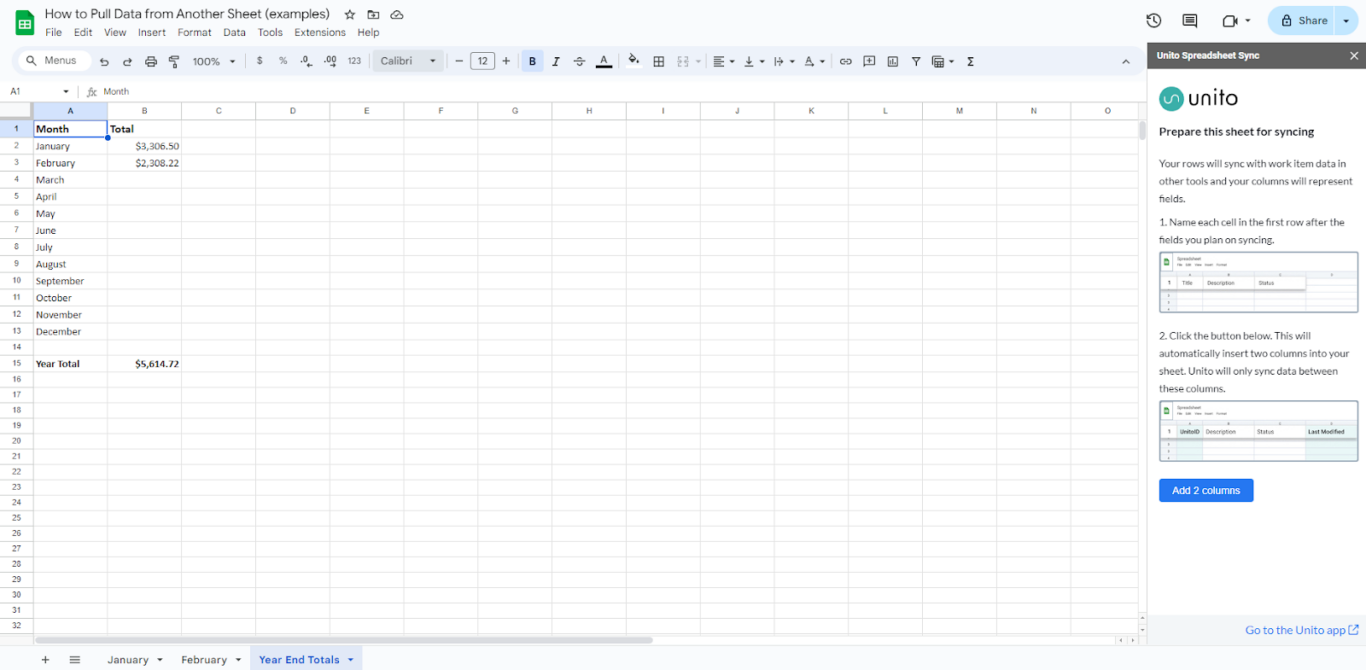
How to install Unito Spreadsheet Sync for Google Sheets
To start pulling data in Google Sheets using Unito, get the Unito add-on for Google Sheets or follow these steps:
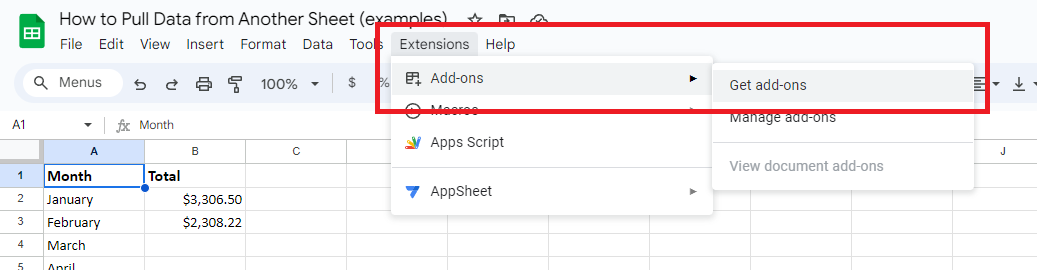
Step 1: At the top of your workbook, click “Extensions,” hover over “Add-ons,” and then click “Get add-ons.”
Step 2: In the “Search apps” bar type “Unito” and hit enter. The Unito Spreadsheet Sync will be the first and only result.

Step 3: Click on the Unito Spreadsheet Sync and select “Install.” Follow the prompts to accept all permissions and select which Google account to use. Once all the steps are complete, the add-on will appear on the right-hand side of your sheet.
More information on how to use the Unito Google Sheets Integration can be found here.
And there you have it! Now you know how to pull data from another sheet in both Excel and Google Sheets and can use Unito’s tools to simplify the process and help automate your workflow.
FAQ
What’s the best way to pull data from another sheet in Google Sheets?
If you’re pulling data from another tab in the same spreadsheet, you just need this formula:
=[name of tab]![cell you’re pulling data from]
If you’re pulling data from a completely different spreadsheet, you’ll need to use the IMPORTRANGE formula instead:
=IMPORTRANGE(spreadsheet_url, range_string)
What’s the best way to pull data from another sheet in Excel?
To pull data from another tab in the same workbook, use this formula:
=[name of tab]![cell you’re pulling data from]
If you need data from a different workbook, you’ll instead use the VLOOKUP formula:
=VLOOKUP(lookup value, range containing the lookup value, column number in the range with the return value, TRUE for an approximate match or FALSE for an exact match)
Do you need an integration to pull data from another sheet?
While there are a number of formulas in both Google Sheets and Excel that let you pull data from multiple sheets, they’re not always the best tool for the job. They can break, require maintenance, and are vulnerable to spreadsheets being moved or having changing file names.
An integration solution like Unito is a great way to get all the data you need where you need, no matter how many spreadsheets you have to pull from.