
How To Optimize Support Ticket Escalation Workflows
Picture this. You have a customer on the phone. They sent in a request for support more than a week ago. You vaguely remember the issue, either because you handled it yourself or you heard it being whispered about throughout the team. This issue was escalated when it first came in, and last you heard the engineering team are working on it. But that was a week ago. You haven’t seen any updates since then. Surely something has happened? But you have the customer on the line and no information to give them. What do you do?
This is just one of the issues that can arise with a support ticket escalation workflow. A customer support agent (CSA) needs information quickly to manage customer interactions, but because the escalated ticket has been sent to another team—and often another tool—that information is nowhere to be found. Conversely, the internal team that ticket is escalated to can’t easily get information from the customer, making the whole process that much slower.
How can this be resolved?
Get timely solutions to every customer’s problems
Even the best customer service agent needs a bit of backup sometimes. Some issues need the expertise — or the authority — of another team. Whenever a support ticket has to go from a CSA to another team, like engineering or billing, it moves through your support ticket escalation workflow. This workflow is about getting crucial information CSAs get from customers to internal teams. Important information can go the other way too, usually in the form of questions from internal teams and ending at the CSA or even the customer.
When the workflow is working right, information is always at the right person’s fingertips. Updates from internal teams are made available to the CSA, and a customer’s clarifications can be easily accessed by internal teams.
But what happens when this workflow breaks down?
The workflow without Unito
One of the biggest problems faced by people using this workflow is the tool difference. Customer support tools like Zendesk and Hubspot aren’t necessarily well-suited to the work of internal teams like engineering and billing. These teams usually rely on work management tools like Asana and Jira, and even version-control tools like GitHub. That means crucial information has to cross a great no man’s land between tools to get from a CSA to an internal team and back. Usually, this problem is “solved” by having someone serve as a middleman, either copy-pasting information from one tool to the other or dispatching it through email or a chat app.
Support tickets are usually governed by success metrics like average reply time and average resolution time. For a customer success team to excel, these metrics have to be kept low. But when every escalated ticket has to go on an exhausting adventure between teams just to have up-to-date information, that can lead to frustrated support teams who can only watch as their metrics go into the red through no fault of their own.
What if there’s a better way?
Where Unito comes in
The key to optimizing the support ticket escalation workflow is to close the gap between the tools. With a workflow management tool like Unito, you can use some of the deepest integrations on the market to turn disparate tools into a cohesive whole where your workflow can thrive.
When you use Unito, you’re building bridges between your tools. These bridges become vectors for information. A support ticket that gets escalated to an internal team will stay updated, no matter where the information originates from. That same ticket will exist in both your customer support tool of choice and whatever tool the team it’s escalated to is using. No matter who adds information to the ticket, it gets carried over to the other side. No need for copy-pasting, and no clogged up inboxes and chat tools.
So how does it work?

Staying on top of tickets escalated from Zendesk to Jira
Imagine a support ticket being escalated from a customer support team using Zendesk to an engineering team using Jira. Without Unito, someone would either need to jump from one tool to the next or reach out to the other team through an alternate communication channel. With Unito, you can set this workflow up in a couple of clicks and never have to worry about the tool divide again.
Here’s a support ticket in Zendesk.
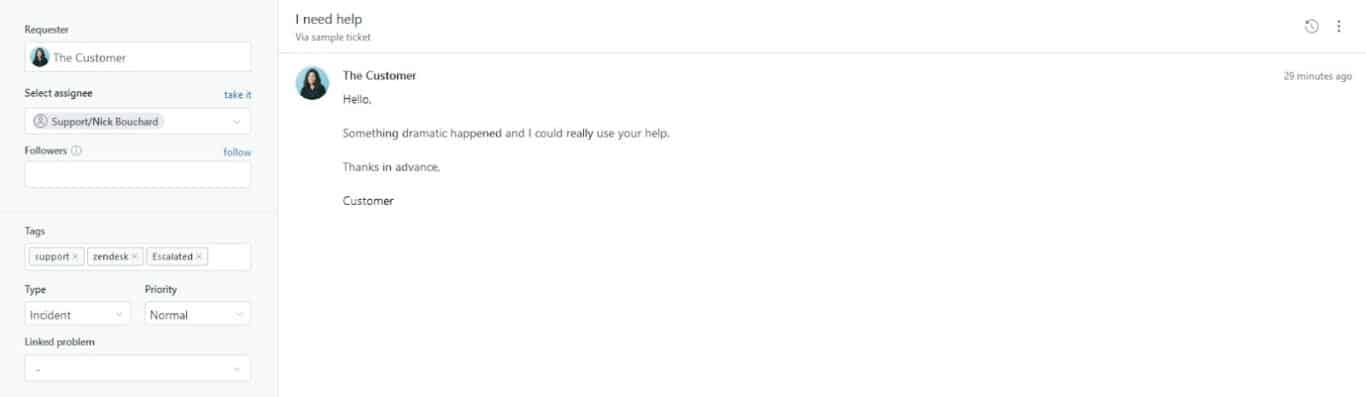
You’ll notice I’ve added an “Escalated” tag.
The reason for this is two-fold. First, I want everyone in Zendesk to know that the ticket has been escalated to the engineering team. Second, this tag means I can use Unito’s rules. More on that in a moment.
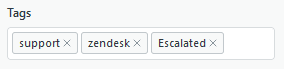
Here’s the Jira project where developers work on escalated tickets — among other things.
This is where the escalated ticket will land after I’m done building a workflow with Unito. Now let’s go through that process. Sign up or login to Unito and click Create Flow.
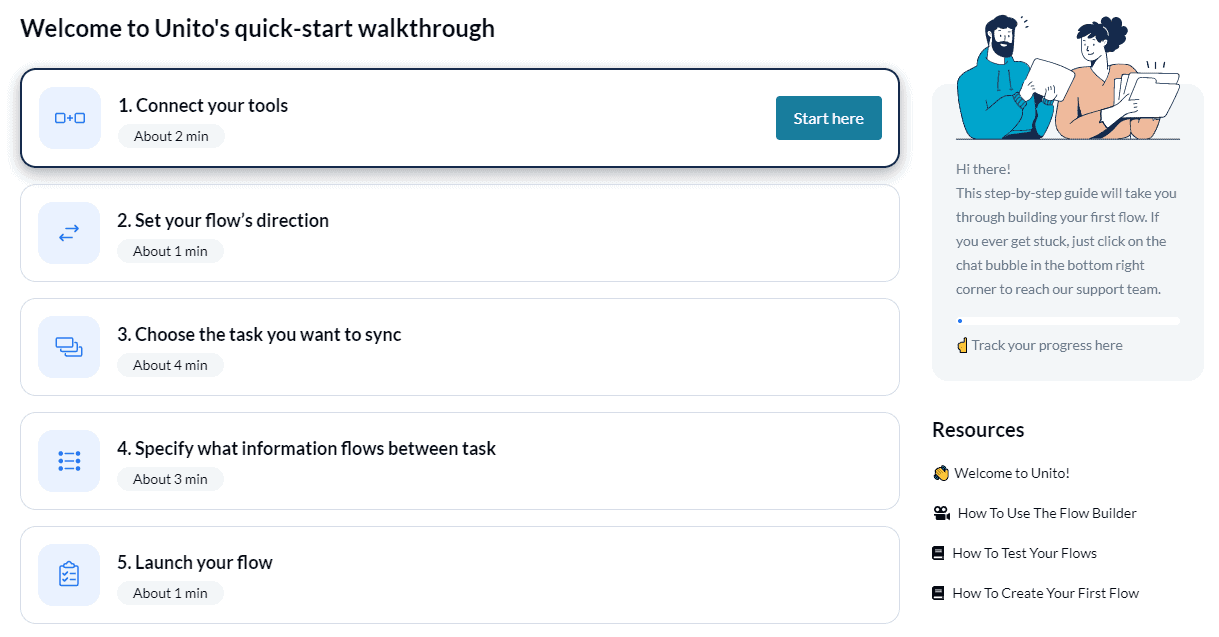
From there, you’ll be prompted to connect your Zendesk and Jira accounts to Unito and go into the flow editing process.
Unito’s default settings automatically map similar fields to one another. That means editing your flow is just a matter of a quick review and a few clicks.
When you hit Save and close, your flow will start syncing Zendesk tickets to Jira, and Jira issues to Zendesk. That means information will now automatically be kept updated in both tools. That goes for due dates, internal notes, attachments, and more. Everyone has access to the same information, and you don’t have to watch KPIs slip just because your tickets have gone from tool to tool.
But what about the tags? Well, if you go to the Rules tab of the flow editing process, you can set up a rule that filters for a Zendesk tag and Jira label of your choice. In this case, you could use the “Escalated” tag and label to make sure only escalated tickets get synced between tools.
Want to learn more about Unito’s advanced rules and other features? Find them here.
Keep even the toughest customers happy
Just because a customer’s issue is complicated doesn’t mean keeping track of the attached ticket has to be. When you build this workflow in Unito, you’re making sure that escalated tickets benefit from the same response time as other tickets. You might not be able to control how long it takes to resolve an issue, but with Unito you can avoid unnecessary delays and misunderstandings.
What’s next?
- Put this flow into action by syncing Jira with Trello or Wrike
- Learn how to sync Asana projects with Jira epics