
How To Organize Your Asana Project By Converting Tasks To Subtasks
Working on a project means having endless lists of tasks, longer than CVS receipts. This can make it tough to find specific info or pinpoint a specific task. It might also be downright overwhelming!
The number of tasks you have on Asana isn’t going to get any smaller. But fortunately, you don’t have to spend your days scrolling up and down the task pane. You can shorten it and organize it, without losing any info, simply by converting some tasks to subtasks. Some of the tasks in your list may actually be a sequence of steps, so why not convert these steps to subtasks?
How does this work? Lets’s take a closer look.
Tasks
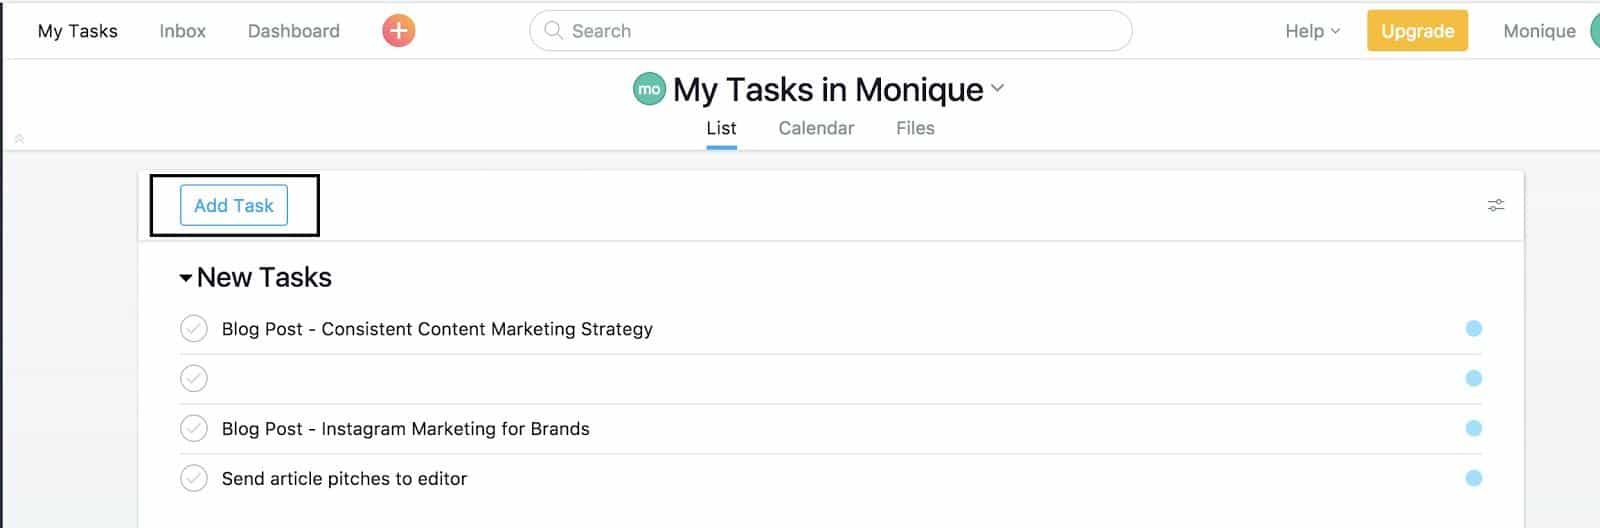
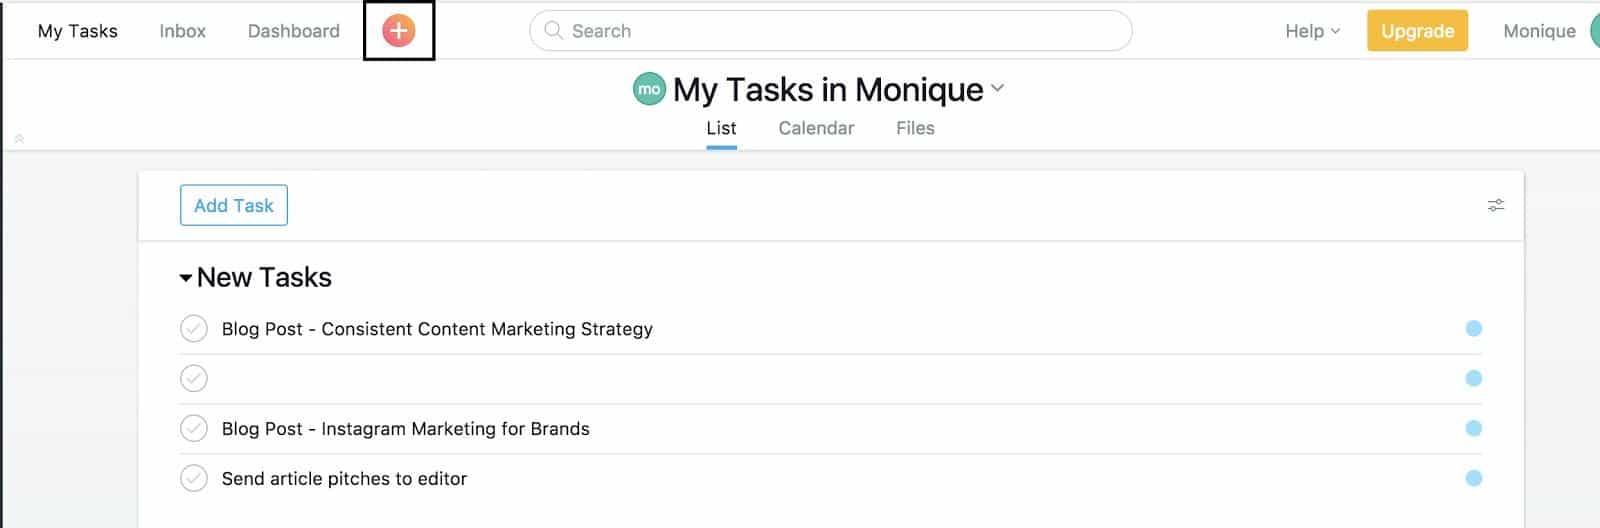
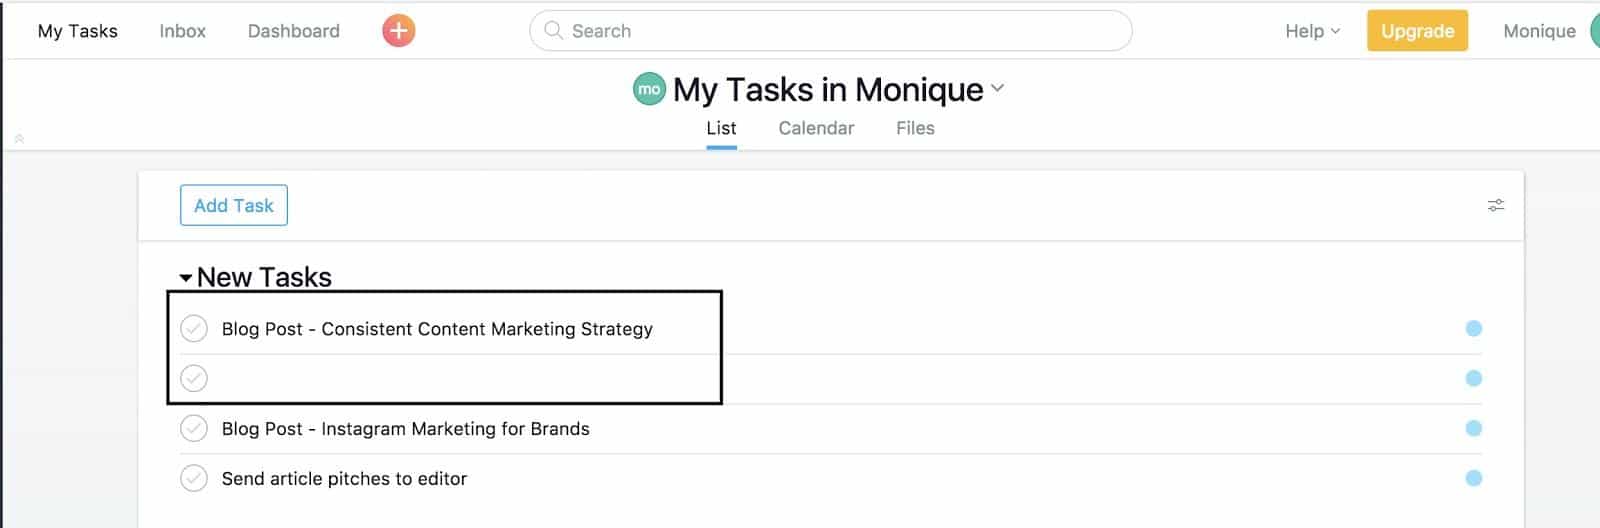
To recap our previous article, Beginners Guide to Asana, there are three ways you can create a task.
- You can press the “Add Task” button on the top of the main pane.
- You can use Quick Add and click the “+” button in the top bar.
- Or you can select a task and hit enter.
Subtasks
What about subtasks?
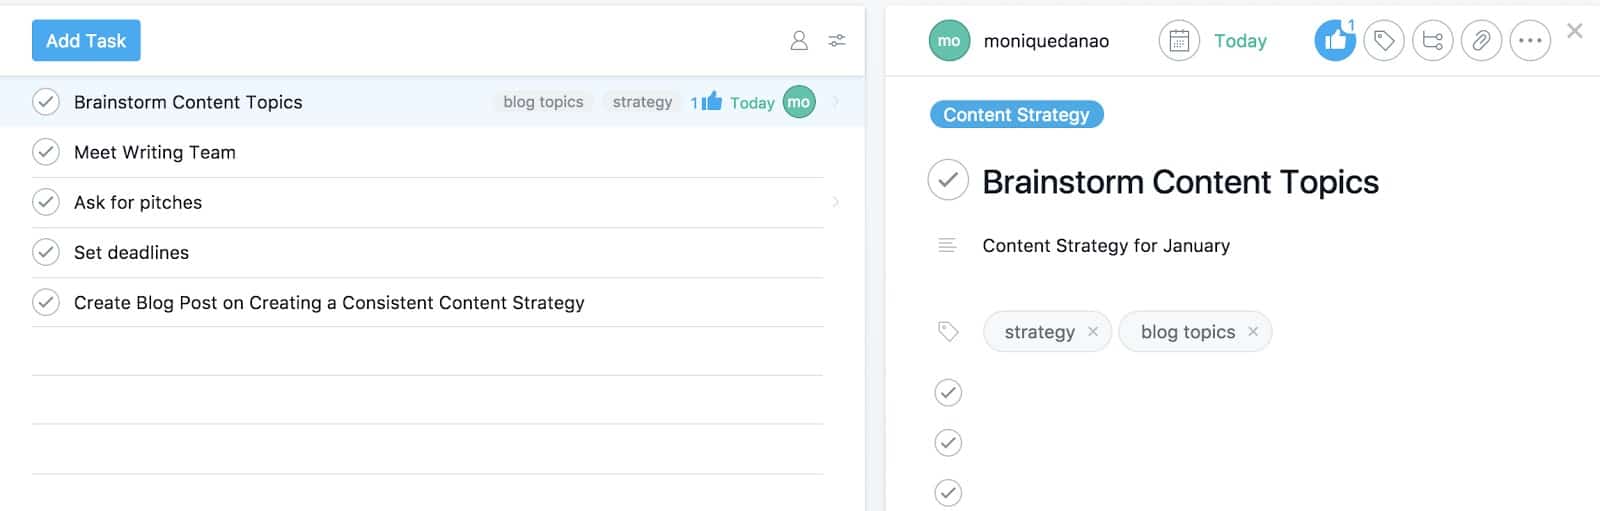
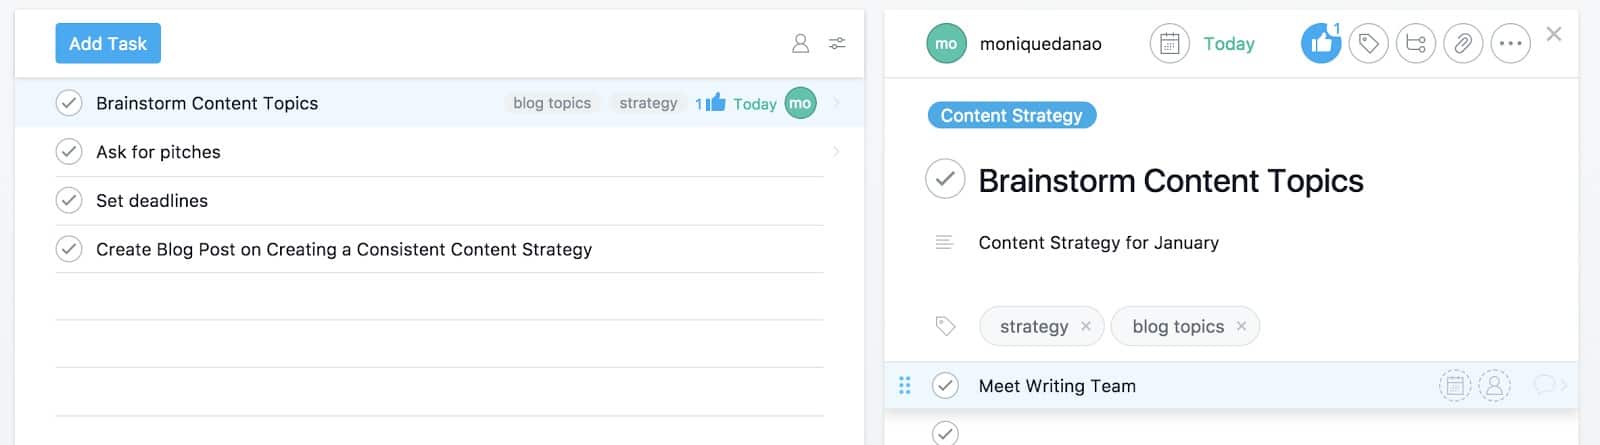
The best way to explain them is using an example. Let’s say you have a task to brainstorm a content strategy with your team. This task will involve several steps, aka subtasks, such as setting the meeting agenda, brainstorming backlog ideas, prioritizing the backlog, , setting the deadlines, and deciding who is doing what. Rather than creating separate tasks for each of these steps, you can simply create mini subtasks under the main “create content strategy” task. Breaking up a large task into smaller parts, will help your team stay organized, divide work between team members easily, and avoid long confusing task-chains.
Subtasks can be found below the task description.

When you create subtasks it’s important to keep in mind that they don’t automatically have due dates or assignees.
You can add an assignee to the task by clicking on it and typing “Tab + A”, or by clicking on the little profile icon (see image below). Ddd a due date by typing “Tab + D”. Finally, you can view a subtask as a normal task (and add comments, labels, and even further sub-sub-tasks) by clicking on the little speech bubble (see image below), or by typing “Tab + Right Arrow”.

In addition, marking the main task as complete will not automatically mark the subtasks within it as “complete”. The subtasks will remain greyed out, until you click the check mark beside them.
How To Convert A Task To A Subtask
As you are planning a project, it can be difficult to determine ahead of time which activities will end up being tasks or subtasks. It’s also hard to know which subtasks should belong to which tasks.
For example, after creating a series of tasks for a project, you may realize that some of them should actually be subtasks. Instead of deleting and re-creating tasks and subtasks, you can simply convert a task to a subtask. What a time-saver!
It’s also super easy to do:
Click on a main task that you want to add the other task to.
Next, hover over the dots found on the leftmost corner of the task that you want to convert to a subtask.
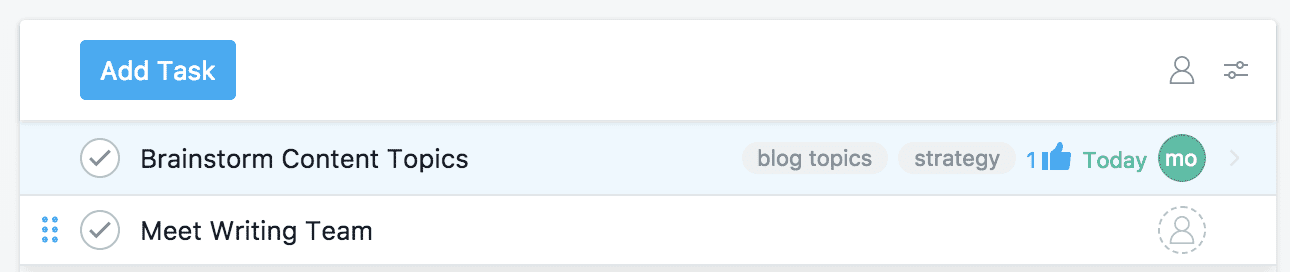
Drag the task to the area below the task description in the other task (Brainstorm Content Topics)
In the example below, we dragged the task “meet writing team” to the subtask section of “Brainstorm Content Topics”.
This works both ways.
You can drag a subtask to the list of main tasks to convert it to a task.
Simply hover over the dots found on the leftmost corner of the subtask then drag it to the task pane.

In the example below, we dragged the subtask “meet writing team” back to the task pane.

The freedom to easily rearrange tasks and subtasks is a huge time saver for teams and a productivity tool for managers.
Got any more questions about Asana? Tweet us at @unitoio or hit us up with a message!