How To Use Confluence: A Guide for Beginners
While the name “Confluence” might sound like it’s straight out of a novel, this software is anything but a fantasy. It’s been key to the collaboration of software project teams all over the world, even though many think of it only as a knowledge base platform.
So let’s look into this platform and figure out how you can use it.
What is Confluence?
Confluence is billed by Atlassian as an all-in-one team workspace, meaning you can use it for project management, as a collaboration tool, as a knowledge base, and more. It’s an incredibly flexible tool, in the same camp as platforms like Notion.
Confluence’s basic functionality is the page, which is essentially a blank canvas you can use to build whatever your team needs — a bit like working in WordPress. You can use Confluence pages to write blog posts and knowledge base articles, create rudimentary project management pages, build reports, and a whole lot more, all by inserting a few blocks. These pages can be grouped in “spaces,” which can represent anything you want, like teams, specific projects, or even different parts of your product.
It’s a great platform for any team looking for a remote-friendly team workspace, a simple content management solution, or even just a way to write out and track project requirements as they work.
What’s the difference between Confluence and Jira?
Confluence and Jira are both created by Atlassian and catered to product managers and software development teams, which can lead to some confusion. Here’s the difference.
Jira is a dedicated product management platform with some flexibility, but not nearly as much as Confluence. Product managers can use Kanban boards, product roadmaps, and other Jira features to manage just about every aspect of a software development project.
Confluence doesn’t have the same focus, which means it might not serve as well for product management tasks. But its flexibility means it can do a lot more than Jira can, which is why many software development teams use both tools together.
How to use Confluence’s interface
Before you can start creating your first page, you’ll need to get the lay of the land. When you first sign up for Confluence, here’s what you’ll see.
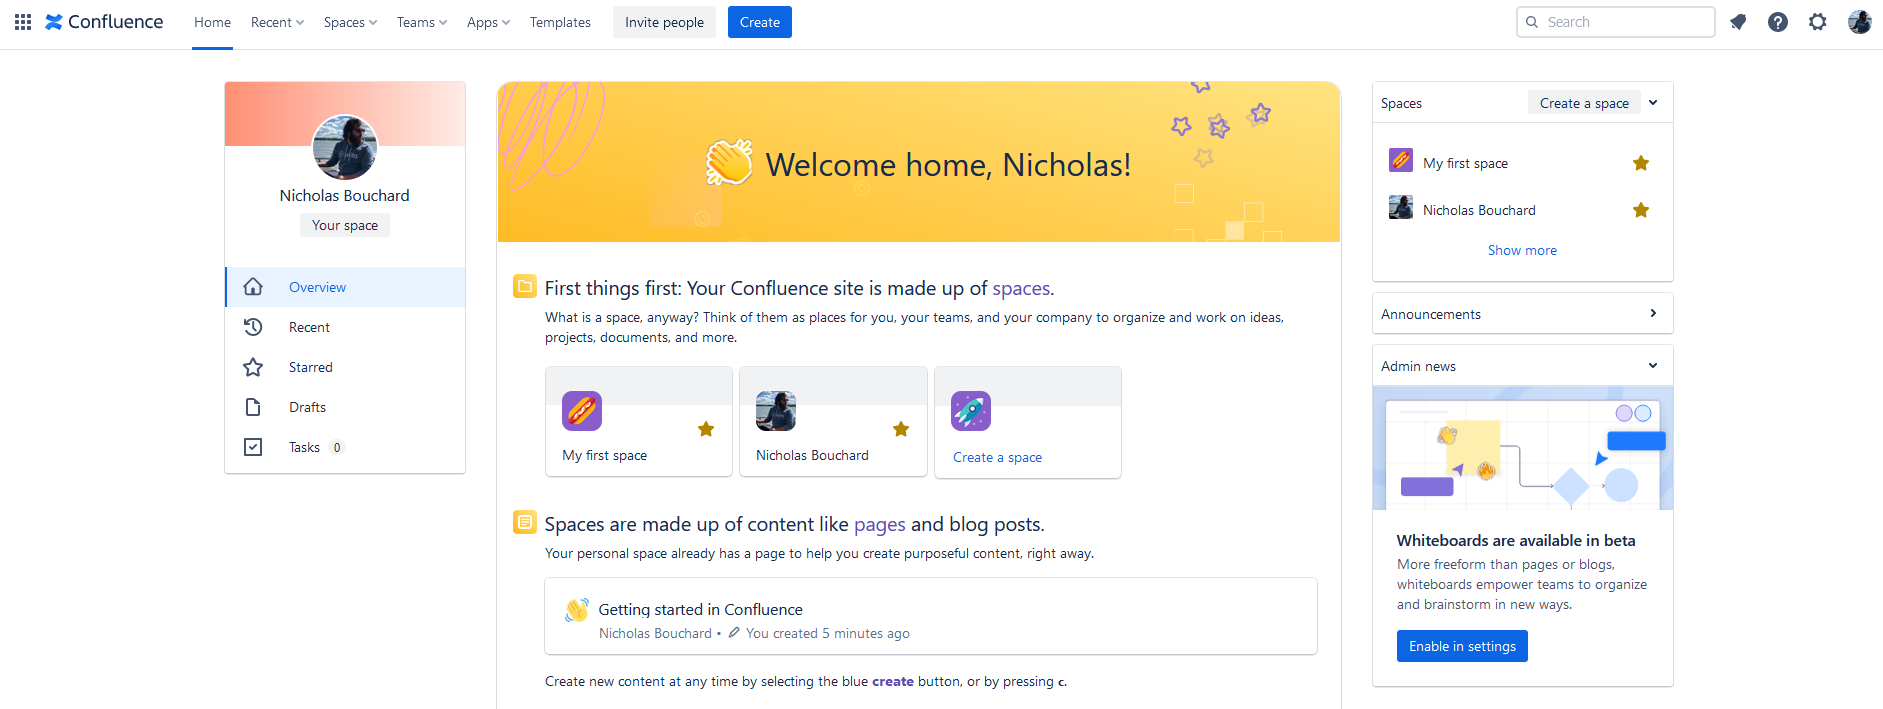
Confluence will have automatically created two spaces, which you’ll see in the top right. One called My first space and another with whatever name you used when you signed up. But before diving into spaces, let’s cover some of the different sections of the overall interface, starting with the bar at the very top.
The top bar

This bar will stay most of the time you’ll spend in your Confluence workspace. Here’s what you’ll find in Confluence’s top bar.
- The app switcher: By clicking on these little squares, you can quickly switch from Confluence to other Atlassian apps, like Jira and Trello.
- Home: This will take you back to the screen you see above.
- Recent: Clicking this will show a dropdown that lists pages you’ve worked on, updates you made to them, starred pages, and more.
- Spaces: This dropdown will list all spaces in your Confluence workspace. You can also create a space from here.
- Teams: Whether you need to invite people to Confluence, review existing teams, or create a new one, you can do it here.
- Apps: Confluence’s apps let you connect other tools to your workspace, like Slack, draw.io, Google Drive, and more.
- Templates: Instead of creating pages from scratch, you can use Confluence’s built-in templates.
- Invite people: Add people to your Confluence workspace here.
- Create: Start a new page with a single click.
- The search bar: Whether you’re looking for a specific page or an important comment, you can find it through here.
- Notification bell: Whenever people interact with pages you’re keeping an eye on, you’ll get a notification in this feed.
- Help: Click here to open a panel with help articles, community answers, and more.
- The cog: Open the hood and tinker with your settings and preferences.
- Account management: Click on your profile picture to manage your account.
The left panel
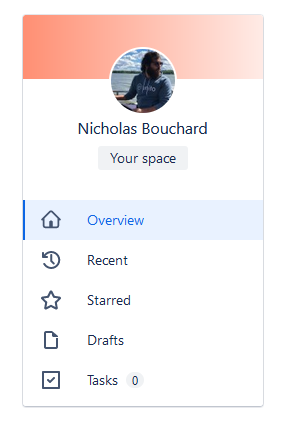
This left-hand panel lets you control the feed that takes up the majority of the screen in Confluence’s home page. Here’s aquick description of what each option does.
- Overview: Dynamically generated by Confluence, your main feed will list some of the pages you were last working on and give you some updates from people throughout your workspace.
- Recent: Click this to have your feed include just the most recent updates, conveniently listed.
- Starred: Only pages and spaces you’ve starred will show up in this part of your feed.
- Drafts: Pick up on whatever you were last working on here.
- Tasks: Any action items assigned to you will show up here.
Cycling through these options is a great way to start the day. You can catch up on the most recent updates, make sure you know what’s going on with your most important projects, and see if anyone’s assigned you new work.
Creating your first Confluence page
Pages are at the core of everything going on in Confluence. With a bit of creativity — or the right template — you can turn a page into a project management platform, a collaboration tool, a dedicated space for meeting notes, and more. So how does it work?
You can create a page from anywhere, including the specific space where you want that page to end up. But the fastest way to create your first page is to hit the blue Create button at the top of the home screen.
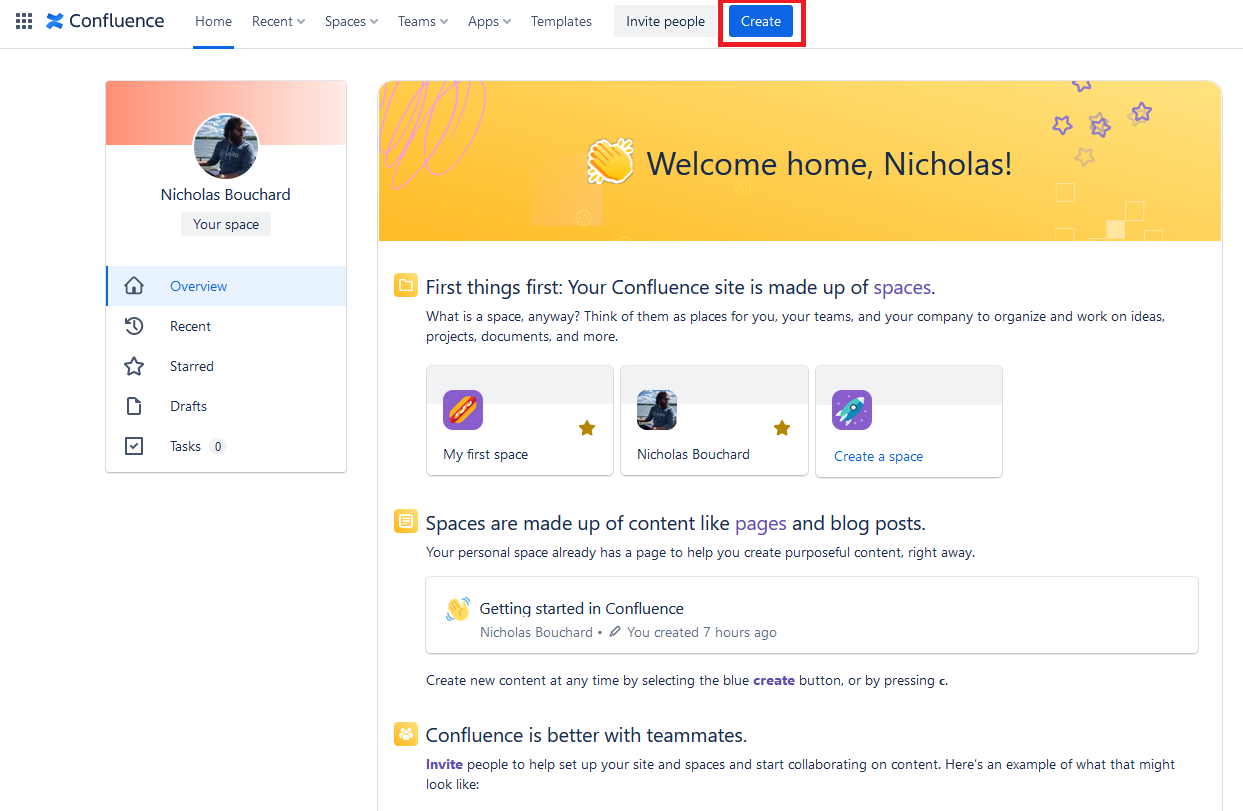
Do that, and you’ll be taken right to a draft of your new page.
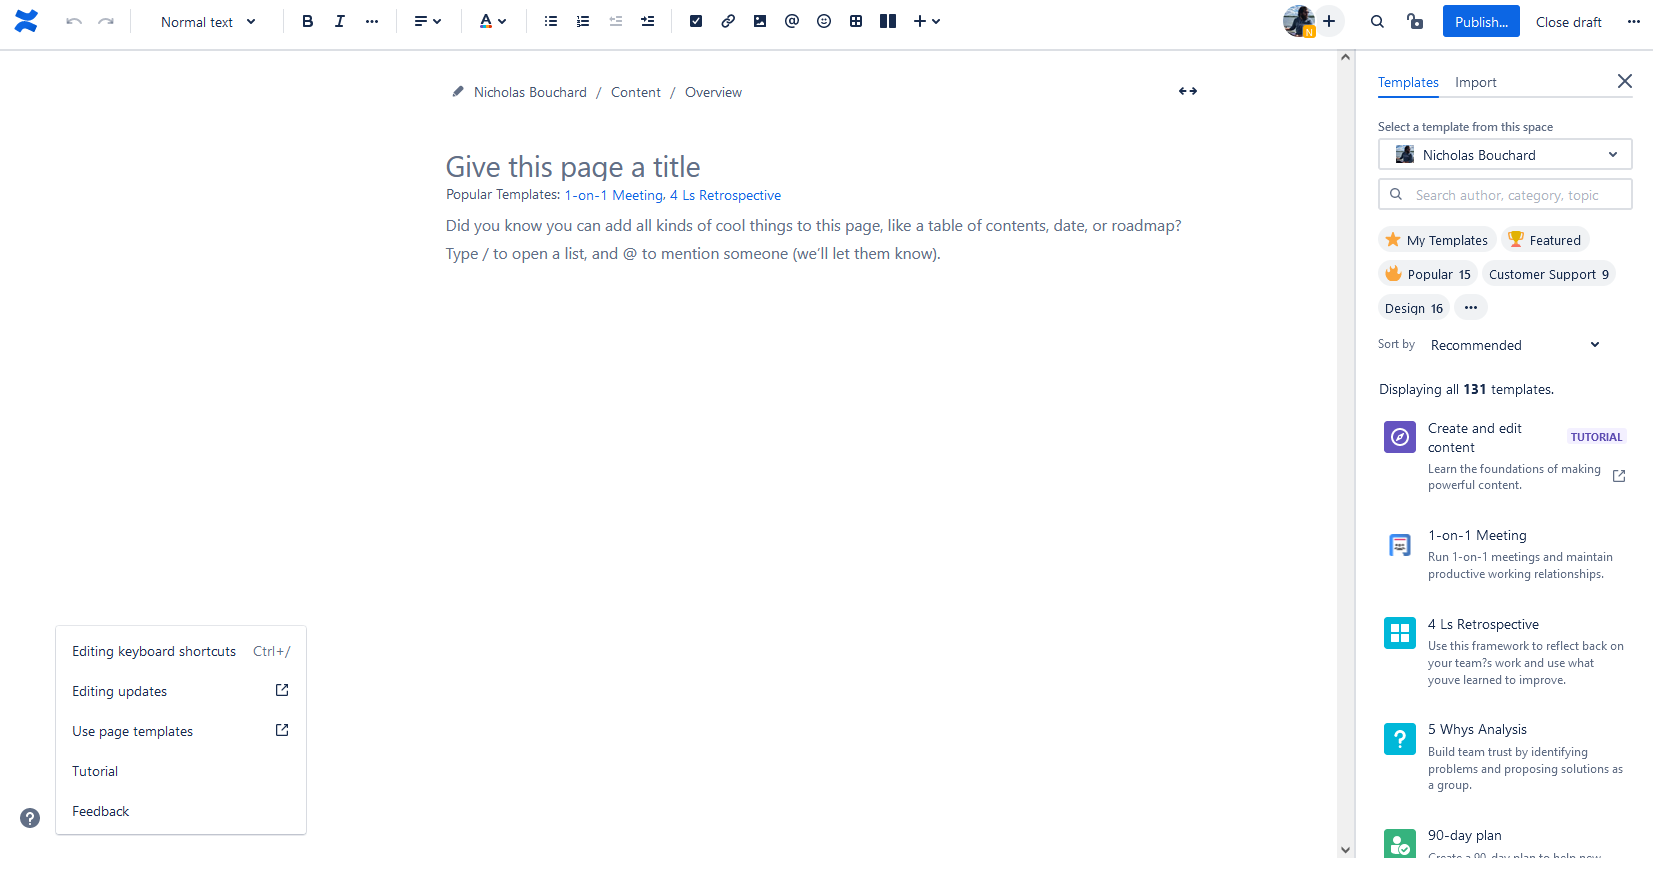
Okay, this may seem a bit overwhelming, so let’s break it down.
At the very top of your screen is a toolbar that’ll let you edit anything in your page. It’s very similar to what you’d find in a word processor, except you have a few more options — like adding action items and emojis.
To the right is a panel that’ll let you pick a template if you don’t want to start from scratch. You can use a custom template from your workspace with the Select a template from this space dropdown, or you can start with one of Confluence’s premade templates. Just hover over one of them to see a preview of what’s in it…
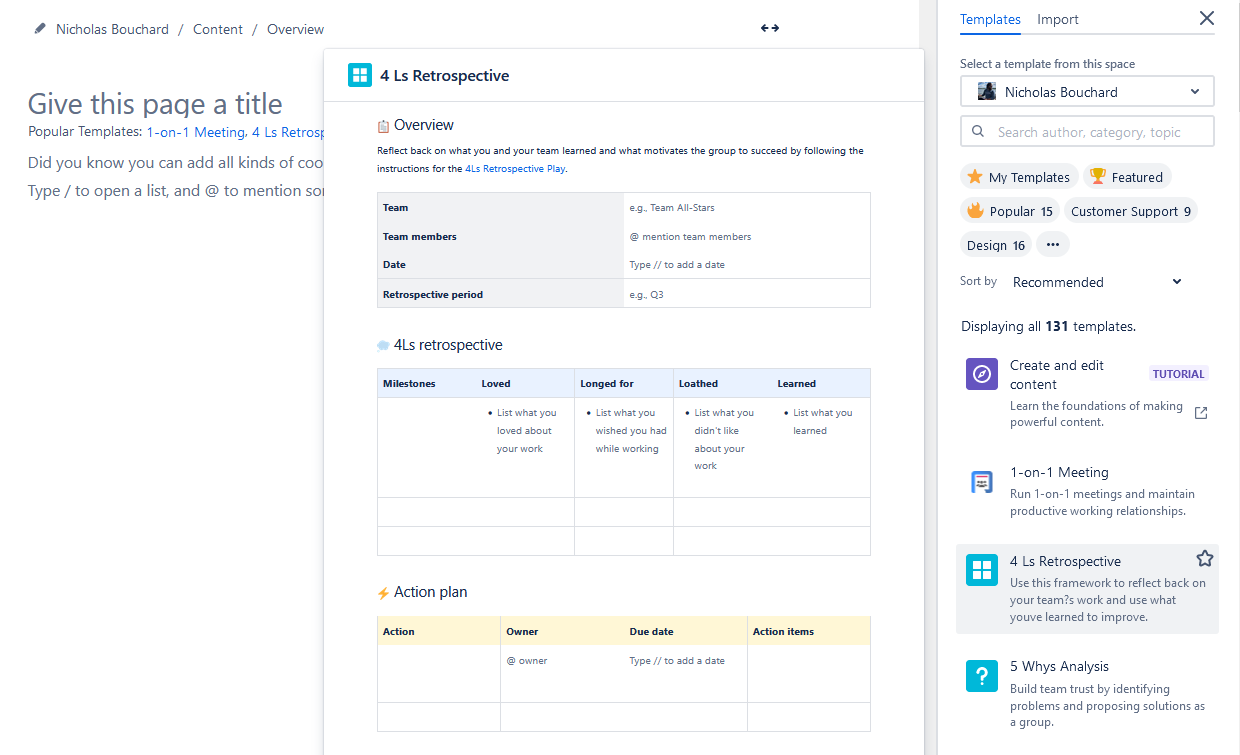
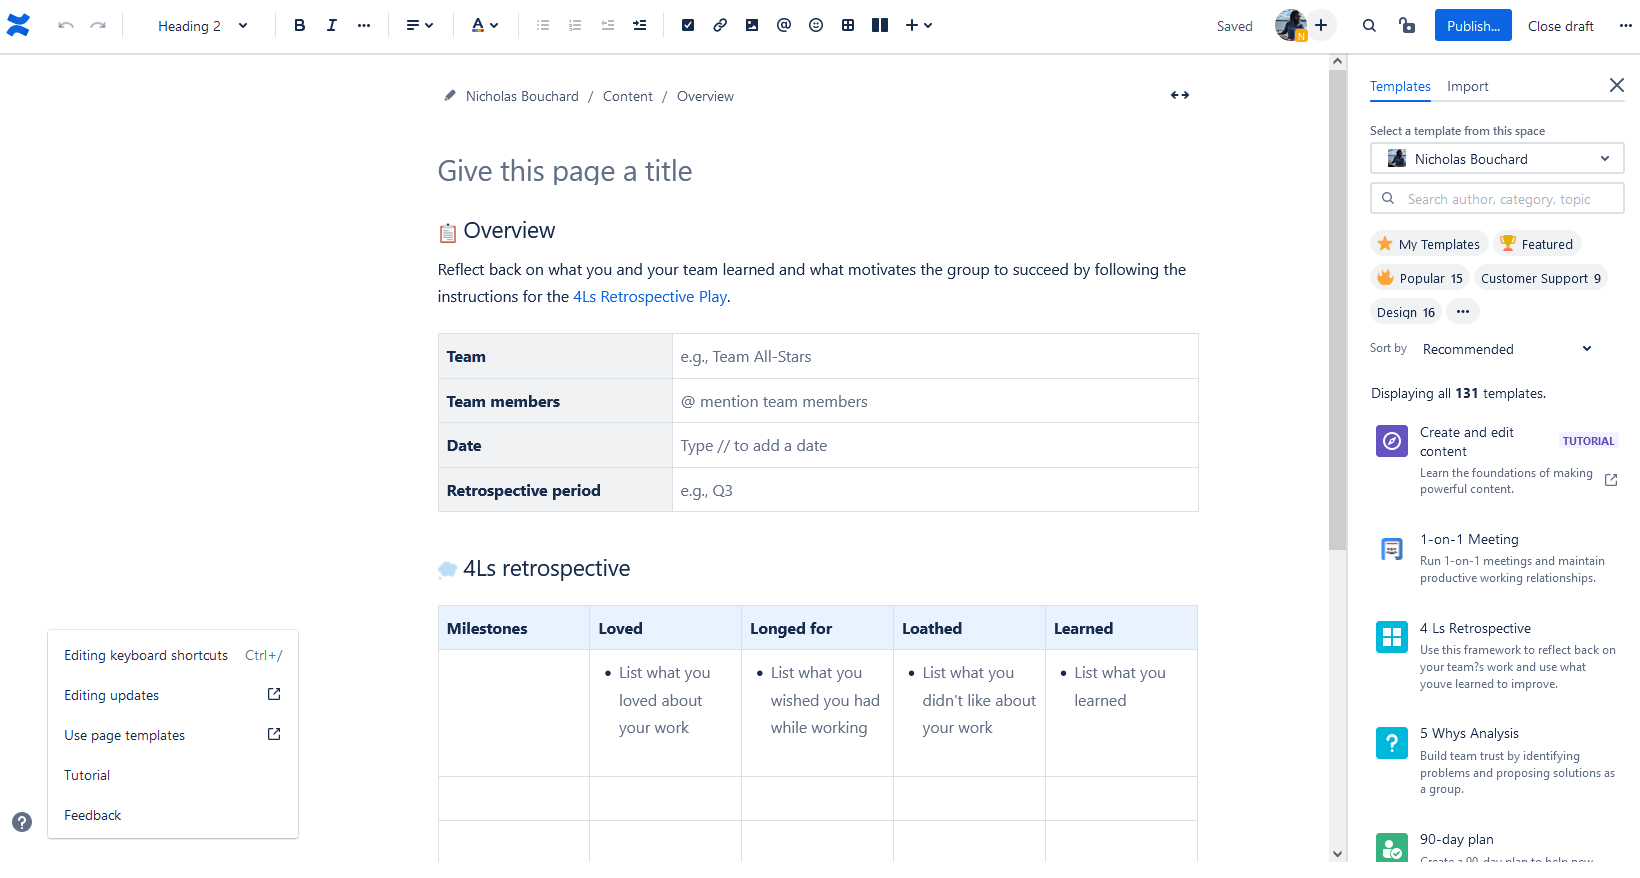
…and click on it to create it!
But what if none of these templates really cut it? Or you want something a lot simpler? How do face the blank page and make something new?
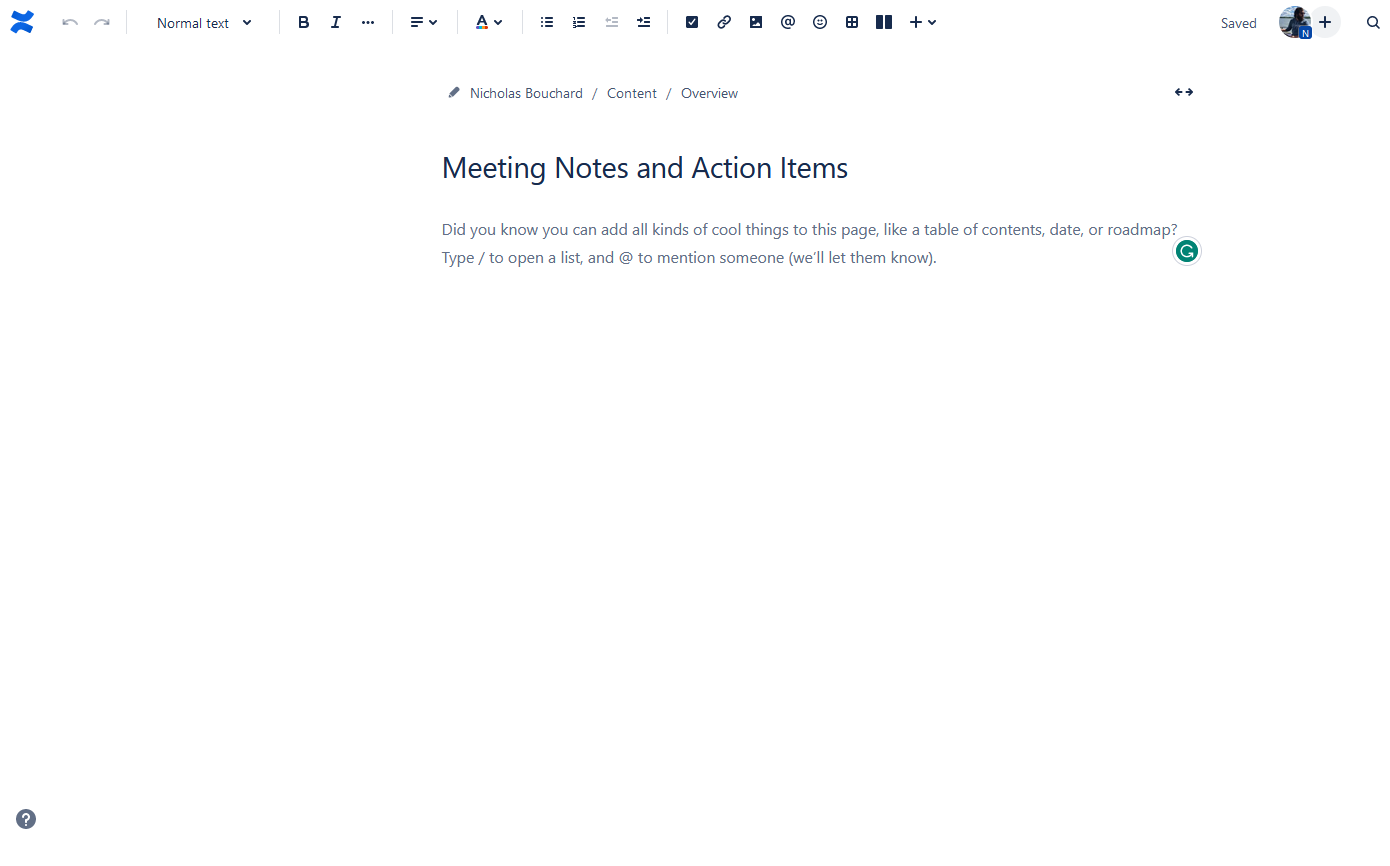
Let’s go back to that new page and build something for meeting notes.
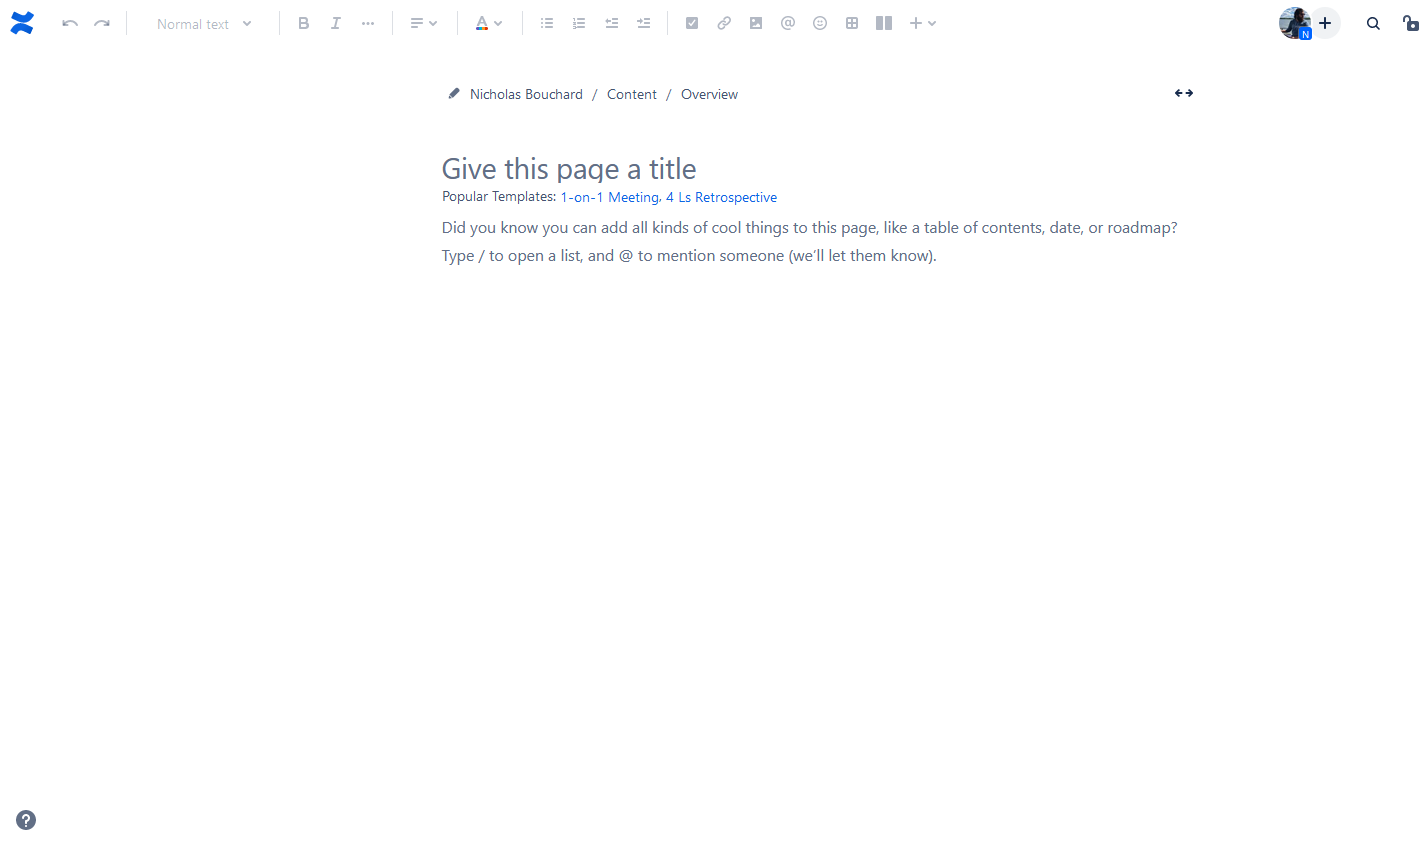
Let’s start by giving this page a title.
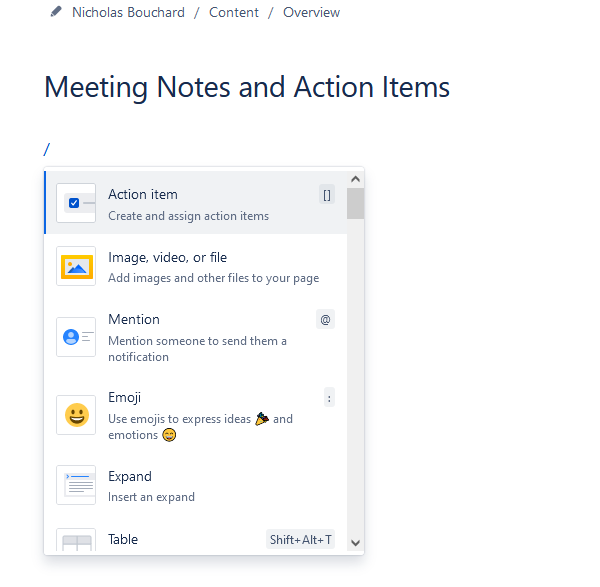
Now it’s time to add some content. No matter what you want to add, just type a backslash (/) and then either write out the block you want or pick from the dropdown that appears.
Let’s say we want to add some introductory text for our page, but we want to put it in a colored panel to make it stand out. You can scroll until you find the Note panel option or simply type “/note” (removing the quotes) and hit enter.
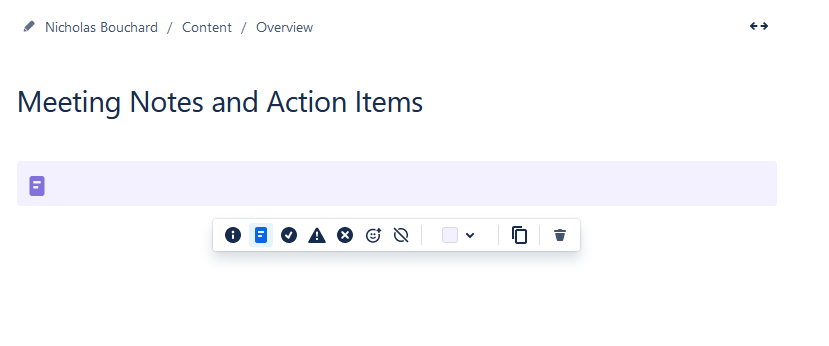
Then you can type your text in that panel.
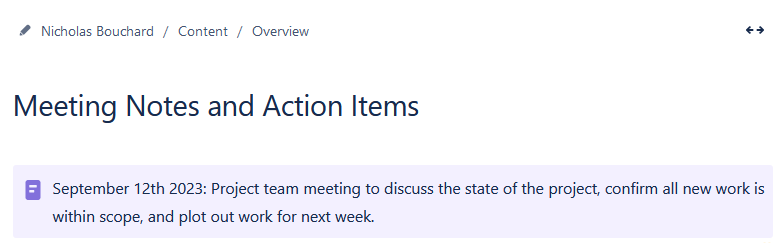
Now that you know how to add your first block, let’s see what this page can look like with a few more.
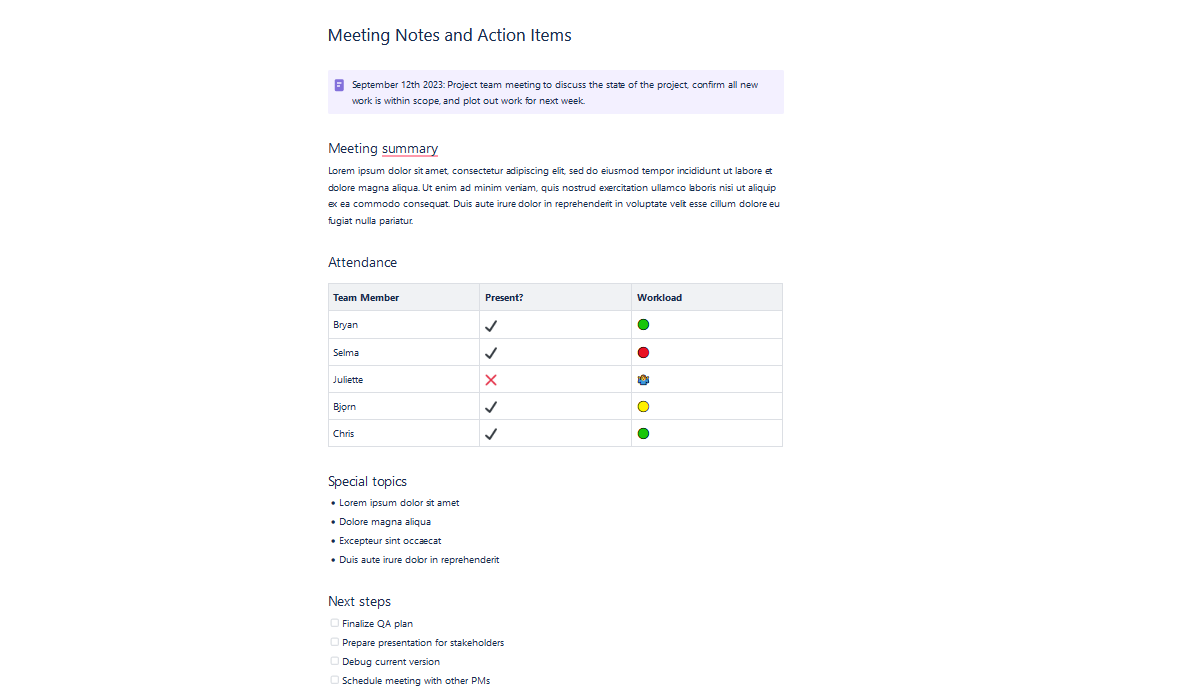
Just like that, you have a simple page for tracking the outcome of all your meetings. You can then duplicate this for any future meetings, too!
How to sync Confluence pages with other tools
Confluence’s strength is in its flexibility. You can use it as a wiki, a product roadmap, a project management platform, and more. But while you can connect Confluence and Jira natively, what if you’re working with other tools? Or you have to collaborate with teams who prefer their own project management solution?
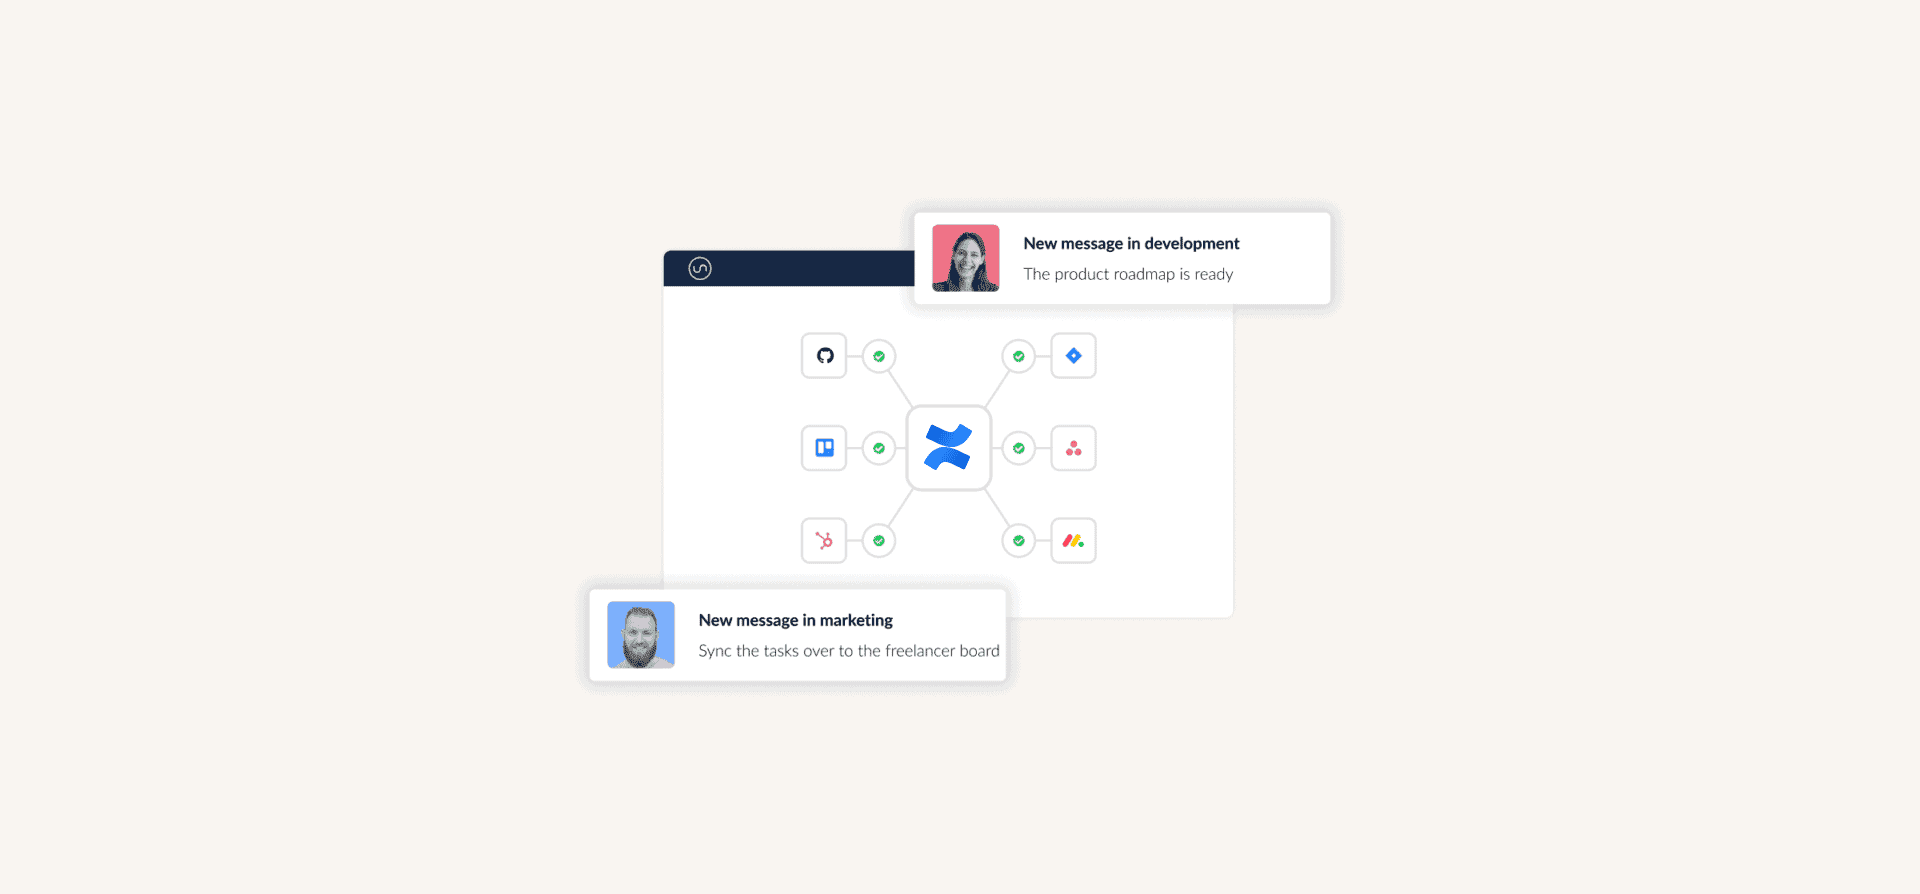
That’s where Unito comes in. Unito has the deepest integrations for some of the most popular tools on the market, including Confluence, Jira, Trello, Asana, HubSpot, Salesforce, and more.
Sync data across tools seamlessly, use rules to filter out irrelevant information, and map fields so everything ends up exactly where it needs to go. All in just a few minutes.