How To Use Notion When You’re a Total Beginner
Wish you could use a tool that does it all? That’s what Notion aims to be. Notion users love this platform because it’s flexible and gives them the power to build anything they want. Where other work management tools let you choose from a breadth of templates and project styles, Notion gives you the ability to build what you need from the ground up. It even has powerful templates if that’s your thing.
In this guide, you’ll find a full breakdown of Notion’s interface and step-by-step guides for creating pages, adding content, and using Notion’s template gallery.
How to use Notion’s interface
Before you learn how to use Notion, you need to know what you’re looking at. Here’s what you’ll see when you first sign up:
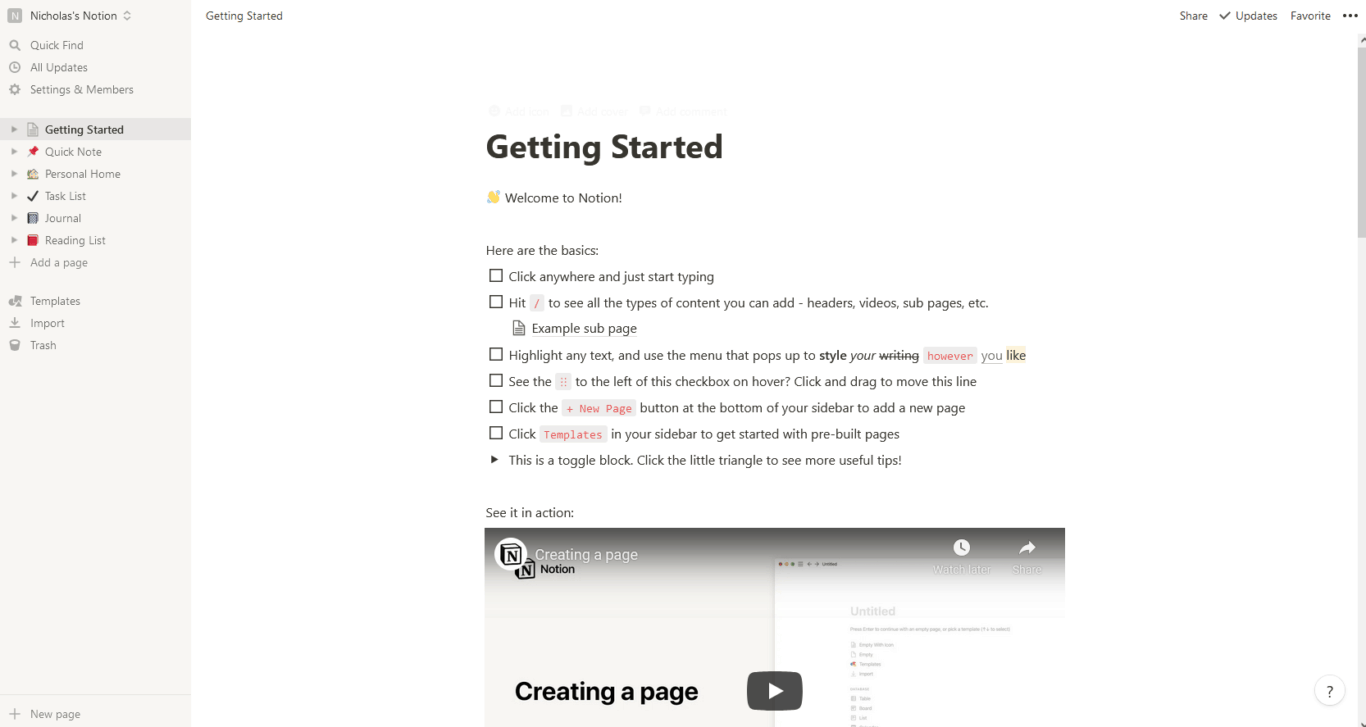
You’ll notice that your Notion instance is filled with pre-made pages. Clicking through these will give you an idea of what the tool can do. The pre-built Getting Started page alone is one of the best onboarding processes out there. It uses the tool to show you how the tool works.
Let’s start with a quick rundown of the interface before jumping into page creation. We’ll cover the left-hand menu and the top-right menu.
Left-hand menu
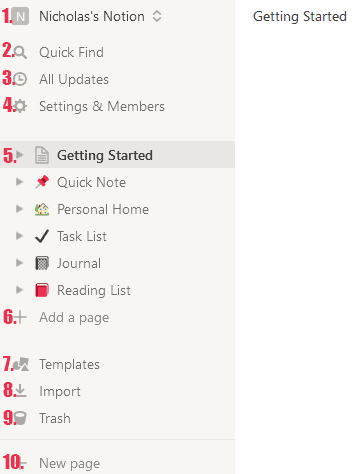
Here’s what you’ll find in Notion’s left-hand menu:
- Your account: Join a workspace, add a Notion account, or log out.
- Quick Find: This search bar lets you find specific pages in seconds.
- All Updates: Here you’ll find updates from your whole workspace, notifications for @mentions and comment replies, and updates for pages you’re following.
- Settings & Members: This opens a menu that lets you change workspace and account settings. This includes languages, cosmetic elements, billing information, and more.
- Page list: Here you’ll find a list of every page in your workspace and the overall hierarchy.
- + Add a page: New pages start their life here.
- Templates: Access Notion’s database of templates. More on that below.
- Import: You can import data from a number of other platforms into Notion, including Evernote, Trello, and Confluence.
- Trash: Items you delete will end up here, where you can either restore them or delete them permanently.
- + New page: If you missed it the first time, you can also click here to create a new page.
Now let’s go over to the menu in the top-right corner.
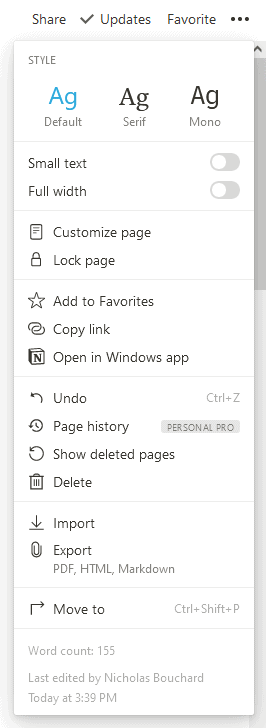
The top-right menu…

- Share: There are two ways you can share your Notion pages. You can either make them public, meaning anyone can access them with the right link, or you can give access to specific people.
- Updates: Get updates specific to the page you’re on. You can also connect a Slack channel to a specific page to get Notion updates in Slack.
- Favorite: Add this page to your favorites by clicking here.
- The three little dots: Open the page settings dropdown from here. Everything you need to customize your page, from choosing a font to locking and exporting the page can be done here.
Creating your first Notion page
In Notion, pages are what you might call a project, a spreadsheet, or a board in another tool. With simple commands, a Notion page can replicate a Trello board, an Excel spreadsheet, a mood board, and more.
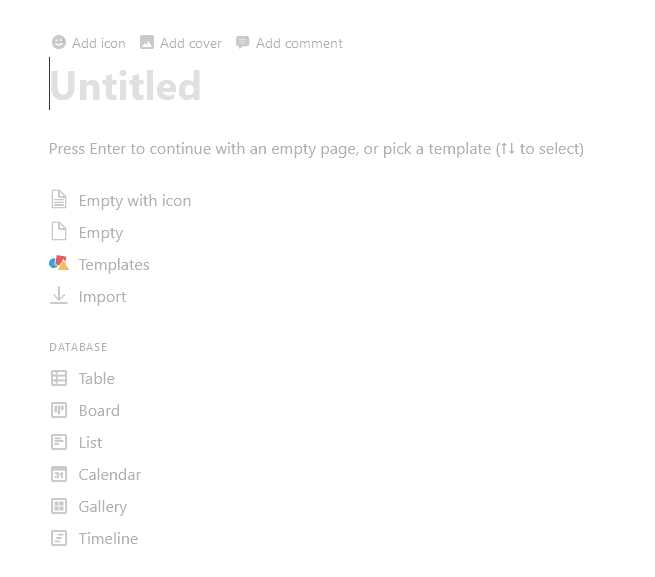
Let’s start with creating a basic page from scratch. Click on + Add a page or + New page in the left-hand menu.
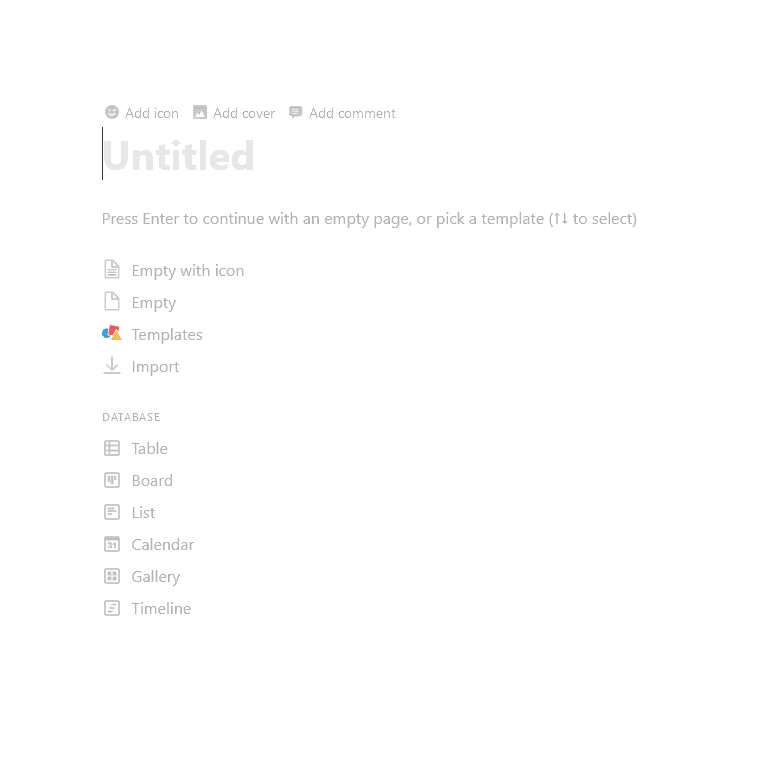
Welcome to your new Notion page! From here, you can choose from a few options. You could start with a brand new, empty page and build from there. You can go through Notion’s templates and pick one that fits your use case — more on that in a moment. You can also choose one of Notion’s database options: Table, Board, List, Calendar, Gallery, or Timeline. Here’s what each one looks like.
Table
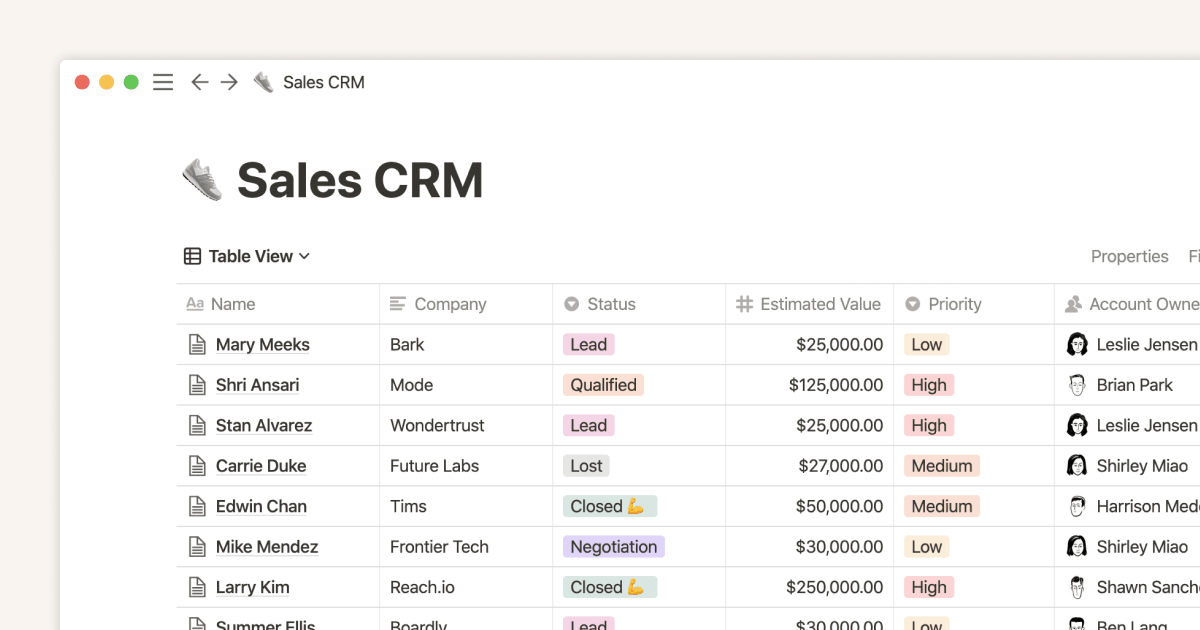
Love your spreadsheets? Notion’s tables are part database, part reporting tool. Add fields for everything from tags to phone numbers, filter information by specific data points, use formulas, and everything else you’d expect from a spreadsheet.
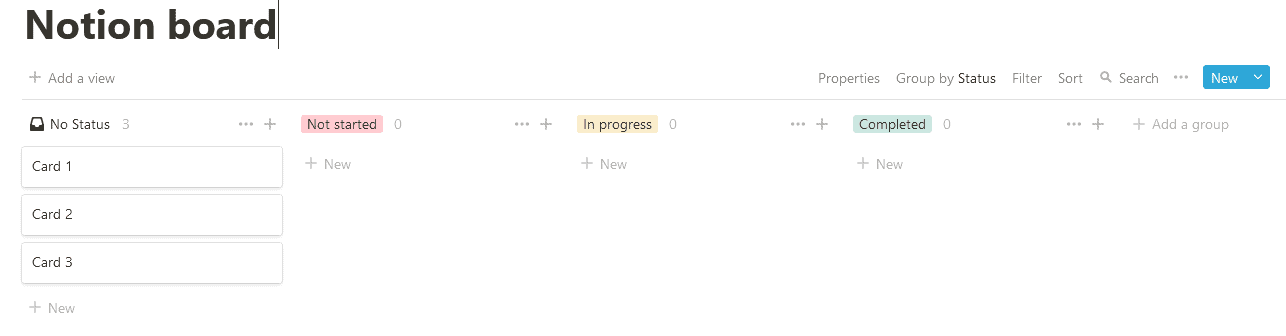
Board
Die-hard Kanban fan? Notion’s boards let you track work with this classic methodology. Move cards between columns, open them to add more information, and get more done.
List
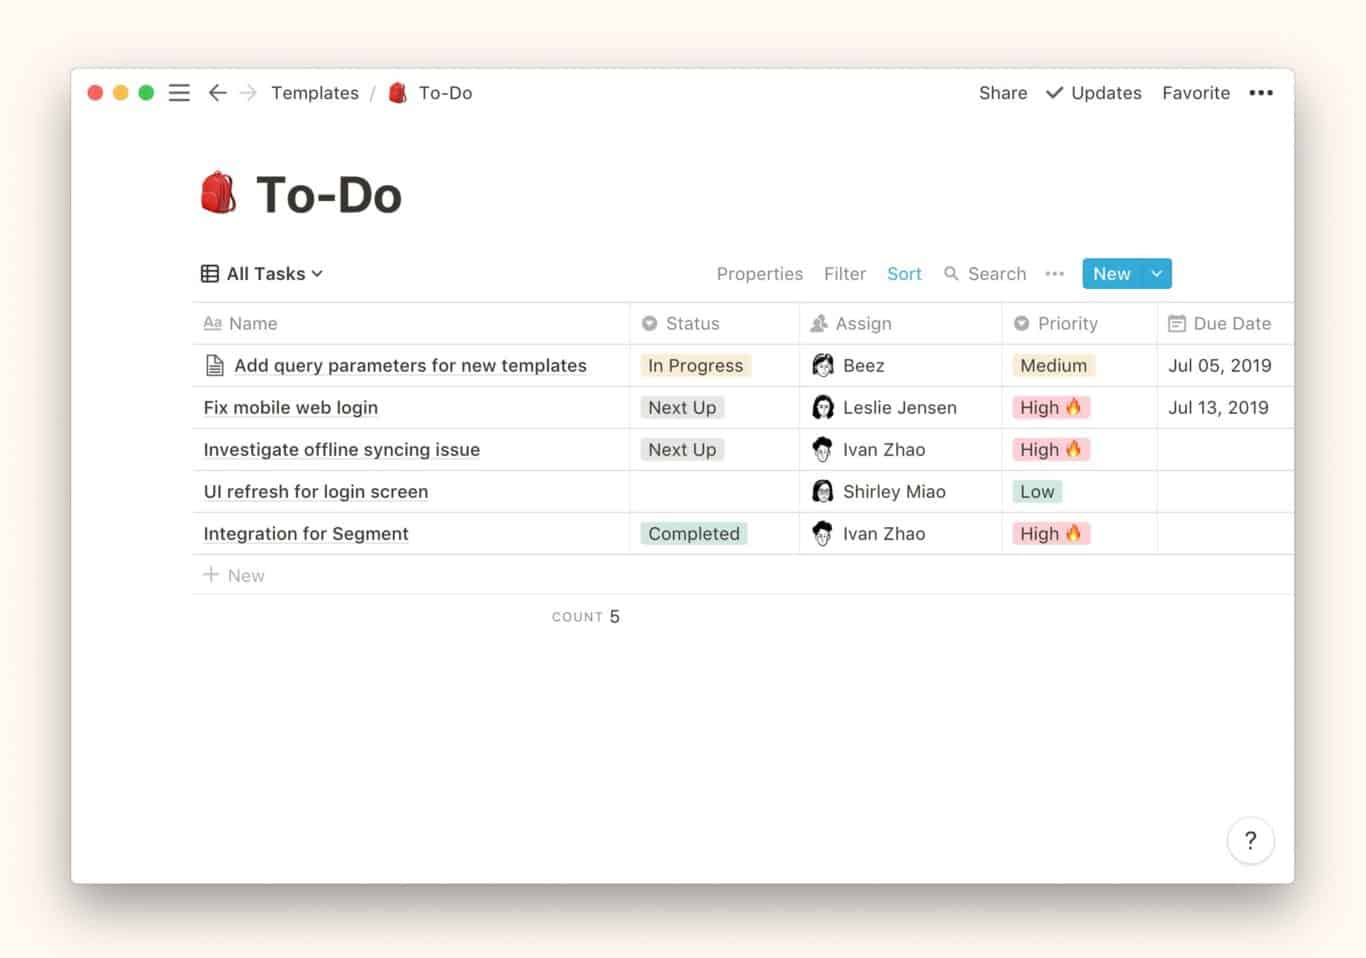
Need to keep things a bit simpler? A List page will automatically come with three sub-pages. You could use this database to list customers, keep tasks ordered by priority, and more.
Calendar
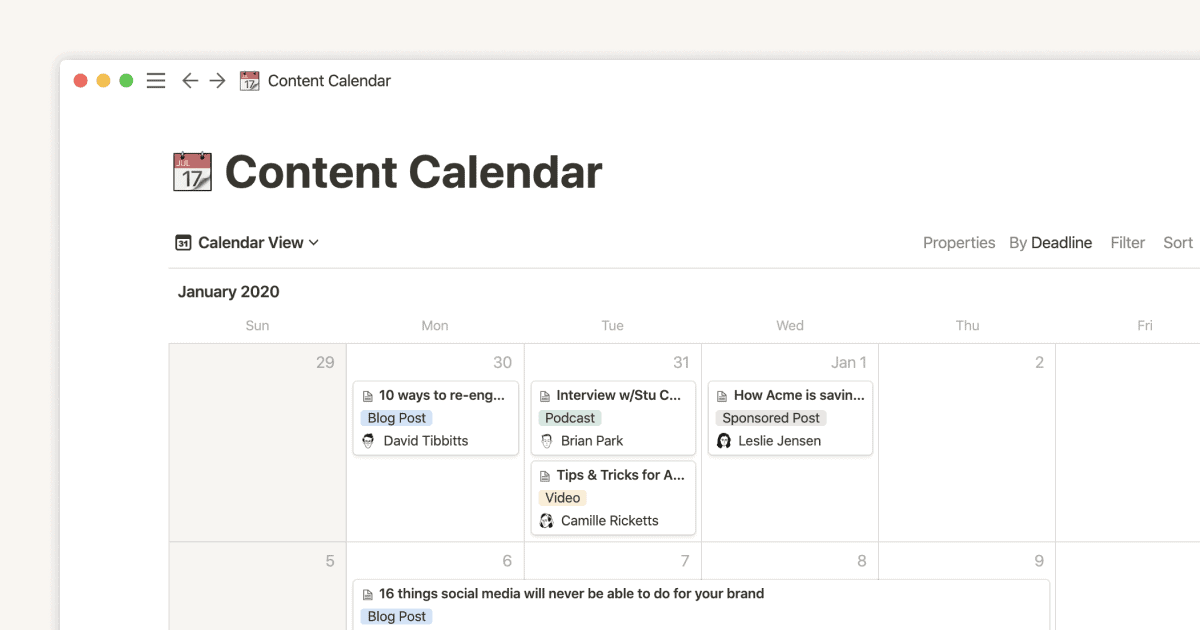
Tracking time-sensitive information? Maybe you need to keep your meeting schedule in one place? Add information to calendars and they’ll act a bit like Kanban cards. You can customize these cards as thoroughly as any other Notion page.
Gallery
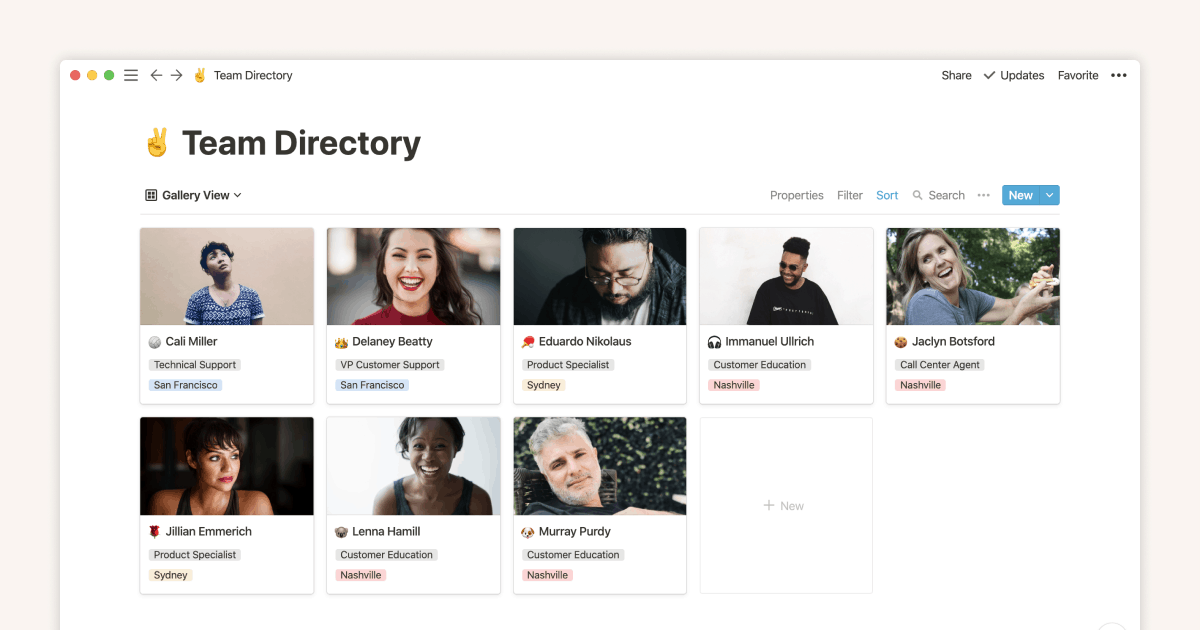
Here’s that mood board we were talking about earlier. With a Gallery, you can display crucial information in a more visual way. Maybe you’re choosing between new logo designs, or you want to keep website updates organized.
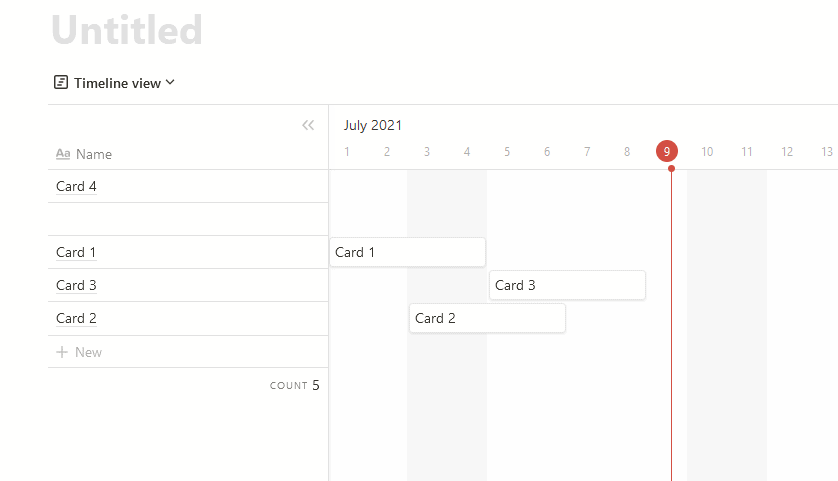
Timeline

Are you a diehard Gantt chart aficionado? Timelines replicate the Gantt charts you know and love, so you can keep track of dependencies throughout your projects. Click on any card to expand and customize it.
Bonus tip: adding views
Each database works great on its own, but did you know you can combine them? Click on + Add a view in the top left of your page, and you can display your data in a whole new way. For instance, here’s a simple board page I’ve set up.
Say I click on + Add a view and add a Timeline view.

Just like that, I can display all my cards on a timeline. With this feature, you can take the same data and completely transform the way you interact with it.
Adding content to your Notion page
Now that you know how to use Notion well enough to create new pages, let’s fill them with content. Let’s say you create a new, completely blank page instead of using one of Notion’s databases. You’ll get something that looks like this.
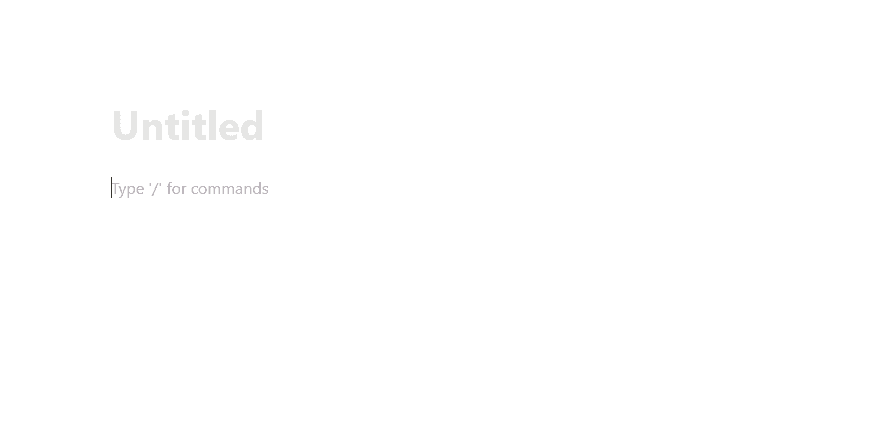
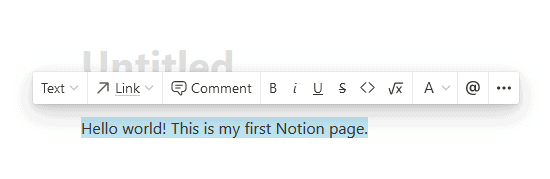
Seems pretty empty in there, right? You can just start typing if you want to add plain text, and you’ll get a pop-up with formatting options when you select your text.
But if you want anything more than plain text, you need to add blocks to your page. In Notion, blocks cover are how you create content, from text to lists and images. To start adding your first block, just hit the forward slash (/) key on your computer.
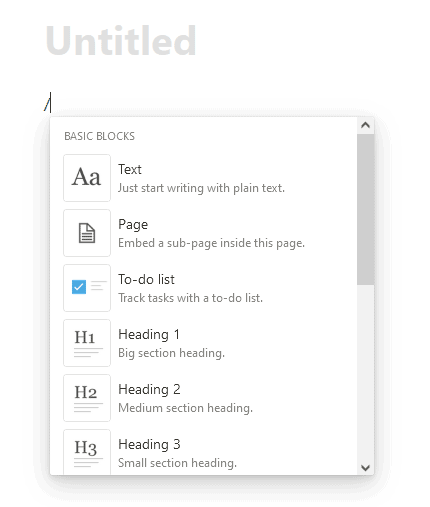
In this menu, you’ll find every single type of block you can add to your Notion page. You’ll also find commands for mentioning people, adding emojis, and embedding work from other tools — like Google Drive or GitHub.
Say you wanted to write a blog post in a Notion page. You’d just need to add blocks for your headers and your text, much like you would in a platform like WordPress.
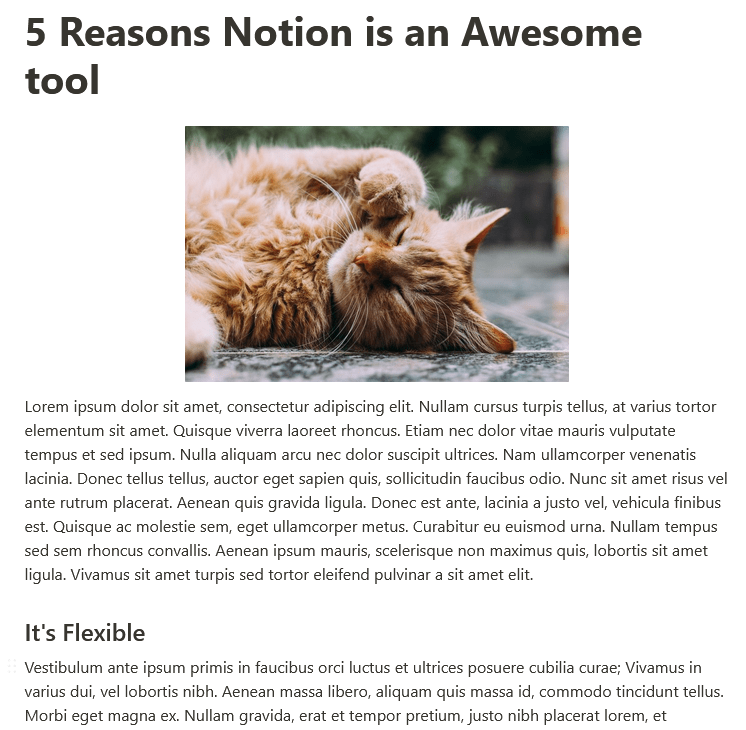
With blocks, you can create anything from a simple to-do list to a detailed dashboard.
How to use Notion templates
Notion has a huge gallery of pre-built pages you can use. Every team can find something that fits their use case here. There are templates for HR departments, remote workers, engineers, students, and more. And because all of them are hosted in Notion, applying one of these templates can be done in just a few steps. Start by creating a page.
Click on Templates.
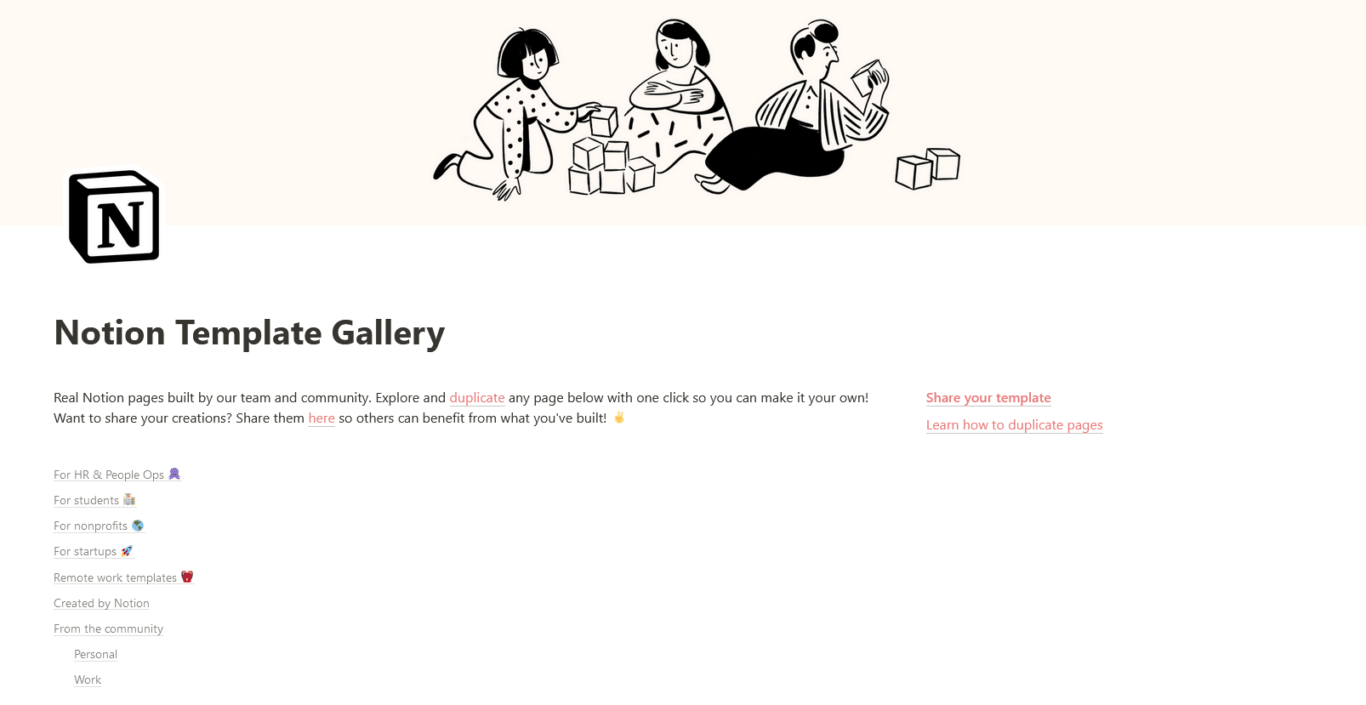
You can click on the dropdowns to the right of this screen to find the template you need, or you can click on Browse more templates at the bottom. Let’s do that.
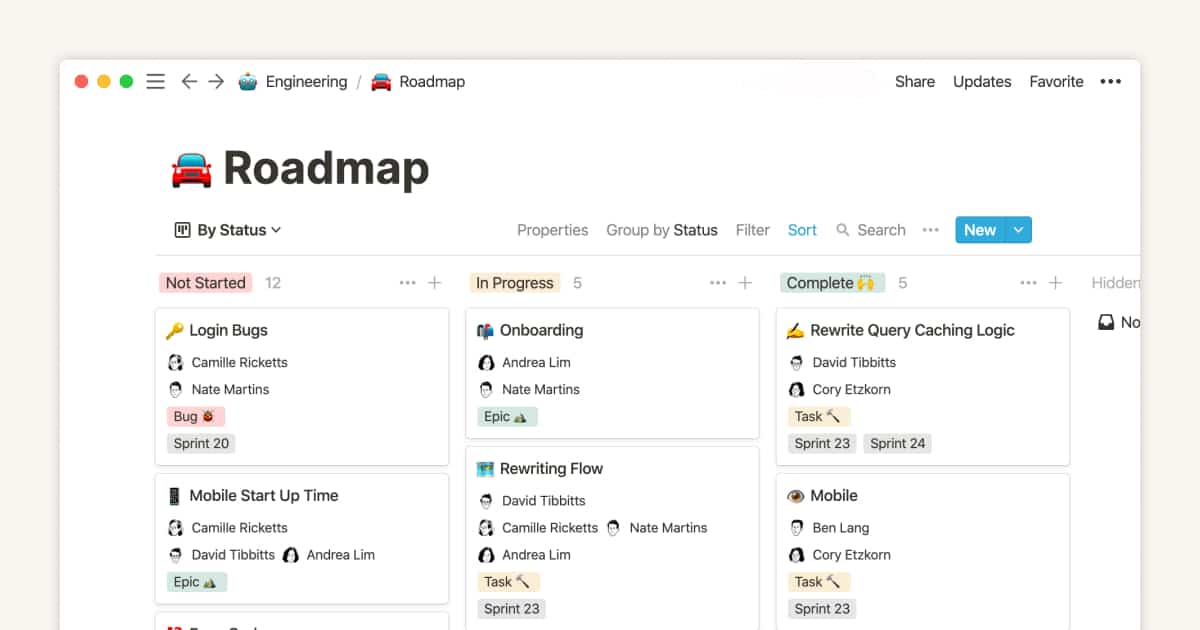
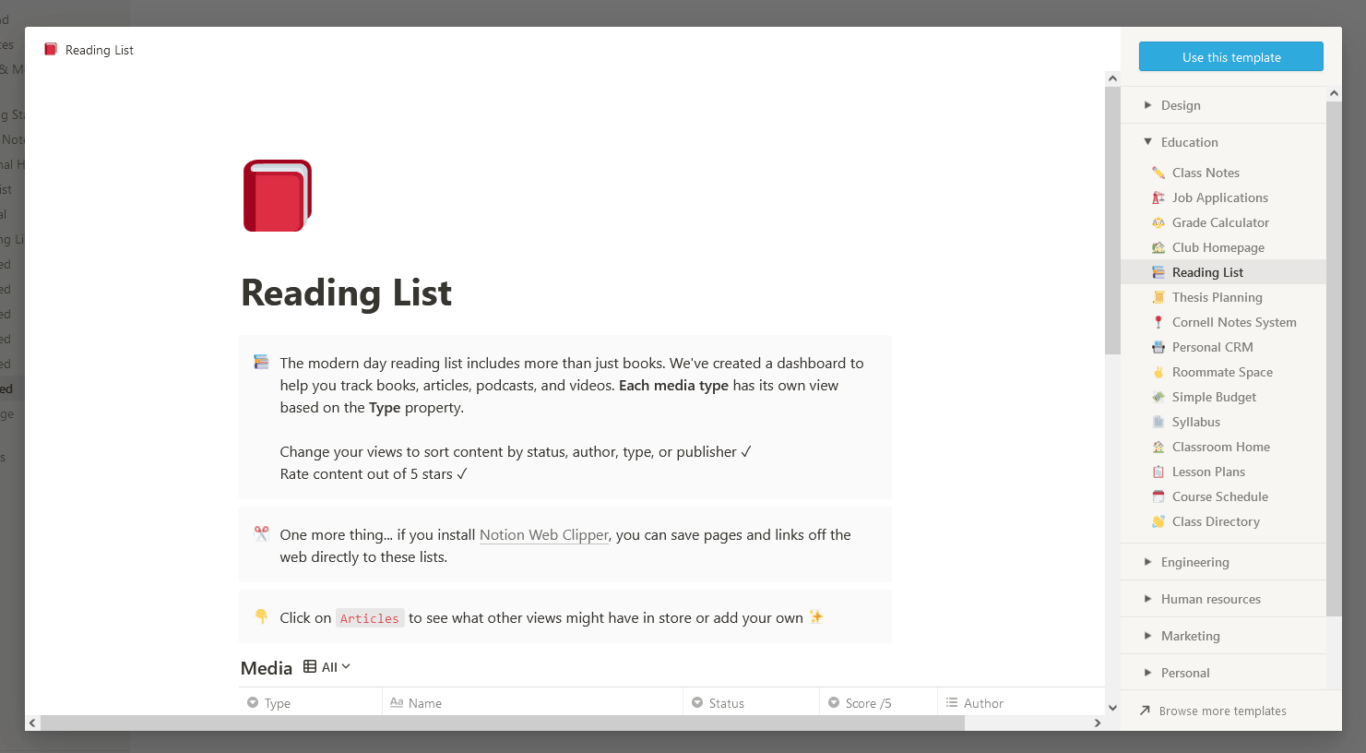
Let’s say I was a product manager who needed to build a quick roadmap in Notion. I’d just need to scroll down to the For Product Managers section and click on the Roadmap template.

From there, I click on the Roadmap link within the pop-up then click on Duplicate in the top-right.
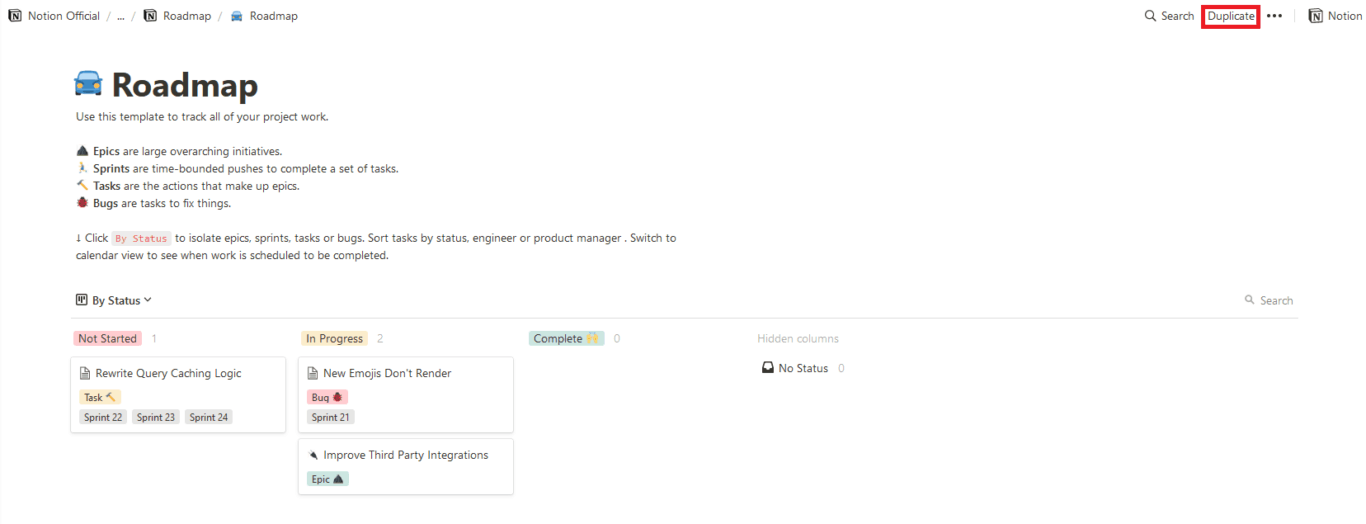
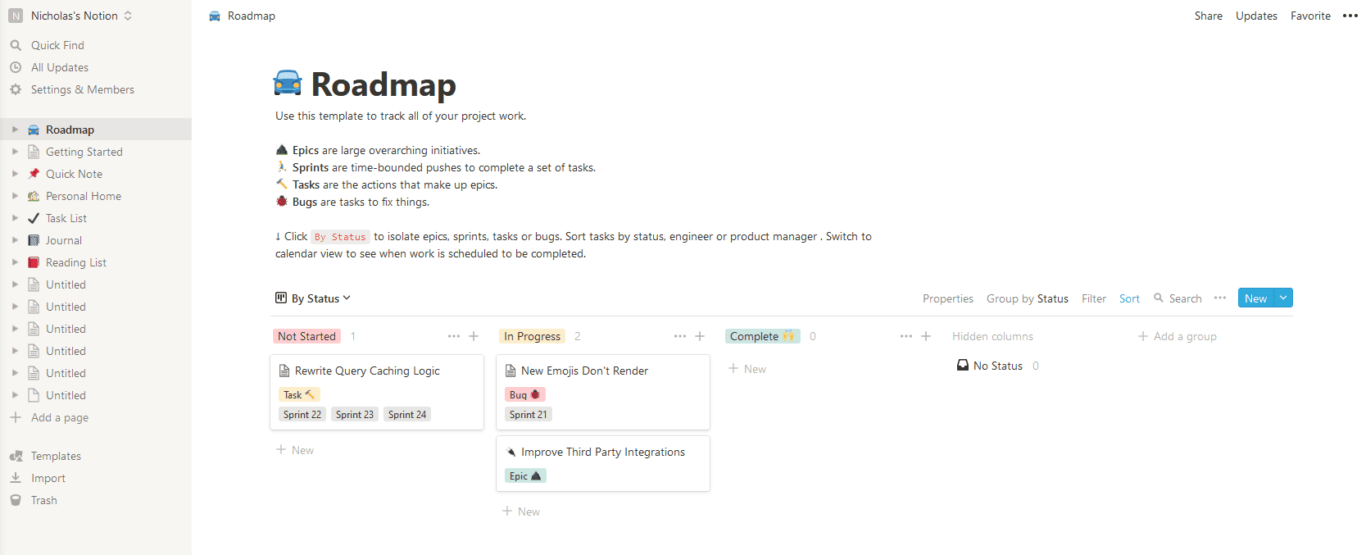
And just like that, I’ve got a roadmap. I can go in and add cards for each objective, customize the ones that already exist, add different views, and everything else I can do with a Notion page. All it took was a few clicks.
Managing projects in Notion
Because Notion is so flexible, you can use it to manage all kinds of projects. Build a simple Kanban board to handle projects with quick turnarounds, create a Gantt chart with the timeline view, and more. But before you start, there are a few things you need to know about project management in Notion:
- Get buy-in from stakeholders: The last thing you want to happen is a team lead or other stakeholder putting the brakes on your project after you’ve set everything up.
- Know the tool inside and out: Since you’re here, you’ve already taken an important step in this direction!
- Pick the right methodology: Sometimes too much choice is just as bad as having no choices. Take the time to make sure you use the methodology that’s best suited to your project.
- Build the pages you need: Other project management tools are designed around dispatching work and managing tasks; with Notion you’ll have to do a bit more upfront work.
- Have the right integration: More on that in a bit.
You can get our full guide to managing projects in Notion here.
How to integrate Notion with other tools
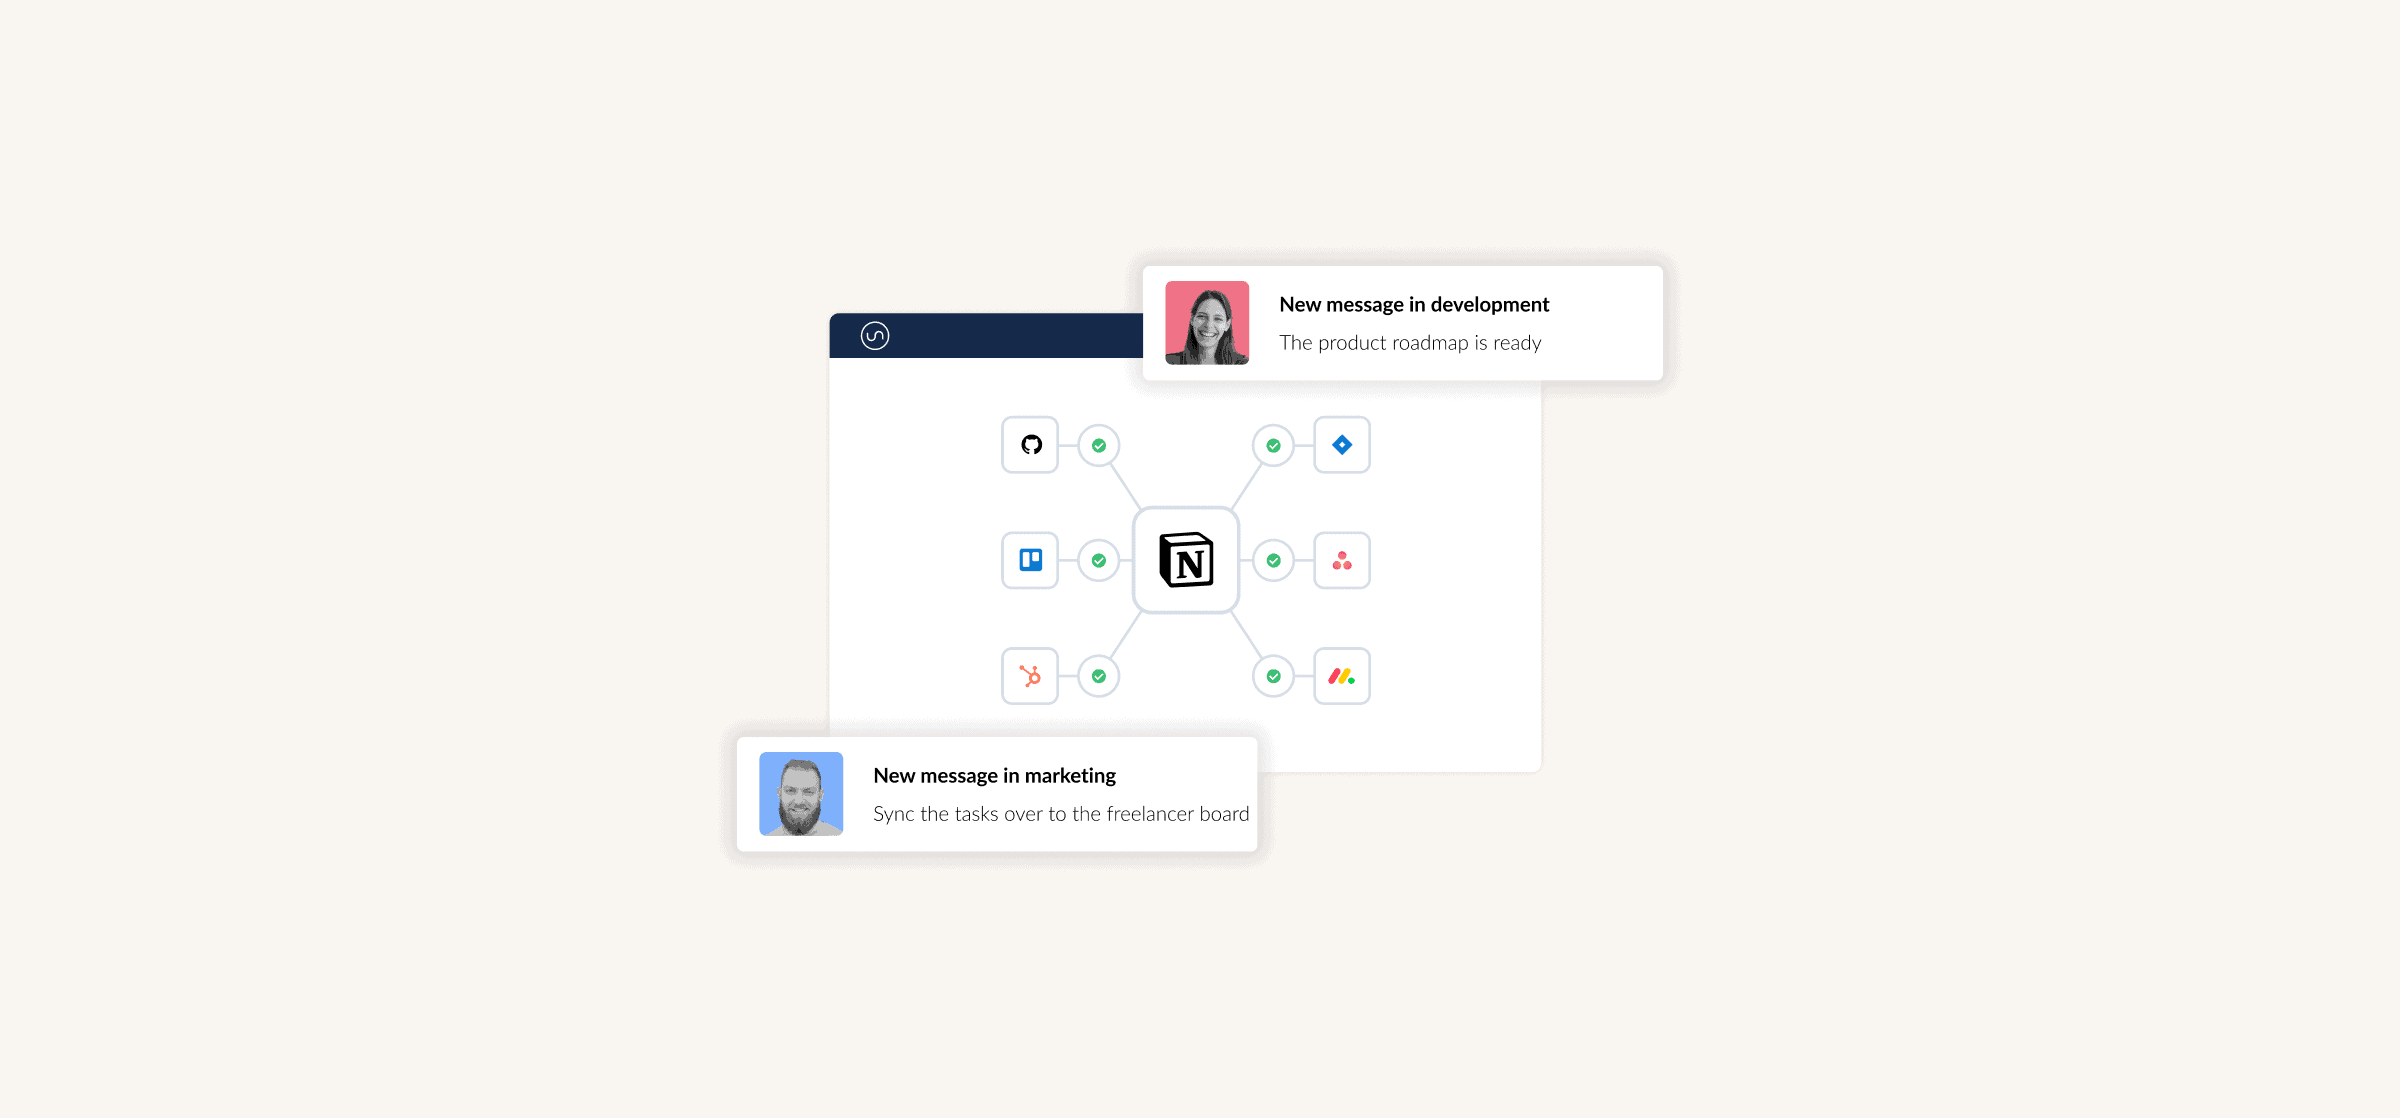
Learning how to use Notion is great, but what about slotting it in with your tool stack? Without the right integration, you can spend hours just copying and pasting information from tool to tool so everyone’s in the loop. Just because a tool is great for your needs doesn’t mean it works for another team. No one should be forced to use a tool that doesn’t fit their workflow. Thankfully, Notion has a few options you can use to integrate it with other tools — or even sync multiple Notion databases together.
- Use synced databases to integrate Jira with Notion.
- Link multiple Notion databases with built-in features.
- Build a synced database that sends GitHub issues to Notion.
Need to integrate a tool not supported by Notion? Try Unito’s Notion integration. Unito has the deepest two-way integrations for some of the most popular tools on the market, including Notion, Asana, Trello, Google Sheets, and more.
Sync data across tools seamlessly, use rules to filter out irrelevant information, and map fields so everything ends up exactly where it needs to go. All of that in just a few minutes.
How can Notion users save time?
By integrating Notion with other tools using Unito. Centralize updates, streamline work, and get more done.