A Beginner’s Guide to ClickUp
Whether you’re starting a new job with a new tool stack, migrating your team to a new tool, or have never used a work management tool before, getting started can be daunting. In our beginner’s guide series, we cover what you need to know to get up-and-running. Today, we’re giving you a beginner’s guide to ClickUp.
You’ll learn how to navigate the ClickUp interface, what all the buttons on the top and side bars do, and how to create your first ClickUp list.
NEW FOR UNITO USERS: If you’re already familiar with ClickUp, we now have a step-by-step guide on how to sync ClickUp to Google Calendar.
What is ClickUp?
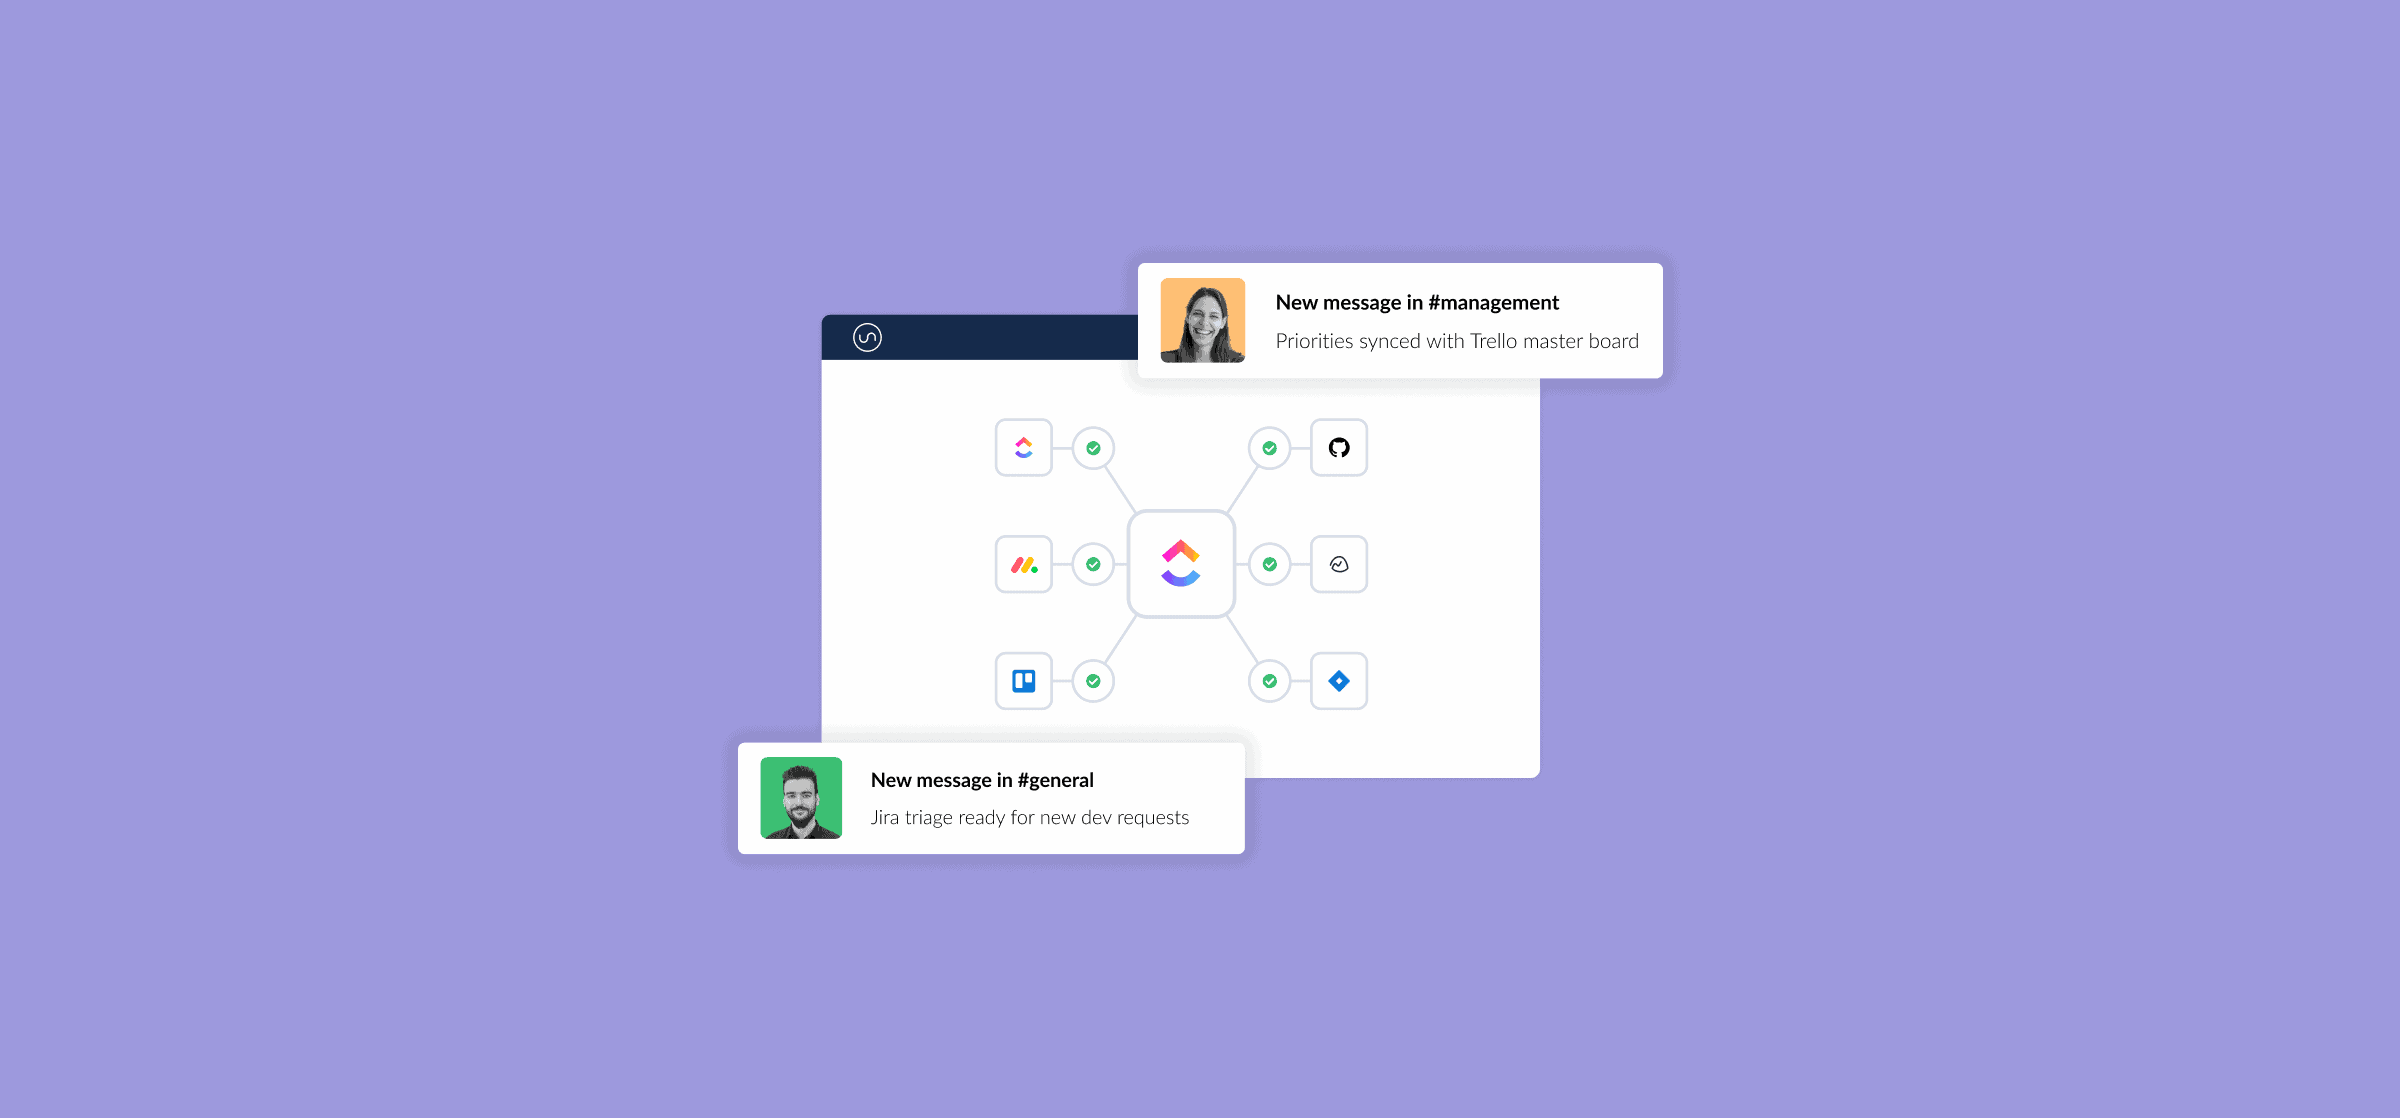
ClickUp is a work management platform that aims to become the one app to replace them all. It has integrations for some of the most common tools in modern workstacks, from Zoom to Google Drive and GitHub. ClickUp is a fully-featured platform with robust analytics and near-unmatched flexibility.
ClickUp operates on a four-level hierarchy. Starting at the bottom, tasks are the individual work items you’ll use to capture work. Then, lists are collections of tasks representing a project, sprint, or group of people. Folders are larger collections of lists (think all of the sprints in a quarter). Finally, there are spaces, which often represent teams or entire departments, and capture everything they’re working on.
In this beginner’s guide, you’ll learn how to create tasks and lists. For more information on the rest of ClickUp’s hierarchy, you can consult this help doc on their site.
Navigating the ClickUp interface
ClickUp’s onboarding process will let you customize your workspace, invite people you’ll be collaborating with, and choose the ClickUp apps — called ClickApps — you expect to use. You’ll also have a chance to add integrations like Zoom and GitHub and import tasks from another tool. Once this is done, you’ll land in your ClickUp space.

Let’s go over what you’re seeing.
The left-hand menu
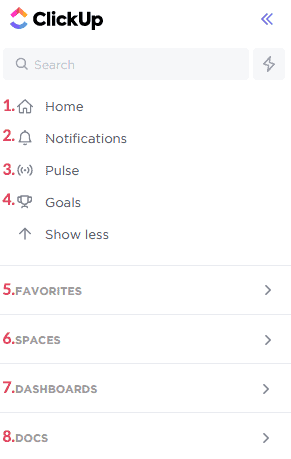
The menu to the left of your screen has more than a few elements. Here’s what each one does:
- Home: Takes you back to your home screen.
- Notifications: When you’re up-and-running, you’ll get notifications whenever a change is made in a task you’re involved in. This section displays those notifications and filter tasks based on assignee or @mentions of you.
- Pulse: This gives a live overview of who’s currently online in your workspace, how many users are online per hour each day, tasks with the most activity, and a real-time view of what tasks people are working on.
- Goals: ClickUp allows you to set goals for your work. These targets can be a list of tasks, a currency goal, a numerical goal, or a binary true/false target.
- Favorites: You can bookmark dashboards, views, lists, and tasks. They’ll be collected in this tab for easy viewing.
- Spaces: With spaces, you can organize lists and folders under specific teams. By clicking here, you’ll get a list of all the spaces you can contribute to.
- Dashboards: ClickUp’s dashboards let you create views that track high-level initiatives, plan sprints, dispatch work, and more.
- Docs: With ClickUp’s docs, you can create knowledge bases, wikis, and individual documents within your work management tool.
No matter where you end up, you can always go back to your home screen by clicking either on the ClickUp logo or on Home. Now that we’ve covered the left-hand menu, let’s look at the top menu.
Top navigation menu

If the left-hand menu is how you navigate ClickUp as a whole, the top menu gives you access to additional options when you’re in a particular section of the tool. It’s a bit beyond the scope of this beginner’s guide to cover the top menu in all instances, so let’s focus on what you’ll see when you’re in the space ClickUp automatically creates for you.
- Space settings: Click on your space’s name to change settings like color and name, take actions like duplication and deletion, and even turn your space into a premade template.
- Views: Right next to your space’s name, you’ll see the different views you can use. By default, you’ll have the list and board views, but you can add more by clicking on +View.
- Automate: Need to automate repetitive tasks? Click here to set up simple trigger-action rules that make your life easier.
- Share: Unless you’re working in isolation, you’ll probably need to share your space at least once. Click here to do that.
- Search bar: If you’re looking for a specific task in a crowded list, put its name — or a custom field value — here to find it.
- Layout options: Where views let you decide how you see and track information, layout options give you control over what you see. Filter tasks by specific fields, show all subtasks, show only tasks assigned to you, and more here.
- View settings: Clicking on these three little dots will let you change things at the view level. You can duplicate a view, restrict access to it, turn on autosaving, and export it to CSV or Excel files.
Now that you’ve got a better idea of what everything does, let’s go over how you can create your first list and populate it with tasks.
Creating your first ClickUp list and task
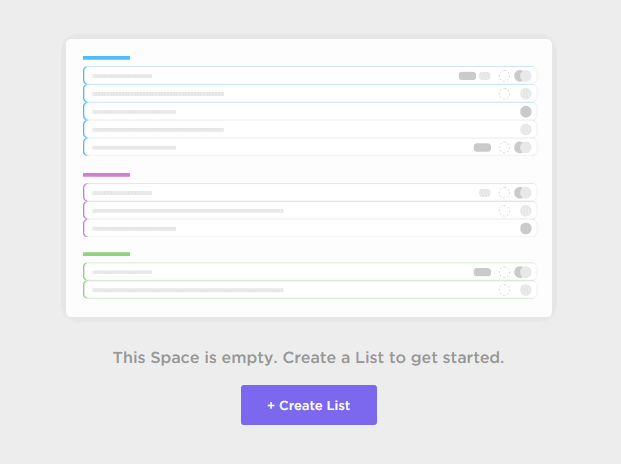
ClickUp makes creating your first list easy by making it the first thing you’re prompted to do right after the onboarding. So go ahead and click on Create List.
Give your list a name.
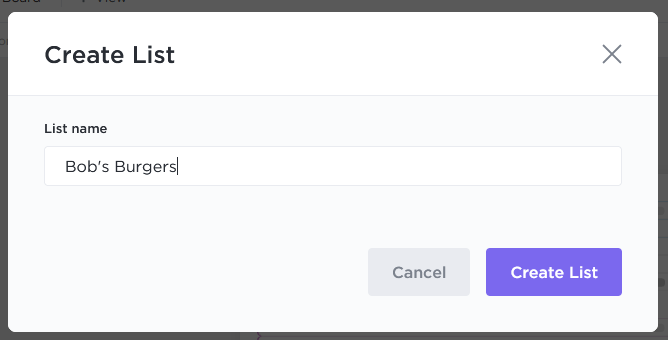
And voilà! Your first list has been created.

There isn’t much to look at here, but you can go ahead and click on Board to see how your list would look in a different view.
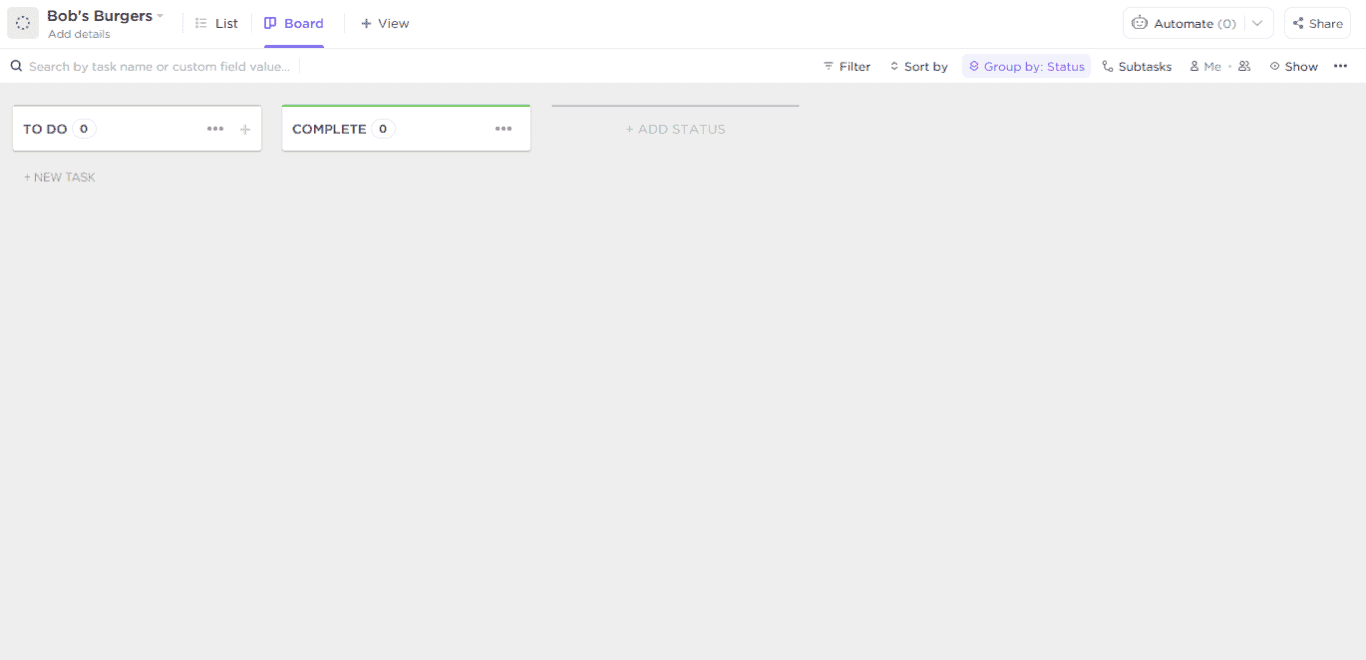
For now, you’ll only have two statuses: To Do and Complete. By clicking Add Status, you’ll be able to create another. But for now, let’s focus on creating your first ClickUp task. Start by clicking in the white box that says Task name, then give your first task a name.

Click on Save.

And just like that, you’ve created your first task! Click on your new task, and you’ll open it up for editing.
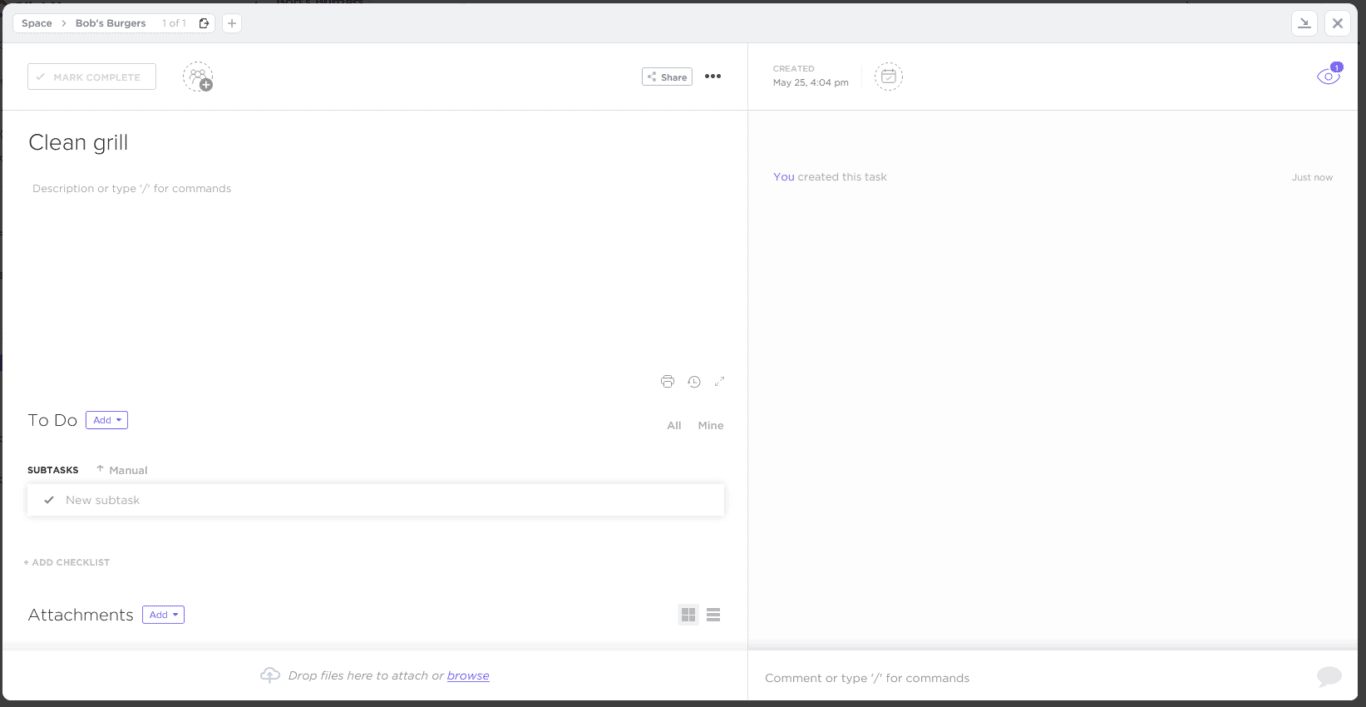
I’ll go ahead and give it a subtask, a description, and a comment. I’ll also assign it to myself.
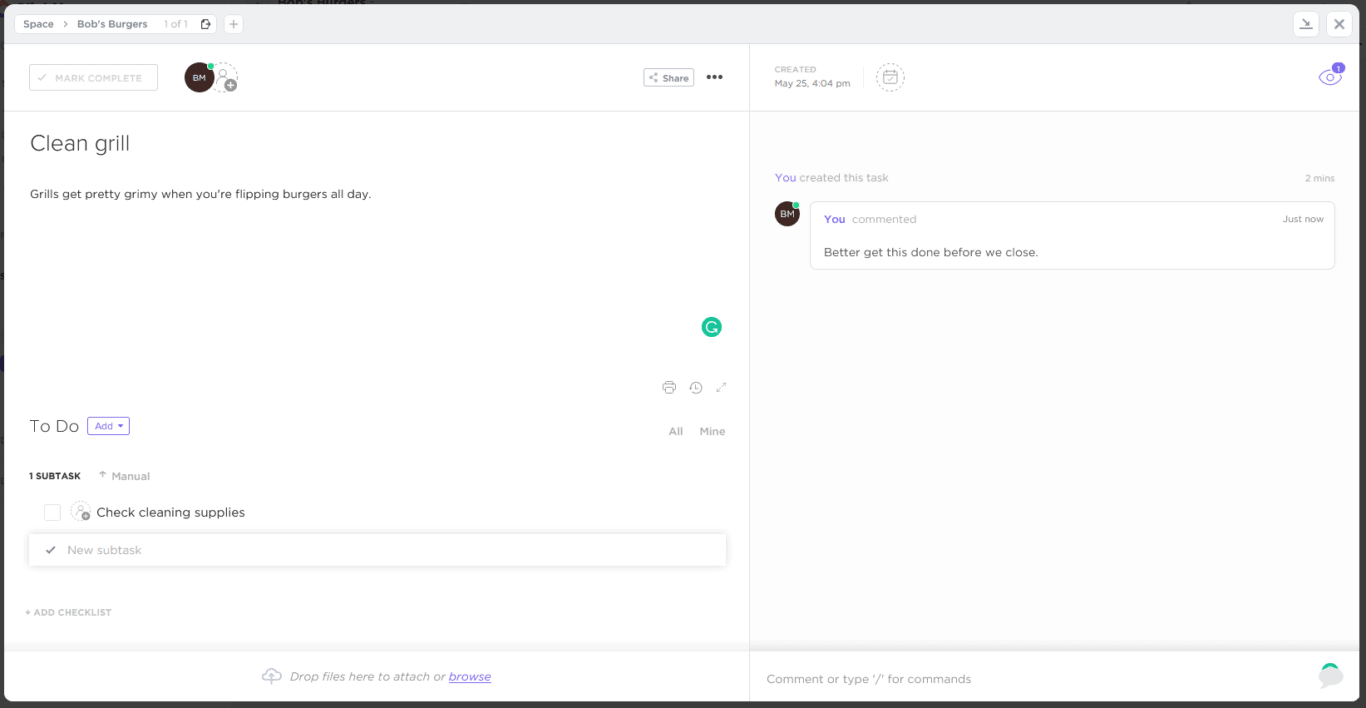
Now you’ve got your first list, your first task, and you’re ready to go! Just like that, you know your way around ClickUp.
How to integrate ClickUp with other tools
Learning how to use ClickUp is great, but what about slotting it in with your tool stack? Without the right integration, you can spend hours just copying and pasting information from tool to tool so everyone’s in the loop. Just because a tool is great for your needs doesn’t mean it works for another team. No one should be forced to use a tool that doesn’t fit their workflow. Here are just a few examples of the best Unito integrations for ClickUp:
Want more out of ClickUp?
With Unito's integration, you can sync crucial data from ClickUp to Jira, Asana, Trello, and more.