
A Beginner’s Guide to GitLab
No one codes alone. Because tech teams can grow at breakneck speeds, solitary coders quickly become part of large teams of developers that need to cooperate and coordinate their efforts. Git has become the tool for source code management, and plenty of platforms have popped up to make Git accessible to dev teams. GitLab is one of them.
This beginner’s guide covers:
- The GitLab Dashboard
- What you’ll find in your toolbar
- How to create your first project
Whether you’re a project manager looking to roll this out to your team, or a developer getting onto a Git platform for the first time, you’re sure to get something out of this guide.
A closer look at the GitLab dashboard
Here’s what your dashboard will look like the first time you open up GitLab.
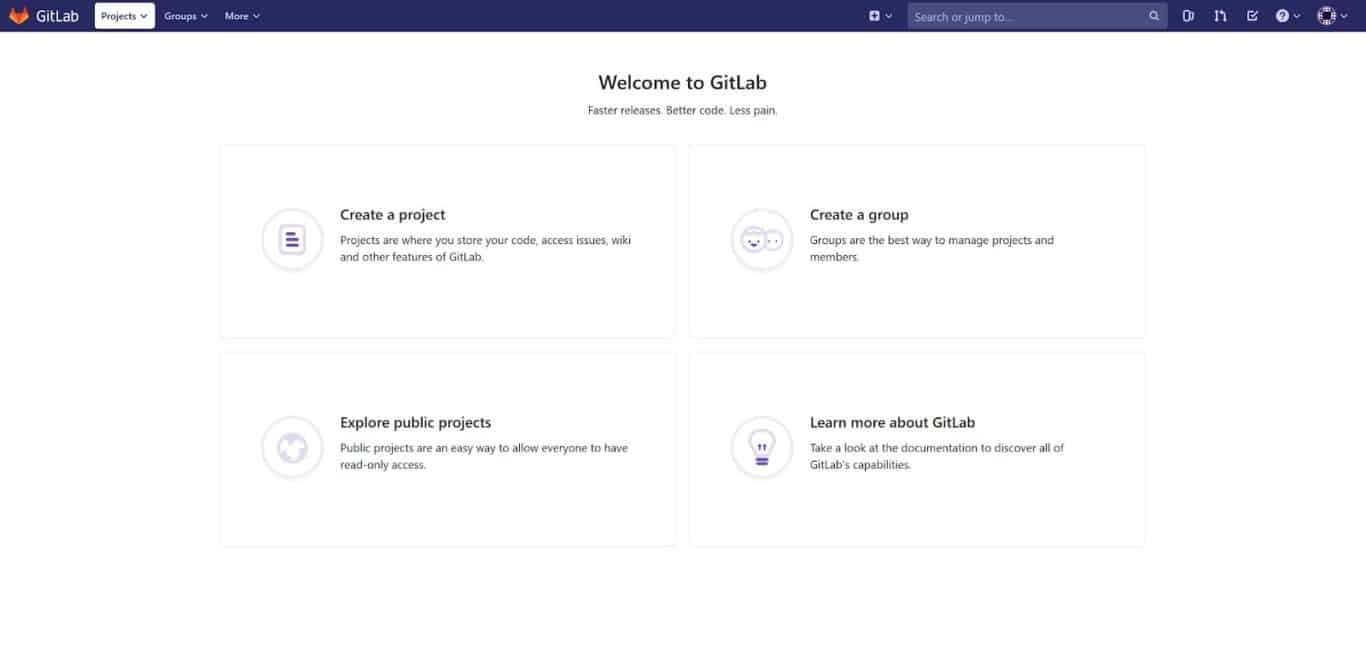
Nothing too crazy so far. This screen is designed to help direct you as you get accustomed to GitLab. Note that once you’ve created projects, this screen will be replaced by a list of all your existing projects. But for now, let’s cover what we see here:
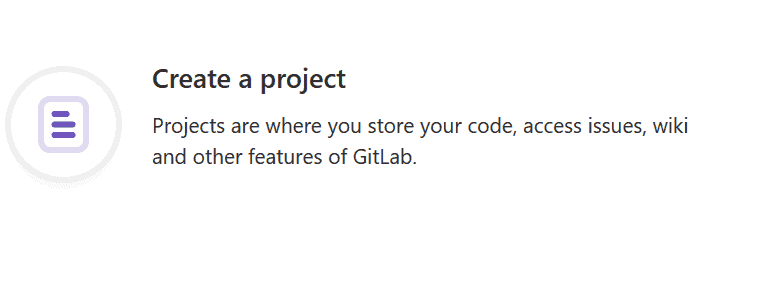
- Create a project: Click here to create your first project. Projects are where you’ll do most of your work in GitLab.
- Create a group: GitLab’s groups let you bunch projects together. This not only helps you organize your projects, but you can grant access to multiple projects more quickly. This is a huge time saver when onboarding multiple people. Think of GitLab groups a bit like a folder in Google Drive. If you had dozens of documents on policies and best practices for a dev team, you wouldn’t grant your team access document by document; you’d stick them in a folder and grant access to the folder in one go.
- Explore public projects: You can access a huge library of public GitLab projects here. Maybe you want to use public projects to figure out how to organize your own, or you’re looking to grab a copy of open source software and contribute to it.
- Learn more about GitLab: This is where you can access GitLab’s documentation, geared towards helping you understand and use the platform. It covers everything from creating a project to using CI/CD pipelines. GitLab’s documentation can all be edited directly in GitLab through merge requests, a bit like a wiki. So when you get to the point where you can call yourself a GitLab pro, you can give back by contributing to GitLab’s documentation.
The GitLab toolbar
Now that we’ve gone over what you’ll see when you first log in, let’s go over what else you can do in GitLab. Let’s start with the upper-left corner of the toolbar.

- Projects: Once you’ve created — or been given access to — projects, this is where you’ll access them. The drop-down lets you access three screens: Your Projects, Starred Projects, and Explore Projects. The Explore Projects option is how you can browse public projects.
- Groups: From here, you can find groups you’re already a part of as well as public groups. You can request to join any group made public and contribute to their projects.
- More: This dropdown gives you access to dashboards that help you track a project’s progression — such as analytics and milestones — as well as snippets, which are a bit like post-its for code. We’ll go over this in more detail later.
Now, what’s on the right side of the toolbar?

From left to right:
- New: This drop-down menu lets you create new projects, groups or snippets.
- Search bar: From here, you can quickly find projects, groups, issues, and more.
- Issues: Issues are how work gets done in GitLab. Create an issue and assign it to yourself to keep track of what you need to get done. Assign it to another member of the team when you need something from them. You can give an issue a checklist to track progress on a more complicated task or link them to other issues to show dependencies.
- Merge Requests: Merge requests are created by developers when they’re ready to integrate their branch of code with the source code. They’re virtually identical to pull requests in GitHub. This button takes you to a dashboard where you’ll be able to access the merge requests from the projects you contribute to.
- To-do list: Whenever an issue or merge request is assigned to you, it will automatically create an item in your to-do list. This will also happen when someone @mentions you. Your to-do list provides a quick summary of everything you need to do.
- Help: Whether you need support or access to GitLab’s documentation, you can find the help you need here.
- Profile: Through this dropdown, you can change your status, edit your profile, and personalize your settings.
Now what happens when we click on that “More” dropdown from before?
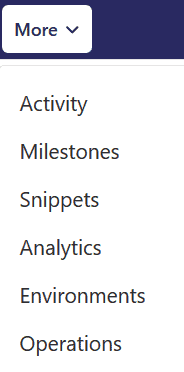
Wow. There’s a lot to go over here.
Activity in GitLab
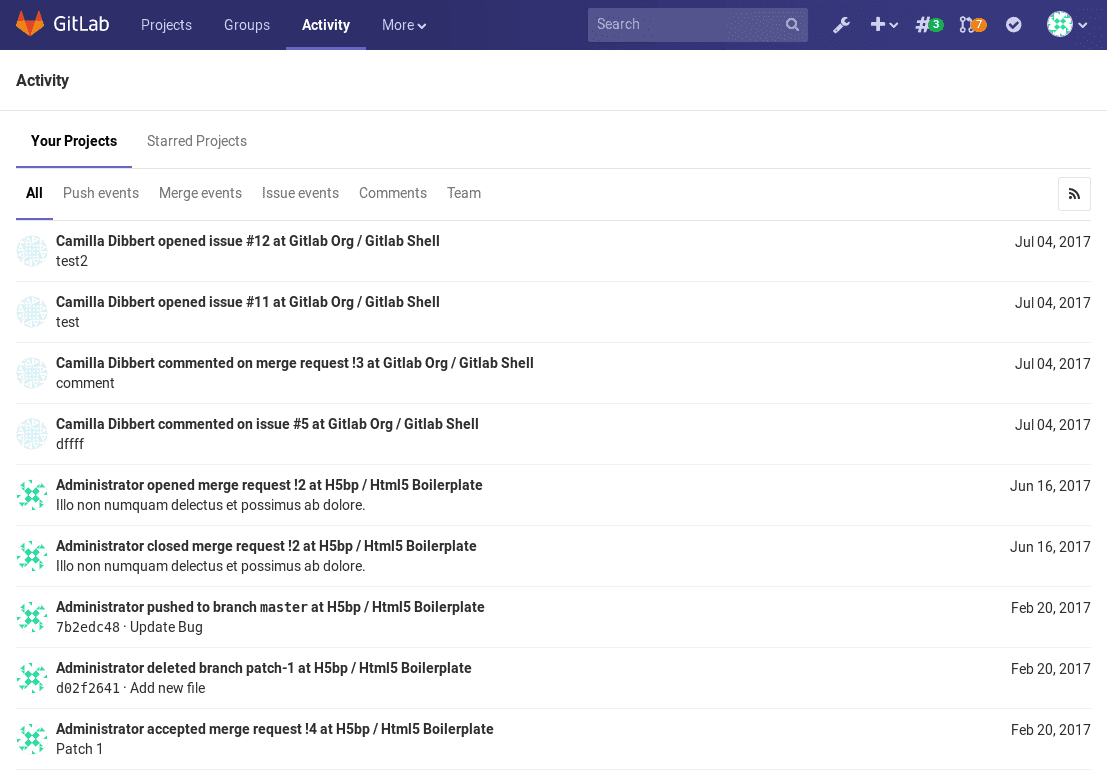
The Activity section is where you can see what the people in your projects have been up to. Everything from merge events to comments can be found here. You can choose to see the activity in all the projects you’re in or just starred projects. You can also filter the entries, focusing only on merge requests, for example.
GitLab Milestones
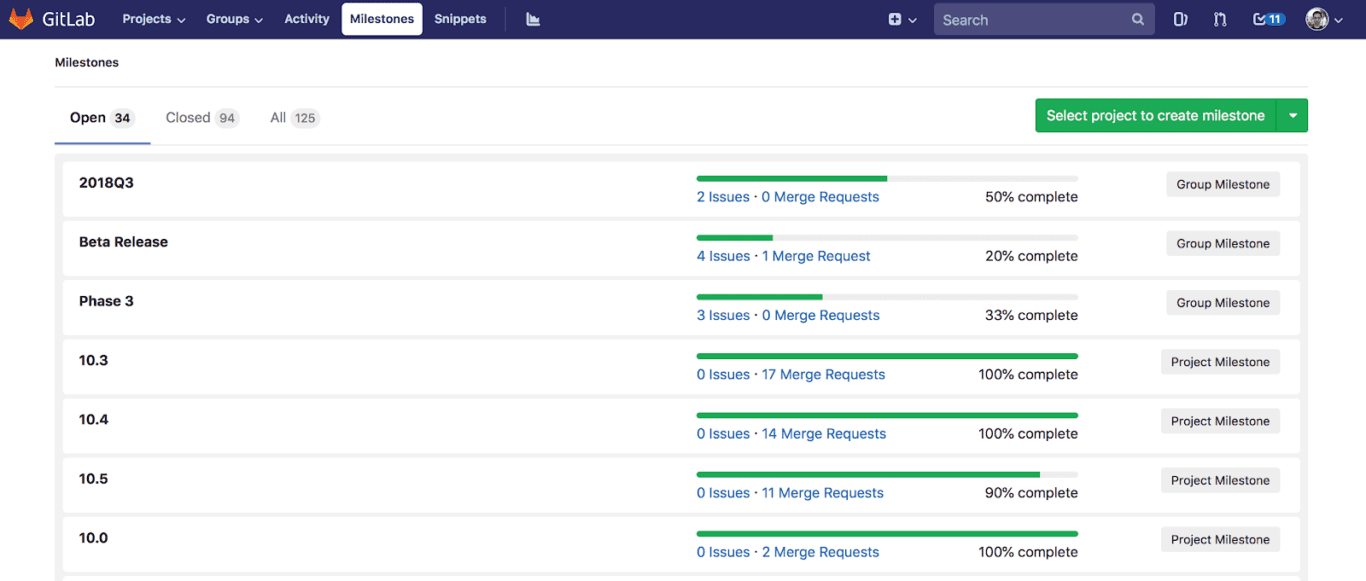
Setting Milestones in GitLab is a great way to track issues and merge requests. Here is where you can get a rundown of all your milestones, including the ones coming up and the ones you’ve already closed.
Snippets in GitLab
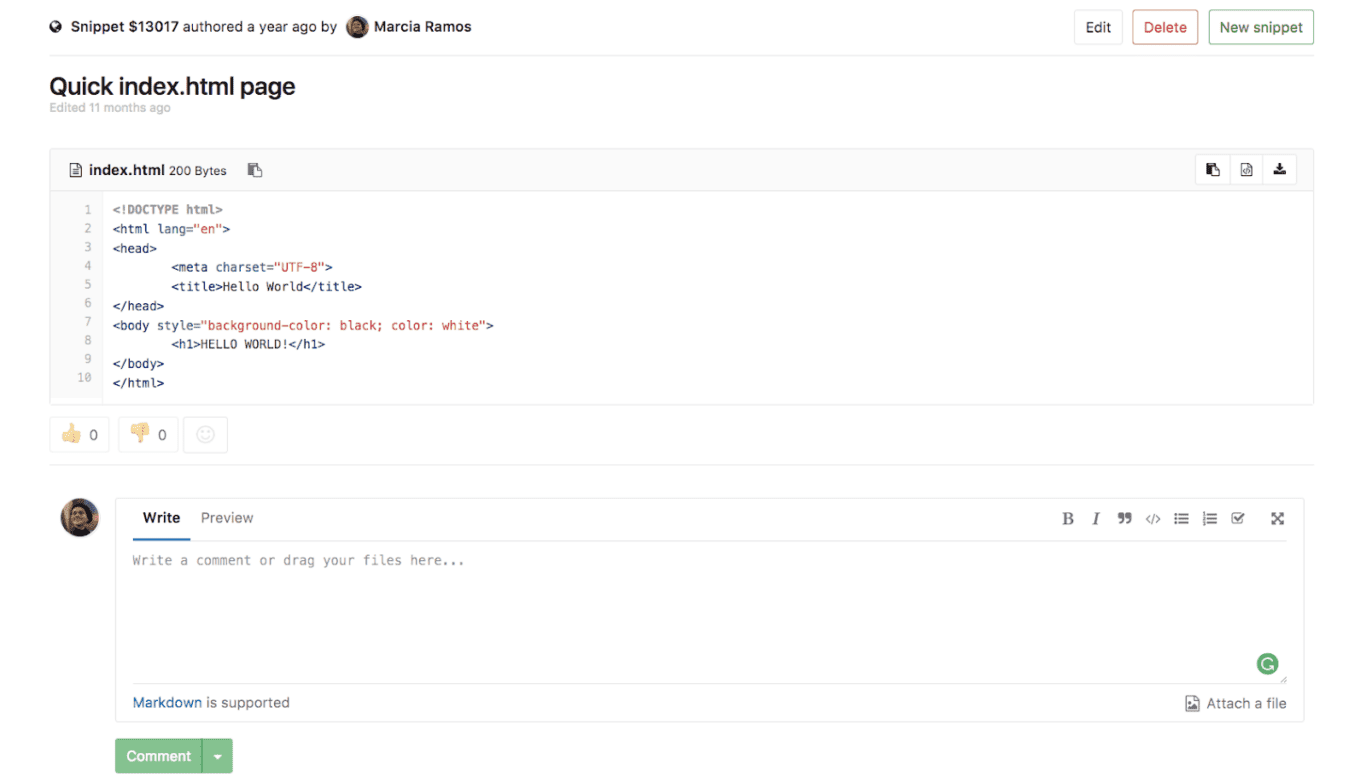
GitLab’s Snippets feature is essentially post-its for code. Anytime you’ve got a chunk of code that you want to save, you can create a snippet in GitLab to store it. Because you can make your snippets public or private, you can use them in a variety of ways. You could use snippets to store errors in code and share them with other members of the team without creating an official issue — maybe to get input before you do anything with the error. Or you could just use them to keep track of what you need to work on later.
Productivity analytics in GitLab
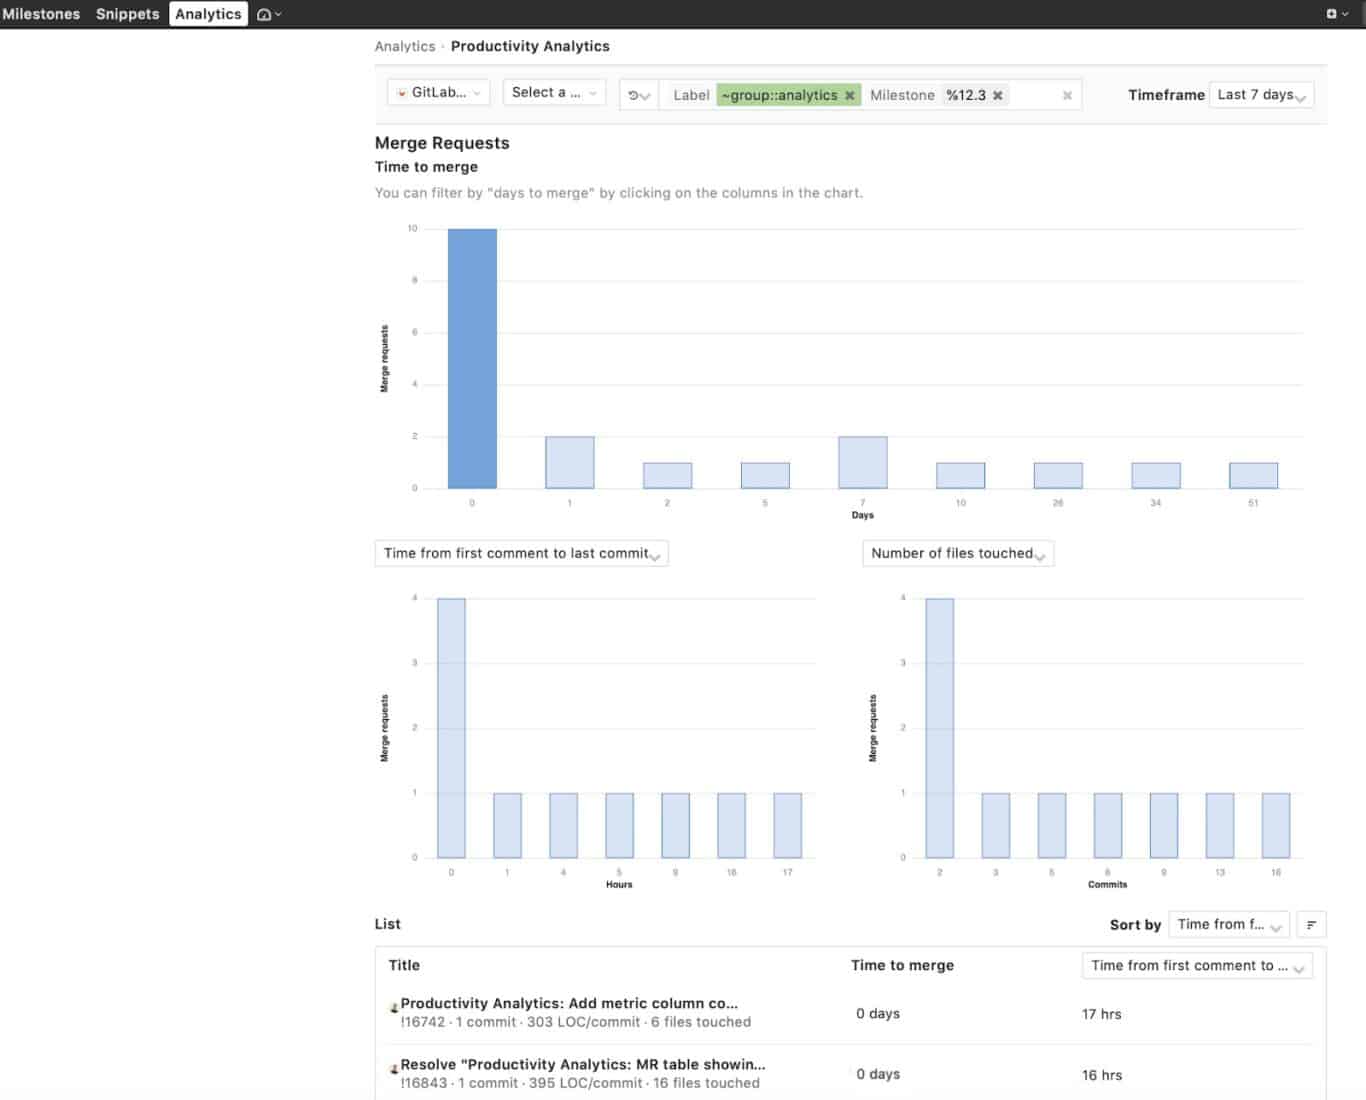
The productivity analytics feature lets you keep an eye on how your dev team is doing, skipping the usual hassle of trying to get answers directly from your developers. This tool tracks merge requests and has a number of features you can use to filter by groups, projects, milestones, and more.
The GitLab Environments dashboard
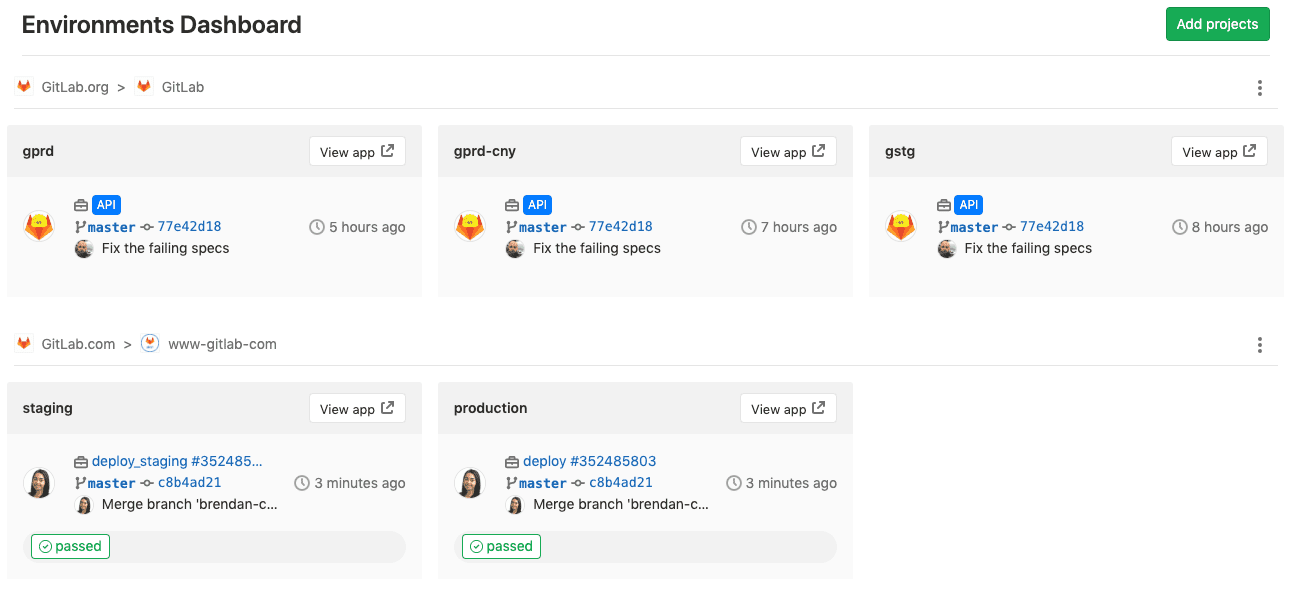
The environments dashboard lets you get a glance at multiple projects — and their environments — at once. This is great for project managers and team leaders who need to supervise pipelines and spot blockers. The dashboard can display a maximum of seven projects, with three environments per project (eg. production, staging).
The GitLab Operations dashboard
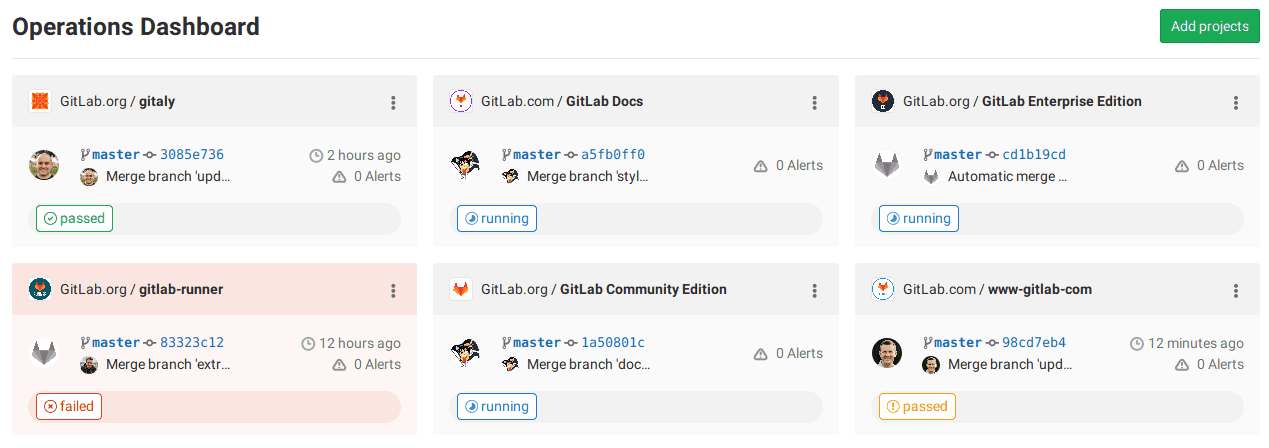
The operations dashboard goes more in-depth on a per-project basis than the environments dashboard. This means you can see a project’s number of active alerts, last commit, pipeline status, and when it was last deployed. This dashboard makes it easy to track each project’s operational health.
Creating your first GitLab project
Now that we’ve given you a quick overview of GitLab’s features, let’s go in-depth on the one you’ll be using most: projects. Specifically, we’re going to look at how to create a new project.
When you first start up GitLab, you’ll get your main dashboard.

From here, click on “Create a project” to kickstart the process.
We already have a few options to choose from here. We can:
- Create a blank project
- Create from template: Use built-in templates for platforms like Android, .Net Core, and iOS Swift.
- Import project: If you’ve got code on another platform, you can import it here. GitLab supports importing from GitHub, Bitbucket, and Google Code among others.
- CI/CD for external repo: This lets you connect external repositories to GitLab, using a GitLab project only for CI/CD pipelines.
We’re going to cover creating a blank project. Start off by giving our project a name.
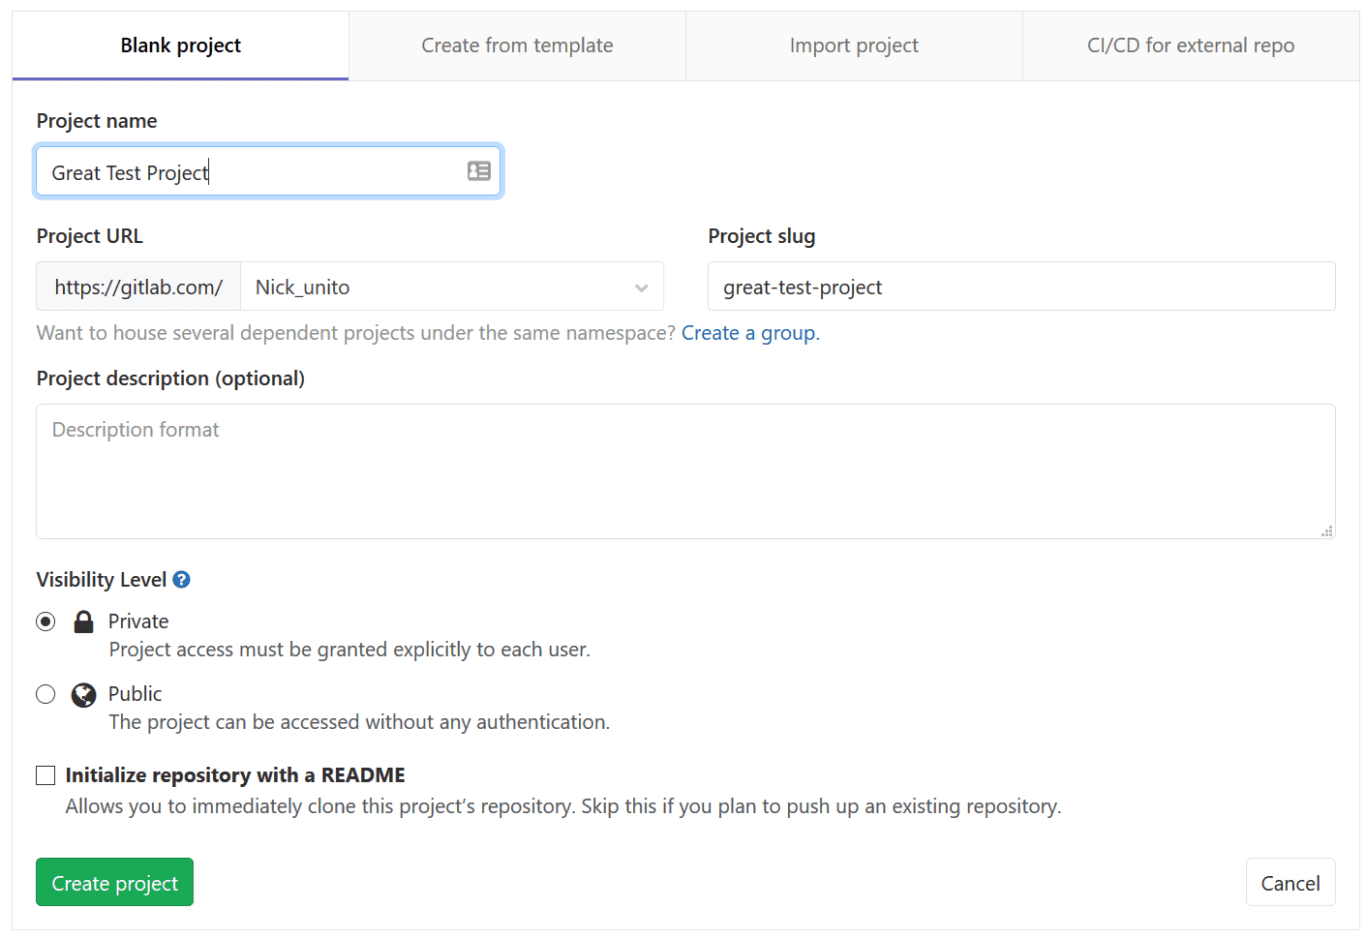
Notice that the project slug field has been auto-filled with whatever you enter for your project’s name. You can also change the project slug without affecting the project name.
The Project URL field is automatically completed with your username. If you wanted to house this project under a group instead, you could switch that here through the dropdown menu.
It’s also possible to give your project a description — useful for differentiating between similarly-named projects.
Next, you’ll need to choose a visibility level for your project.
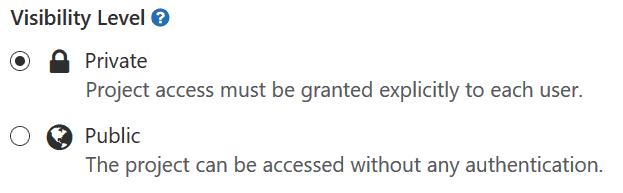
Public projects are visible to everyone on the internet, and your code can be copied by anyone over an HTTPS connection. Anyone with a GitLab account can also view your project’s documentation, jobs, and issues. They can create issues as well, but that’s about as much of an impact as they can have on the project itself. They can’t see or create merge requests.
Public projects are often open-source projects, so if that’s what you’re working on, then you can set your project as public. Otherwise, you’ll want to set it as private. This means that access to the project has to be manually granted by the project owner to each user.
Finally, you can choose to initialize your repository with a README file.
Now click “Create Project” and you’re done!
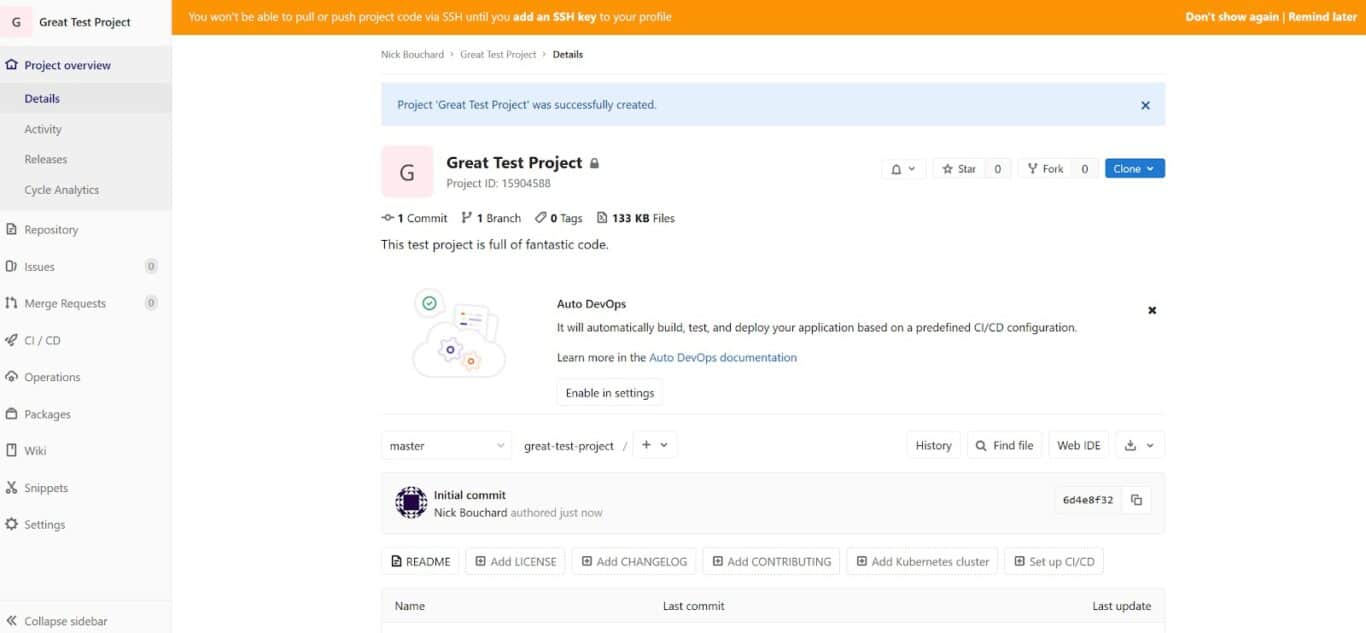
Now that you’ve gone over the basics — and have even created your first project — you’re all set to start coding in GitLab. Push some code, collaborate with the rest of your dev team or keep an eye on the team’s progress. Wasn’t that hard, was it?
Pro tip: How GitLab promotes collaborative development
Learning how to use GitLab is just the first step of the process. When you’re working within a software development team, you also need to know how to coordinate with other developers. That’s where GitLab excels.
Learn more about it here
How to integrate GitLab with other tools
Learning how to use GitLab is great, but what about slotting it in with your tool stack? Without the right integration, you can spend hours just copying and pasting information from tool to tool so everyone’s in the loop. Just because a tool is great for your needs doesn’t mean it works for another team. No one should be forced to use a tool that doesn’t fit their workflow.
Want to save time and effort? Try Unito. Unito has the deepest two-way integrations for some of the most popular tools on the market, including GitLab and Asana, GitLab and Trello, GitLab and Google Sheets, and more.
Here’s a guide to integrate GitLab and Jira with Unito.
Sync data across tools seamlessly, use rules to filter out irrelevant information, and map fields so everything ends up exactly where it needs to go. All of that in just a few minutes.