The Ultimate Beginner’s Guide to Asana
Staying on top of everything is not easy, especially when you have to manage your team’s deadlines in addition to your own. Luckily, Asana can make it a lot easier to manage workflows.
Like many companies, we love using Asana here at Unito. Yet there are always teams and individuals who are new to the tool. If you need a quick tour of how to benefit from its perks and features, you came to the right place.
Let’s take a look at a few of our favorite Asana features and how to use them.
1. Tasks and projects
Tasks
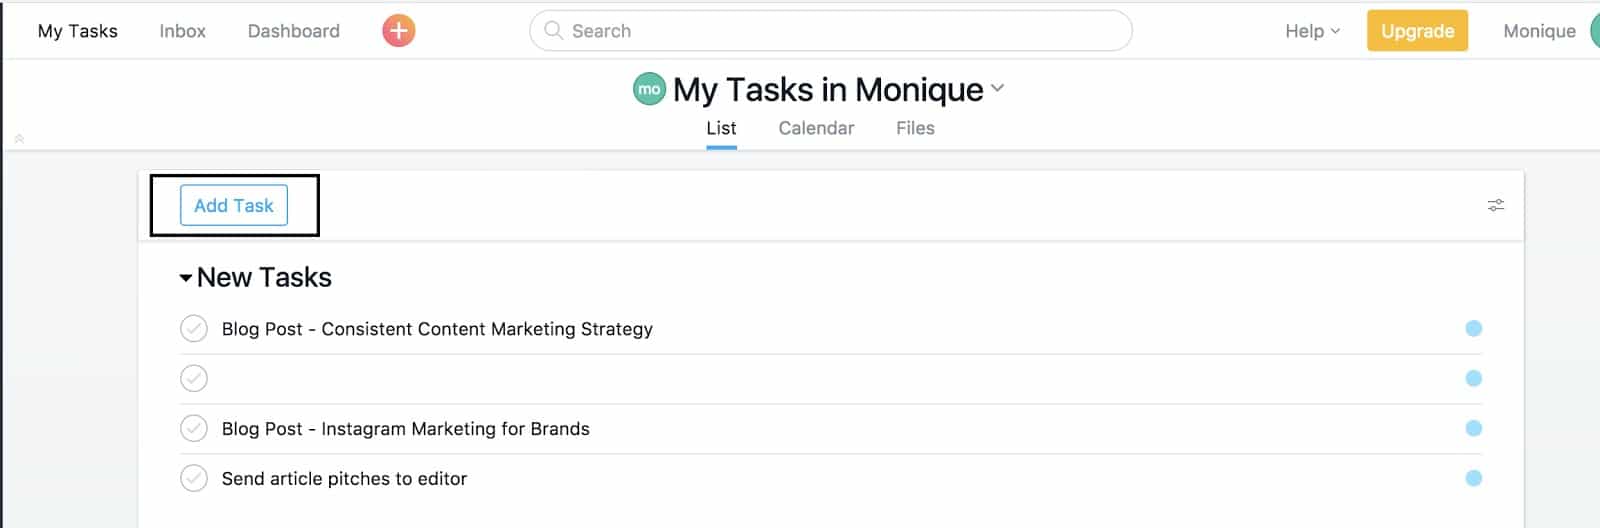
The basic units of action in Asana are tasks. You can create tasks by pressing the “Add Task” button on the top of the main pane.
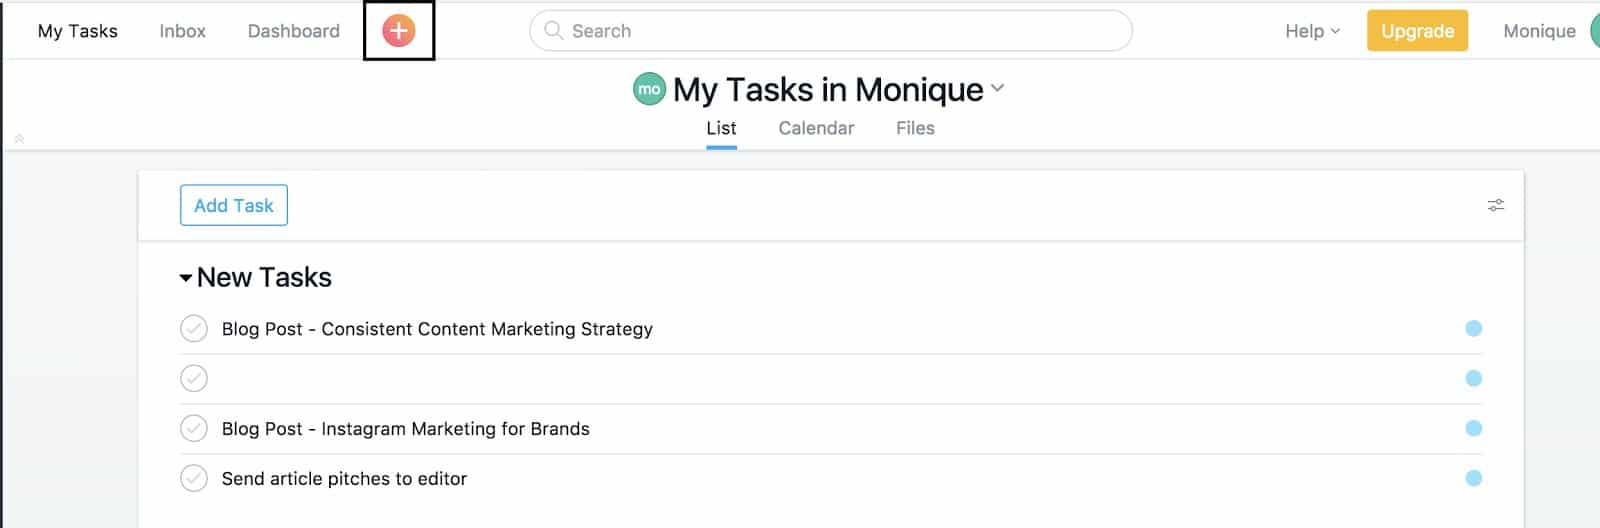
You can also use Quick Add and click the “+” button in the top bar.
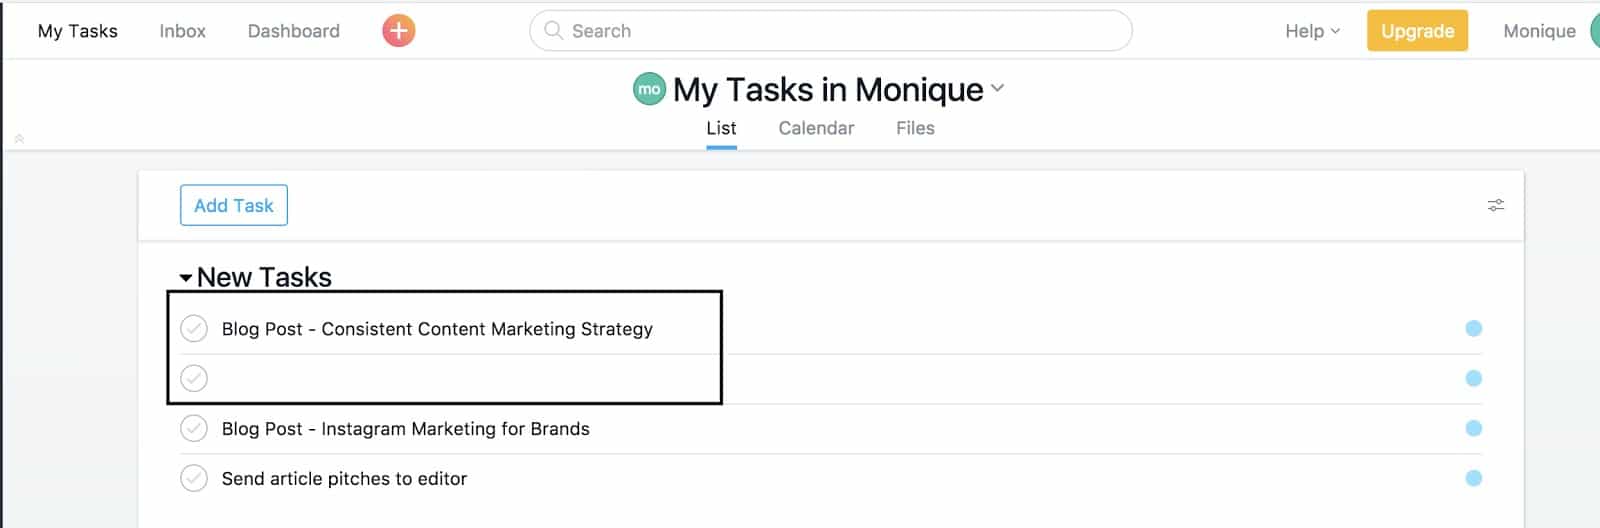
Another way is to select a task and hit enter.
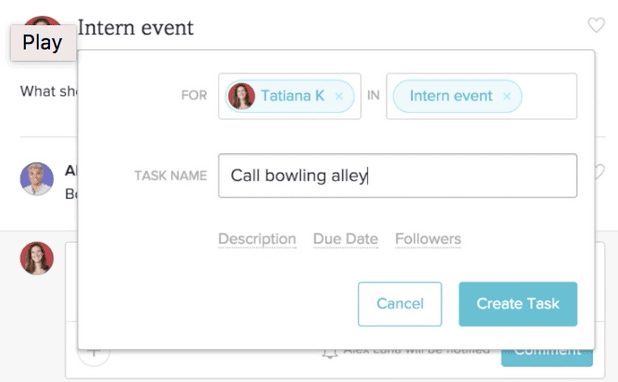
Once you create a task, use the right pane to edit task details.
On the top bar, you can assign the task to a team member, set a due date, add a like, add tags, add subtasks, attach a file or perform several actions.
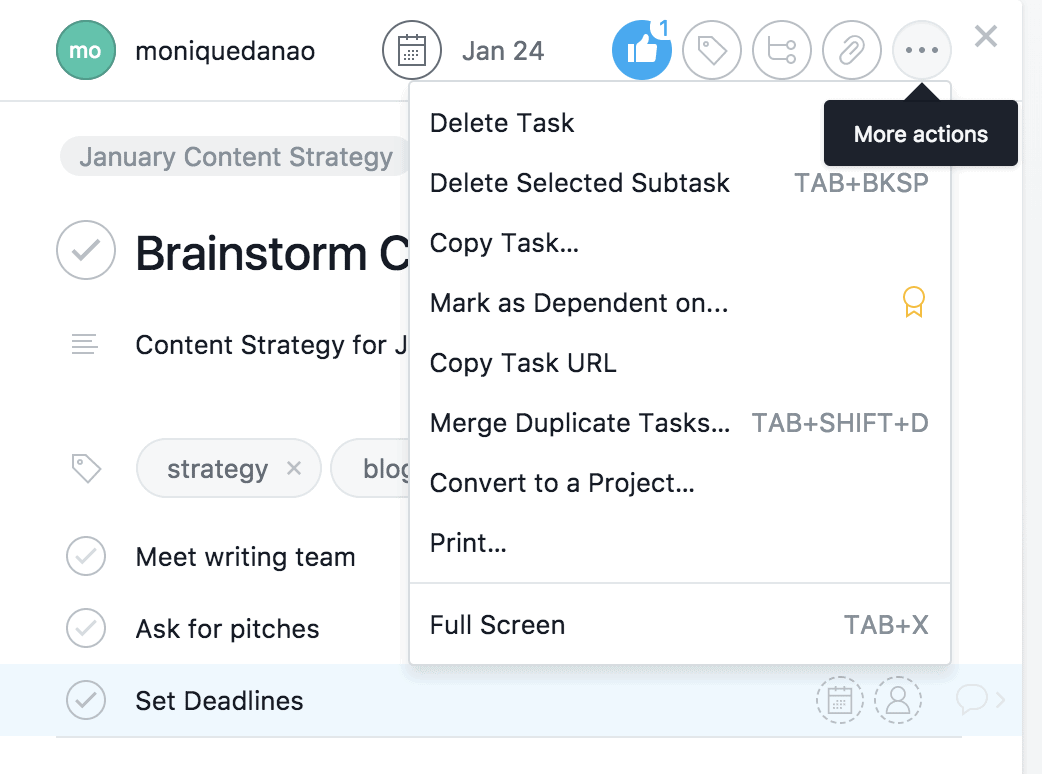
Below the top bar, you can view the task’s title, add a project description, and add a series of subtasks.
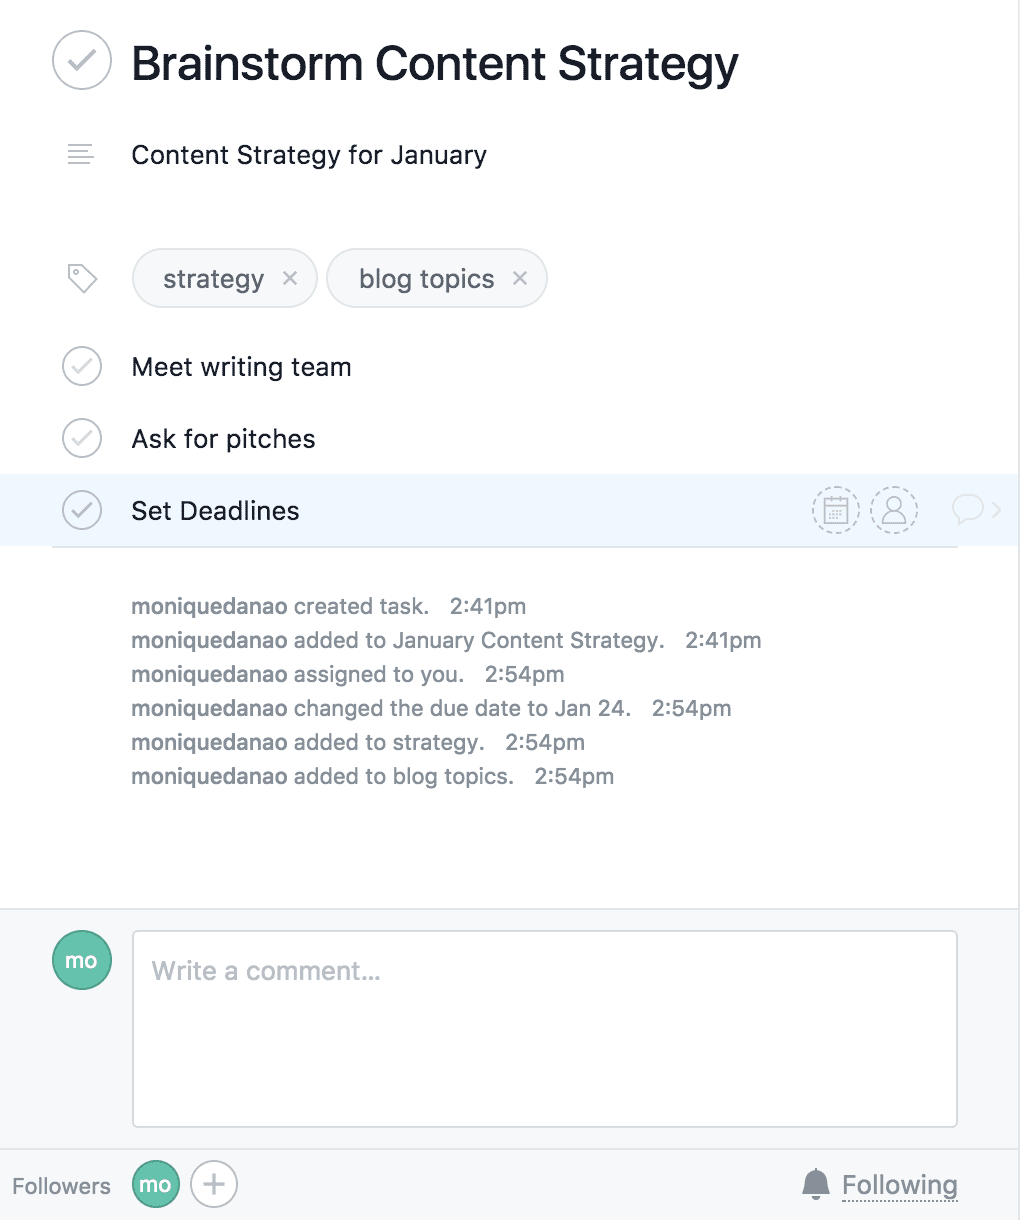
At the bottom pane, you can add comments and view the task’s followers.
Projects
Projects consist of a series of tasks. They’re basically a larger goal, whereas a task is an action someone on your team needs to take in order to achieve that goal.
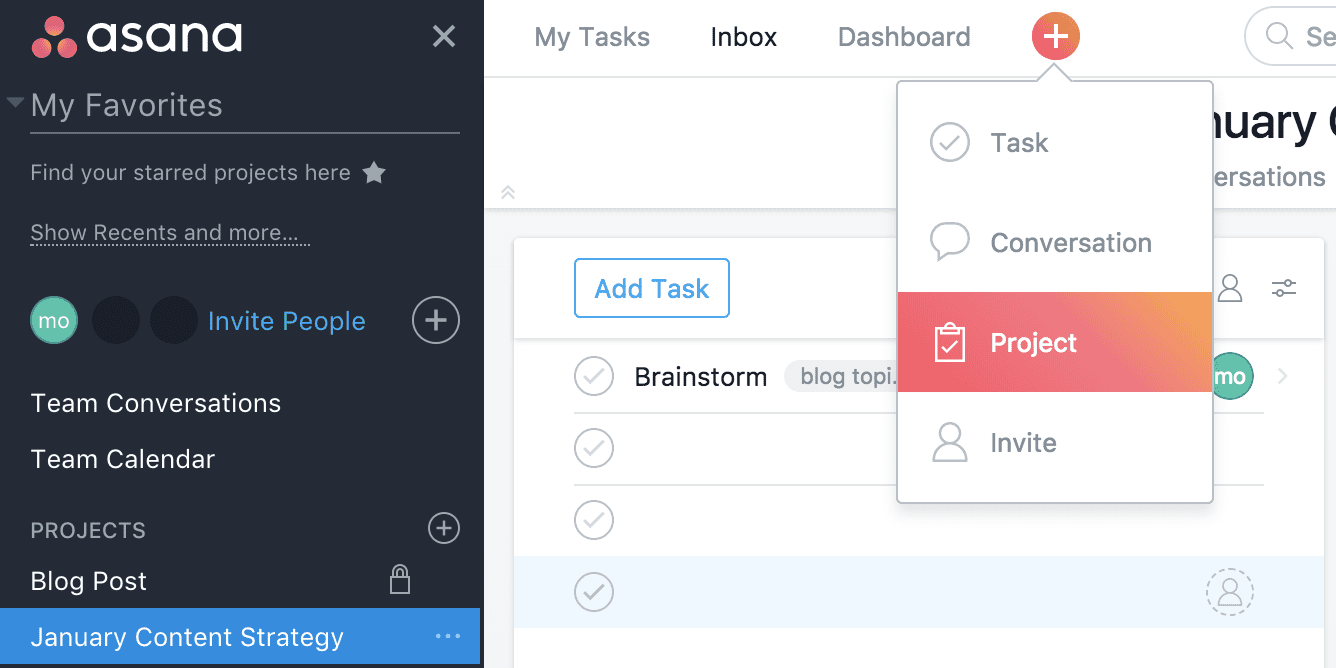
There are two ways you can create a project: click the “+” button in the top bar and select project, or click the “+” button beside “PROJECTS” in the sidebar.
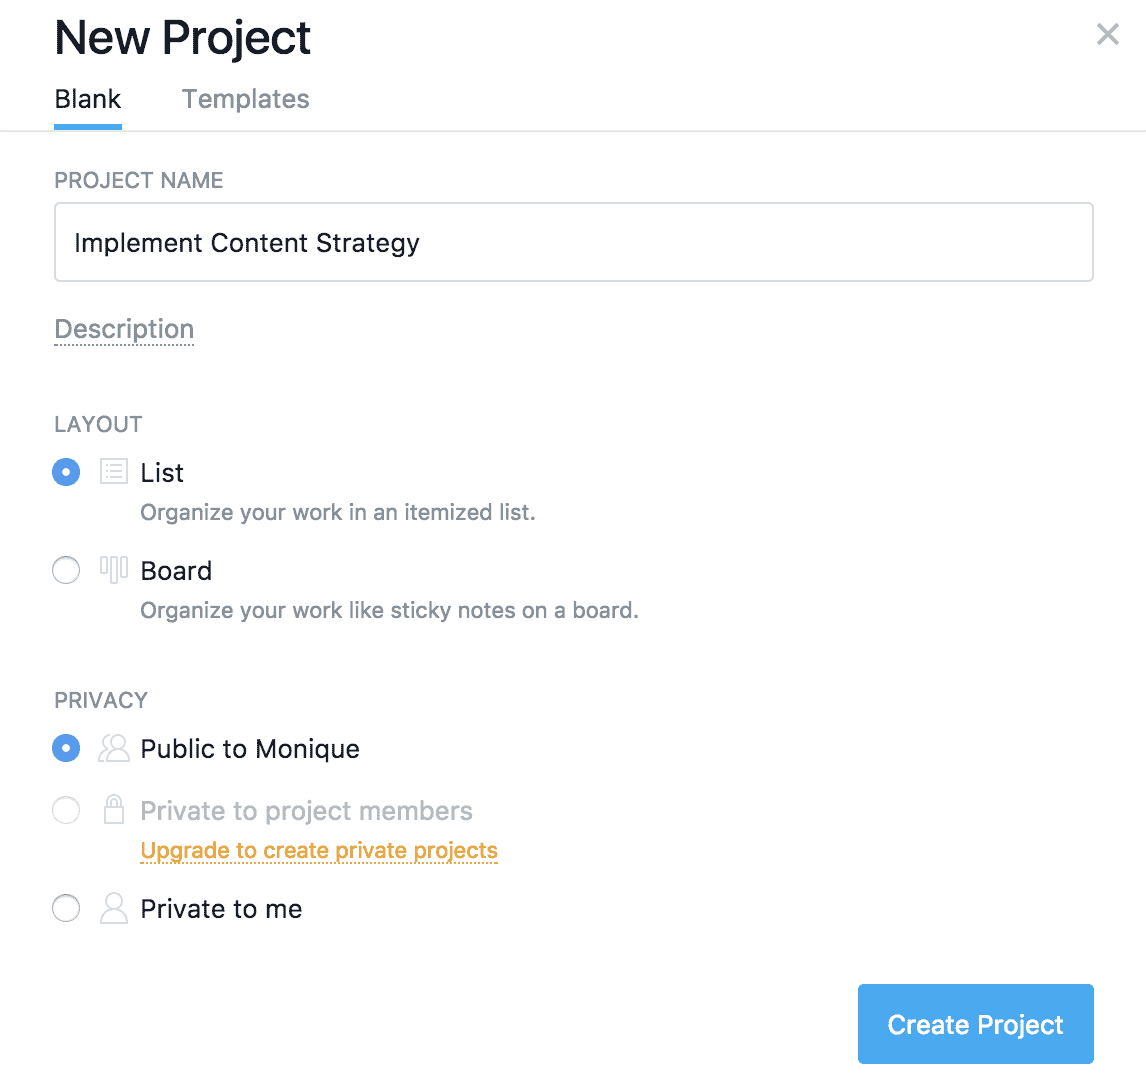
You can then add your project name and description, as well as set the project’s privacy to private, public, or to a specific team.
Once you’ve filled out the necessary fields, select the “Create Project” button.
2. Team basics
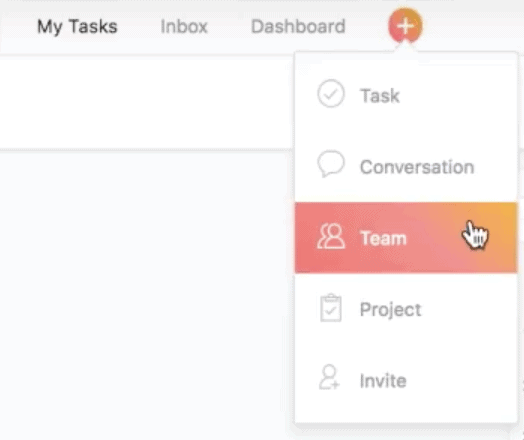
A team is a group of people who work together on one or several projects. To create a team, you can hover to the left pane and click the “+” button. You can also click the “+” button on the top pane.

Next, type the email address of the team member you wish to add.
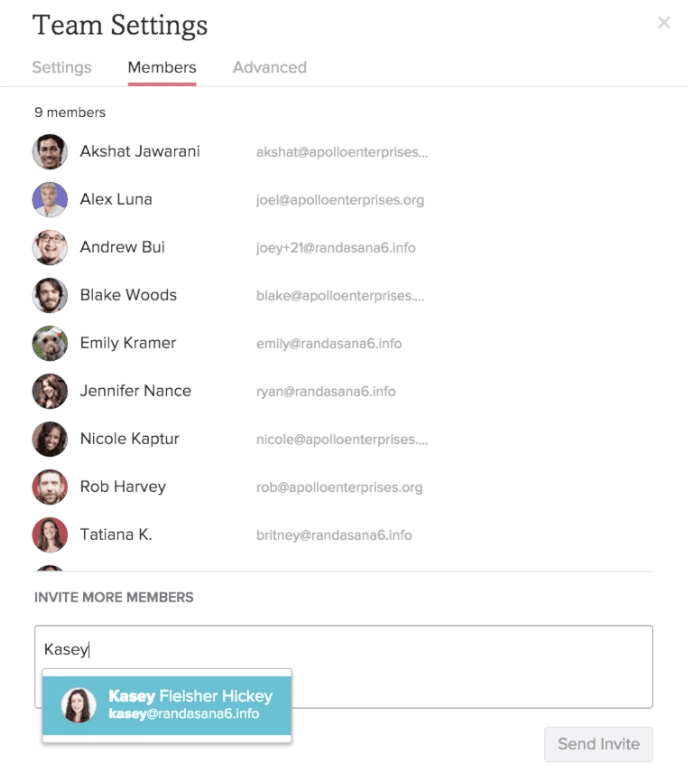
You can invite both members and guests to view projects and tasks. Members are your co-workers. Guests on the other hand, have limited access. They can view projects and tasks only if they’re made public or are shared with them.
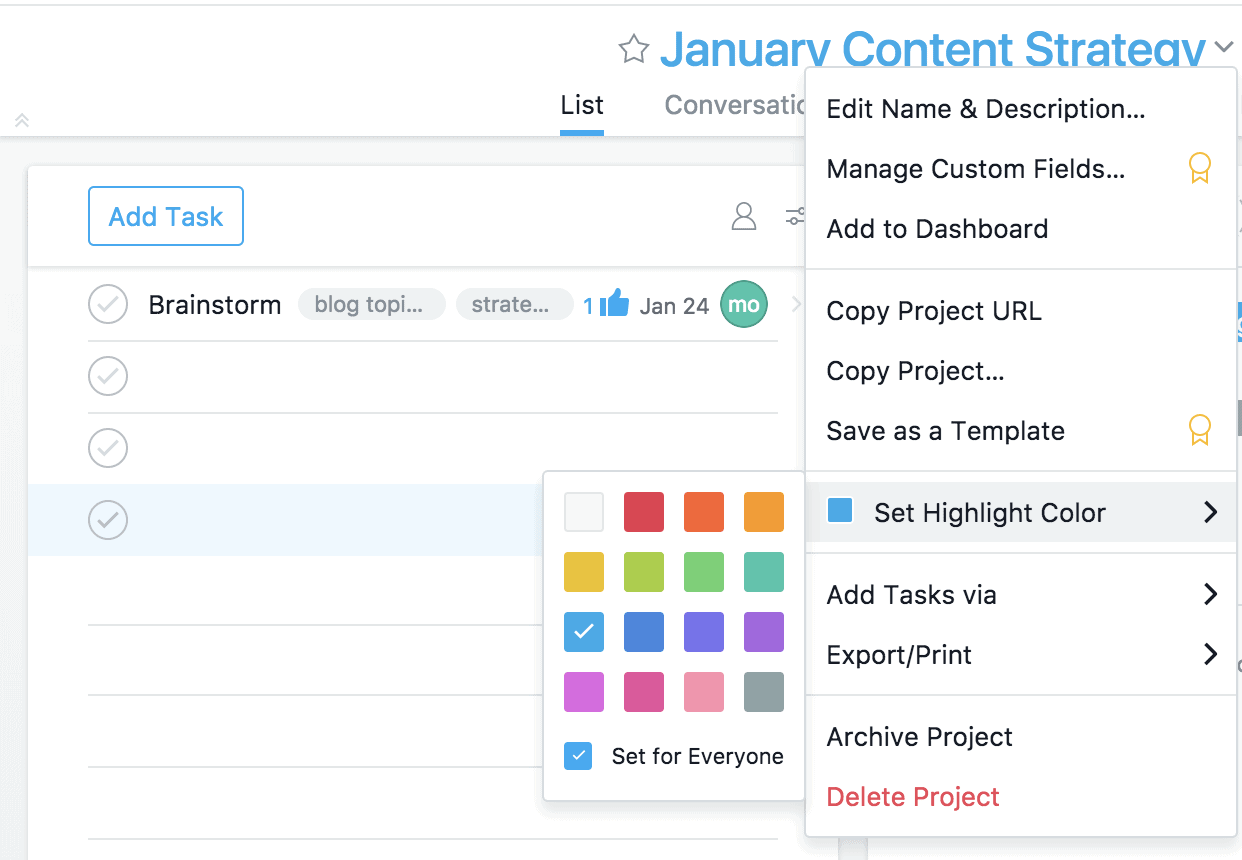
3. Color coding projects
You can easily track projects by color-coding them.
Simply click the dropdown menu, hover over “Set Highlight Color,” and select “Set for Everyone.”
4. Managing project access and notification settings
Adding team members to a project is super easy to do.
Simply select the “+” button at the upper rightmost side of the top pane.

Next, type the email address of the person you want to invite at the text box labeled “Who has access.”
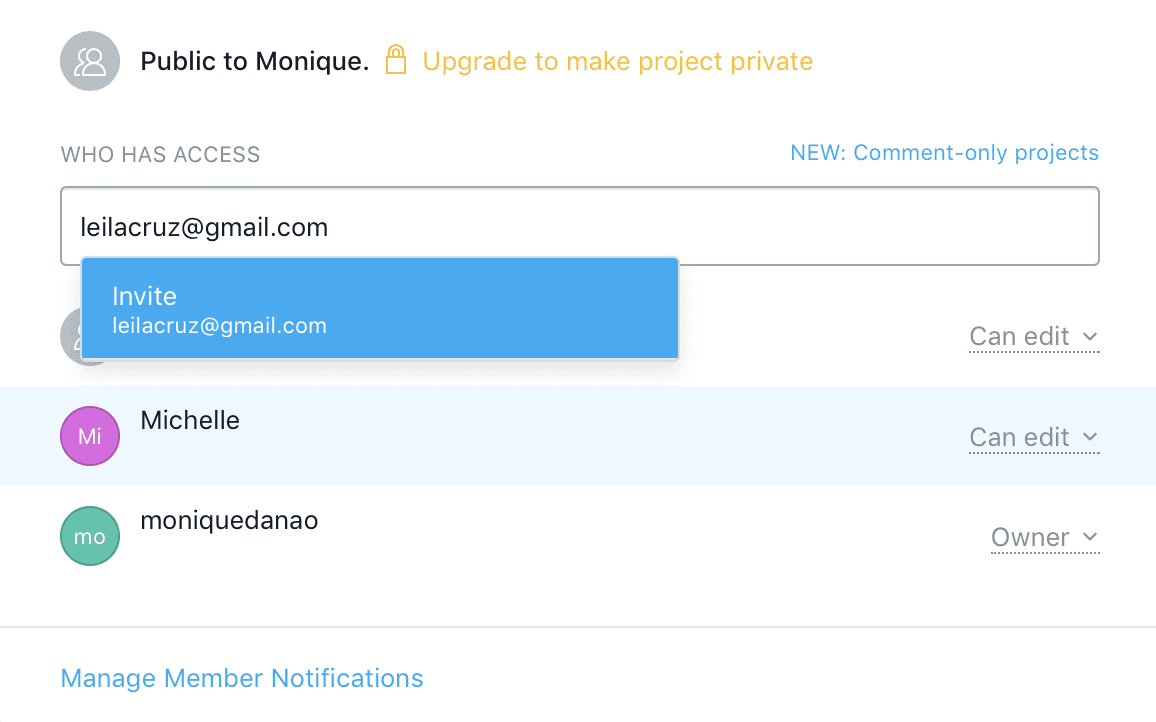
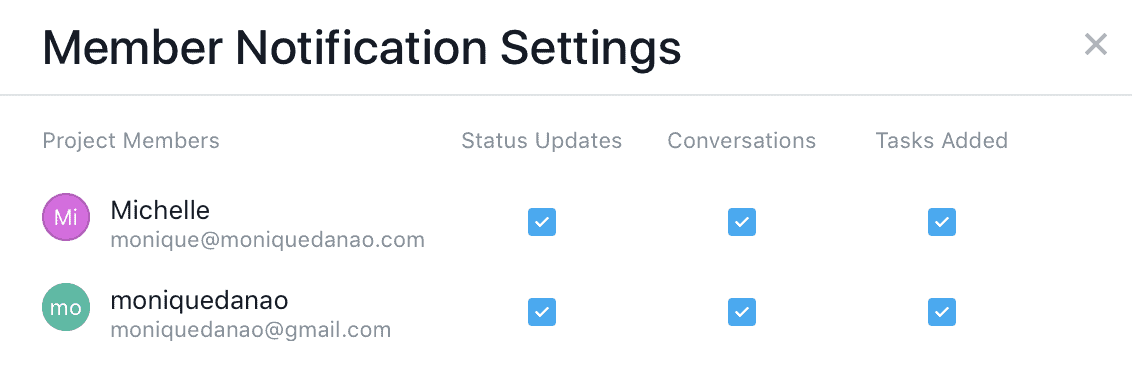
At the bottom, you can select “Manage Member Notifications” to choose notification settings for status updates, conversations, and task creations.
5. Using progress view to track tasks
In the project progress view, you can track task completion in a project over time and get status updates from Project Owners. To find the progress view, hover over the progress tab.

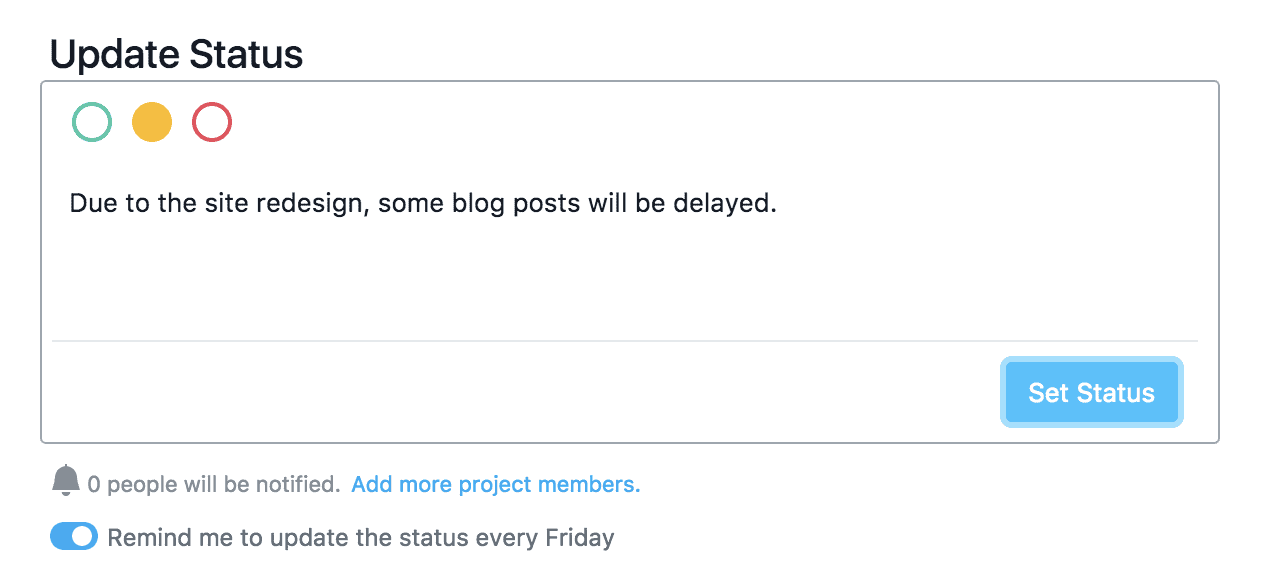
If you’re a project owner, you can update the status of your project by choosing a color or adding a narrative. There are three colors to choose from: green, yellow, and red. Green indicates that your project is on track. Yellow means that it is on track but there are some risks worth addressing. Red means the project is behind schedule.
Below the color labels, you can update the project’s status. In the example below, the status is: “Due to the site redesign, some blog posts will be delayed.”
You may also opt to get status reminders every Friday. Once you’re done click the “Set Status” button.
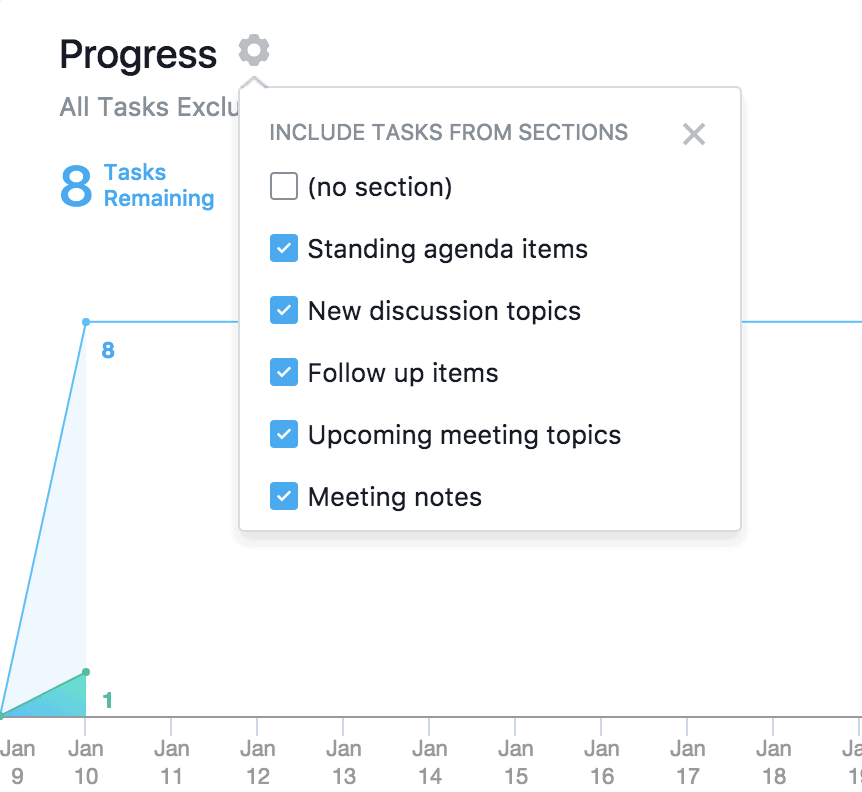
Use the project progress chart to see a timeline of remaining and completed tasks.
You can use the gear icon to add or omit sections of the project from the progress chart. This is useful to do for tasks that won’t affect the team’s progress.
6. Using sections to organize tasks
If you have too many tasks, you can organize them into sections. Sections can be used to create categories, workflow stages, priorities, and more. To convert a task to a section, add a colon (:) at the end of the task’s name. You can also convert a section into a task by removing the colon (:) from the section’s name.
Another option is to hover over the “Add Task button,” then select the “Add Section” button.
To move a task to another section, simply drag and drop it below the section.
Pro tip: Combine the Getting Things Done methodology with Asana
The Getting Things Done methodology is a five-step process you can use to chew through to-do lists and entire projects. It starts with collecting your tasks, clarifying what needs to get done, organizing your work, reflecting, and finally engaging (i.e. getting things done). By combining this methodology with Asana, you’re giving yourself all the tools you need to always get through your to-dos.
Here’s how it’s done.
7. Using Asana-created templates to add new workflows
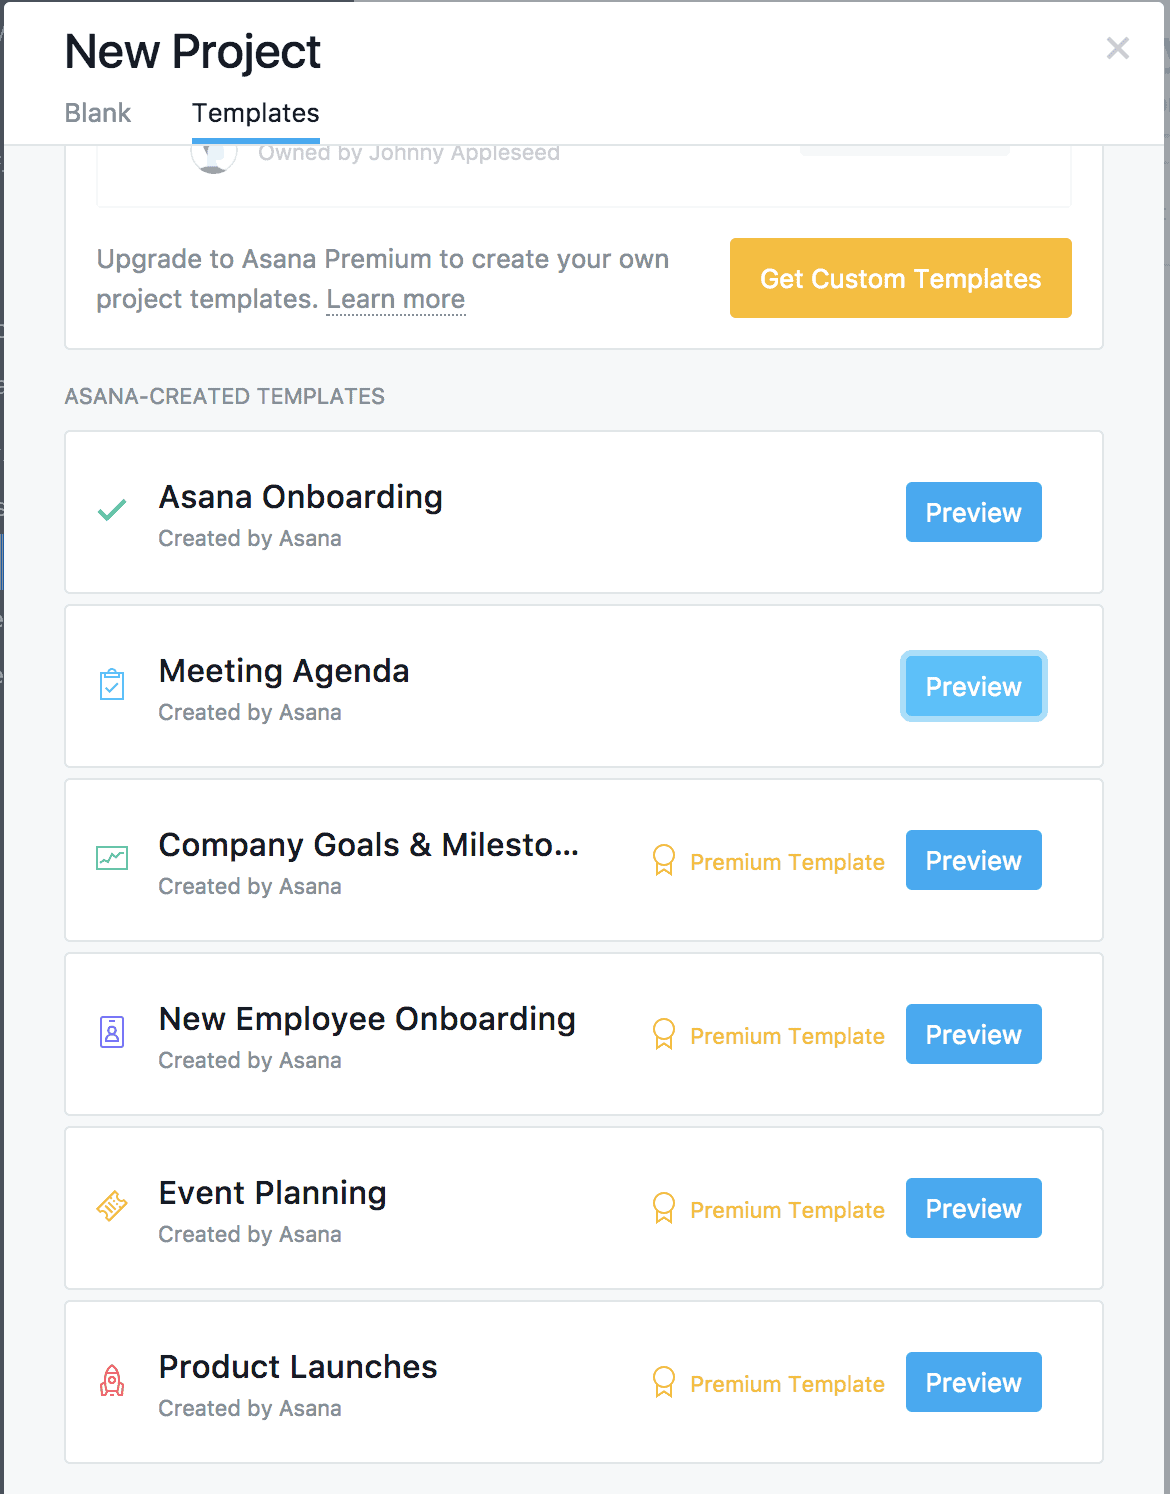
Instead of starting from scratch, you can use Asana-created templates, to save time adding tasks.
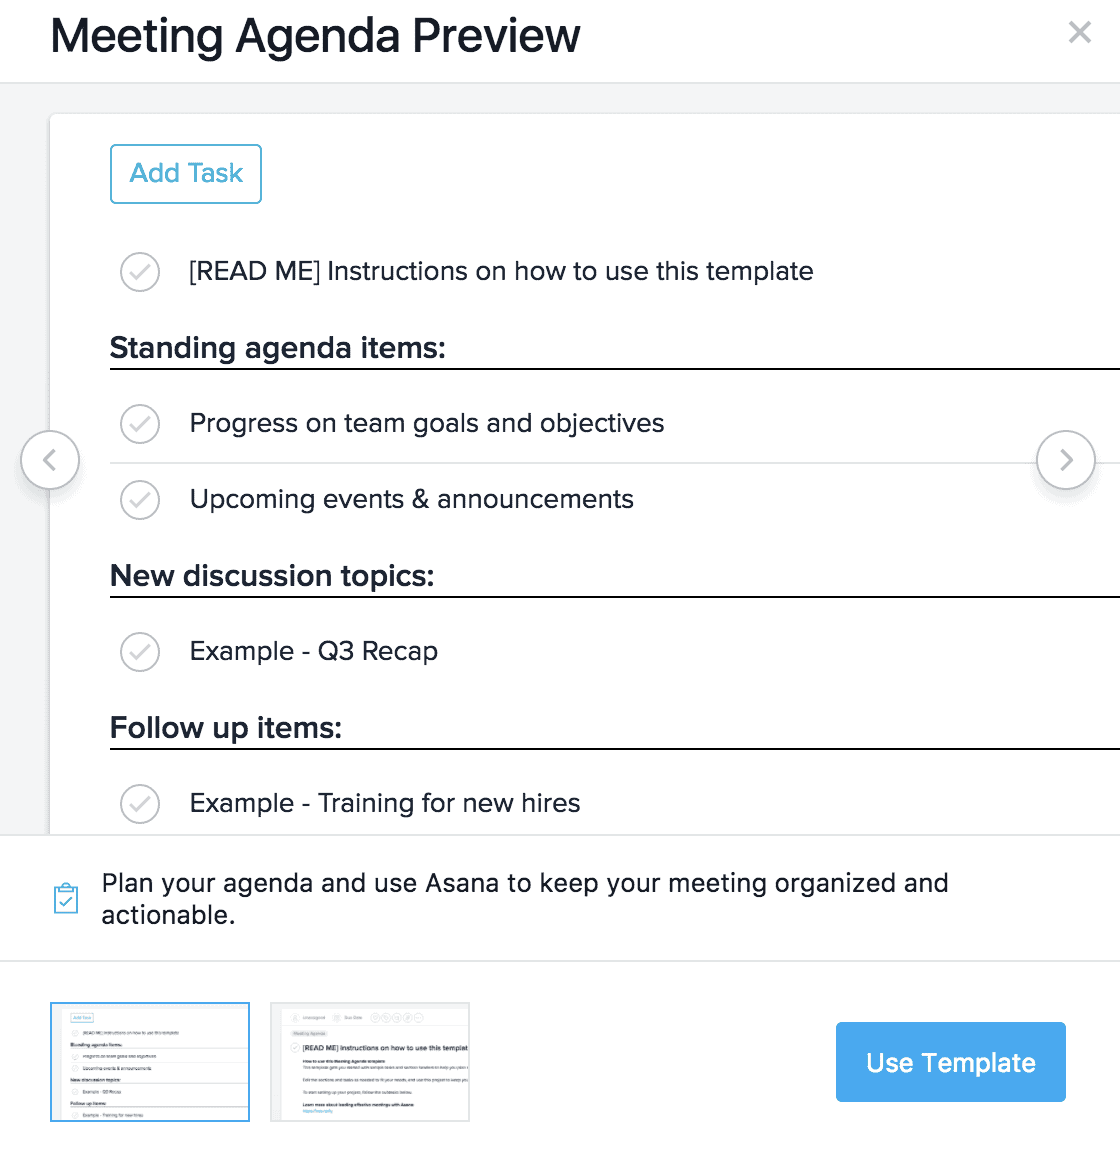
To use an Asana-created template, create a project and hover over the “Templates” tab. Here, you’ll find templates for onboarding, meeting agendas, company goals and milestones, and event planning. To view a template, simply select the “Preview” button.
Once you’ve decided on a template, click the “Use Template” button.
Next, set a project name and specify the privacy settings. For this example, we’ve named the project “Content Strategy Meeting” and clicked “Create Project.”
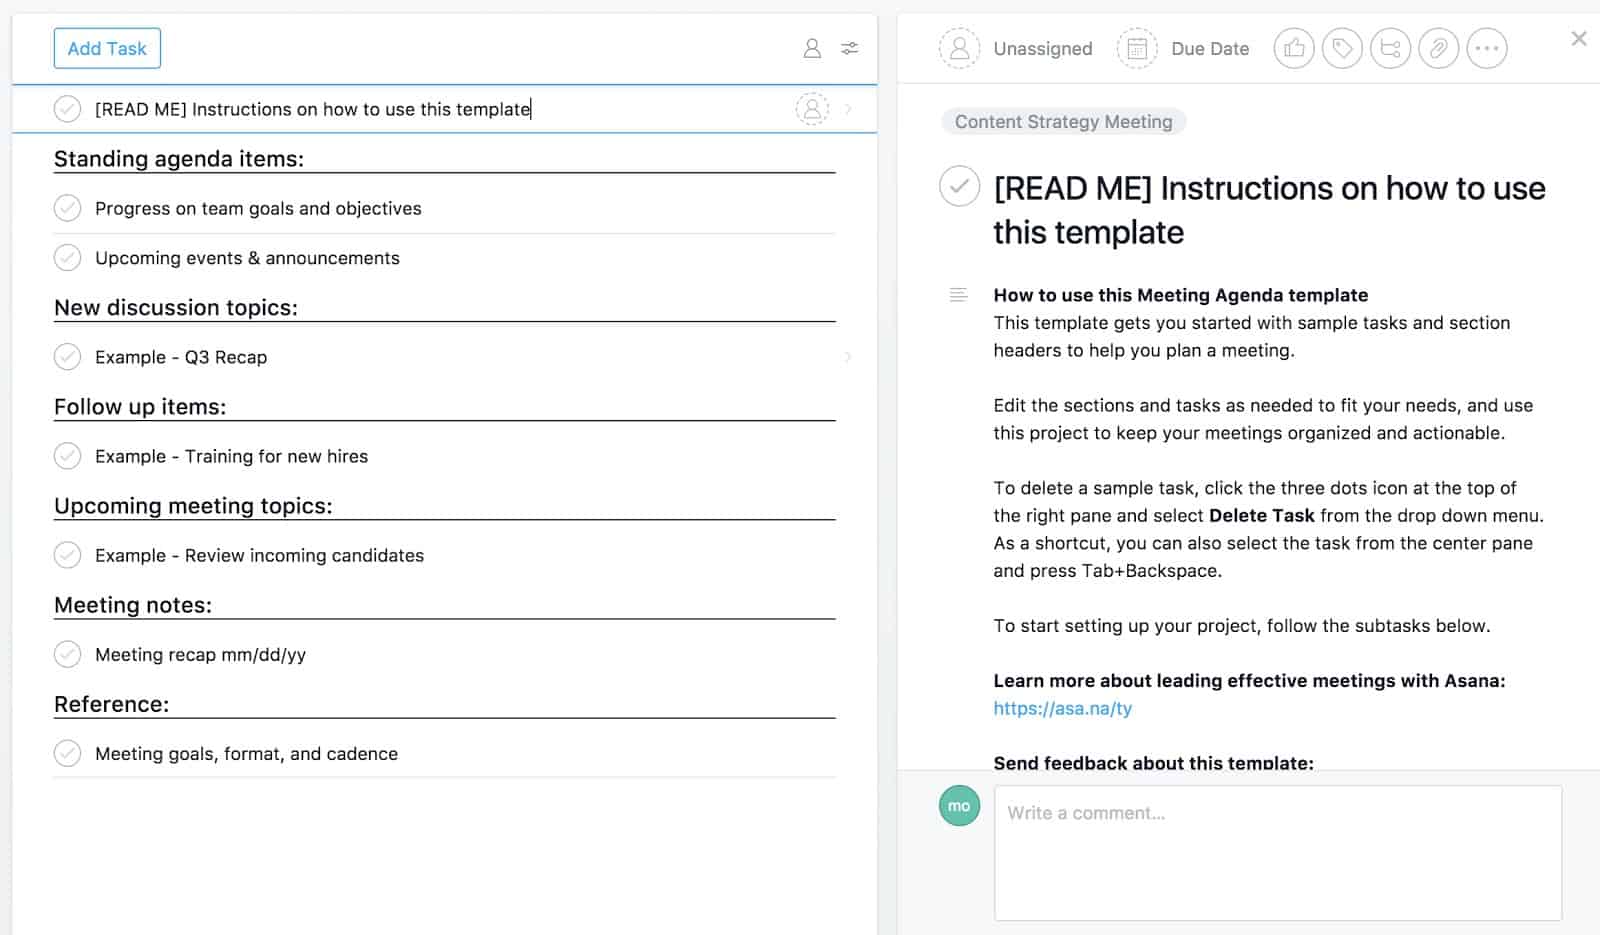
You can edit the tasks and sections in the template to suit your goals and objectives.
The template comes with a “Read Me” task with instructions on how to use it.
8. Navigating calendars
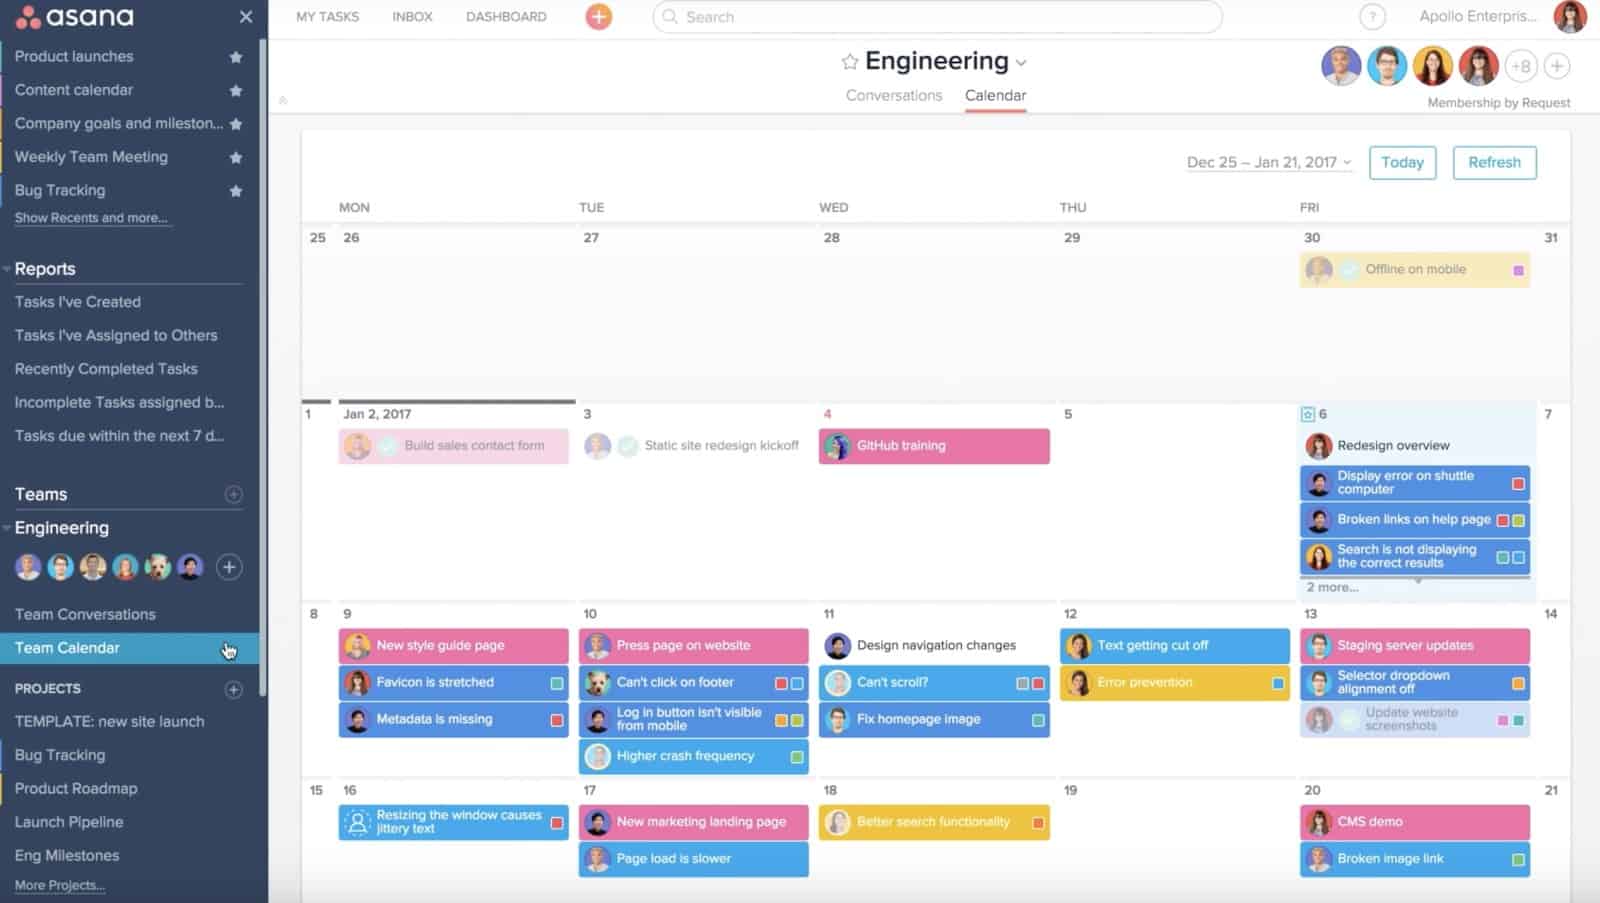
Calendars are a great way to track of your goals and to-dos. To access it, select “Calendar” at the top of the main pane. Here, you can view the tasks you follow and those assigned to you across different teams and projects. Note that only tasks added to projects (not those in the my tasks section) will appear in the team calendar.
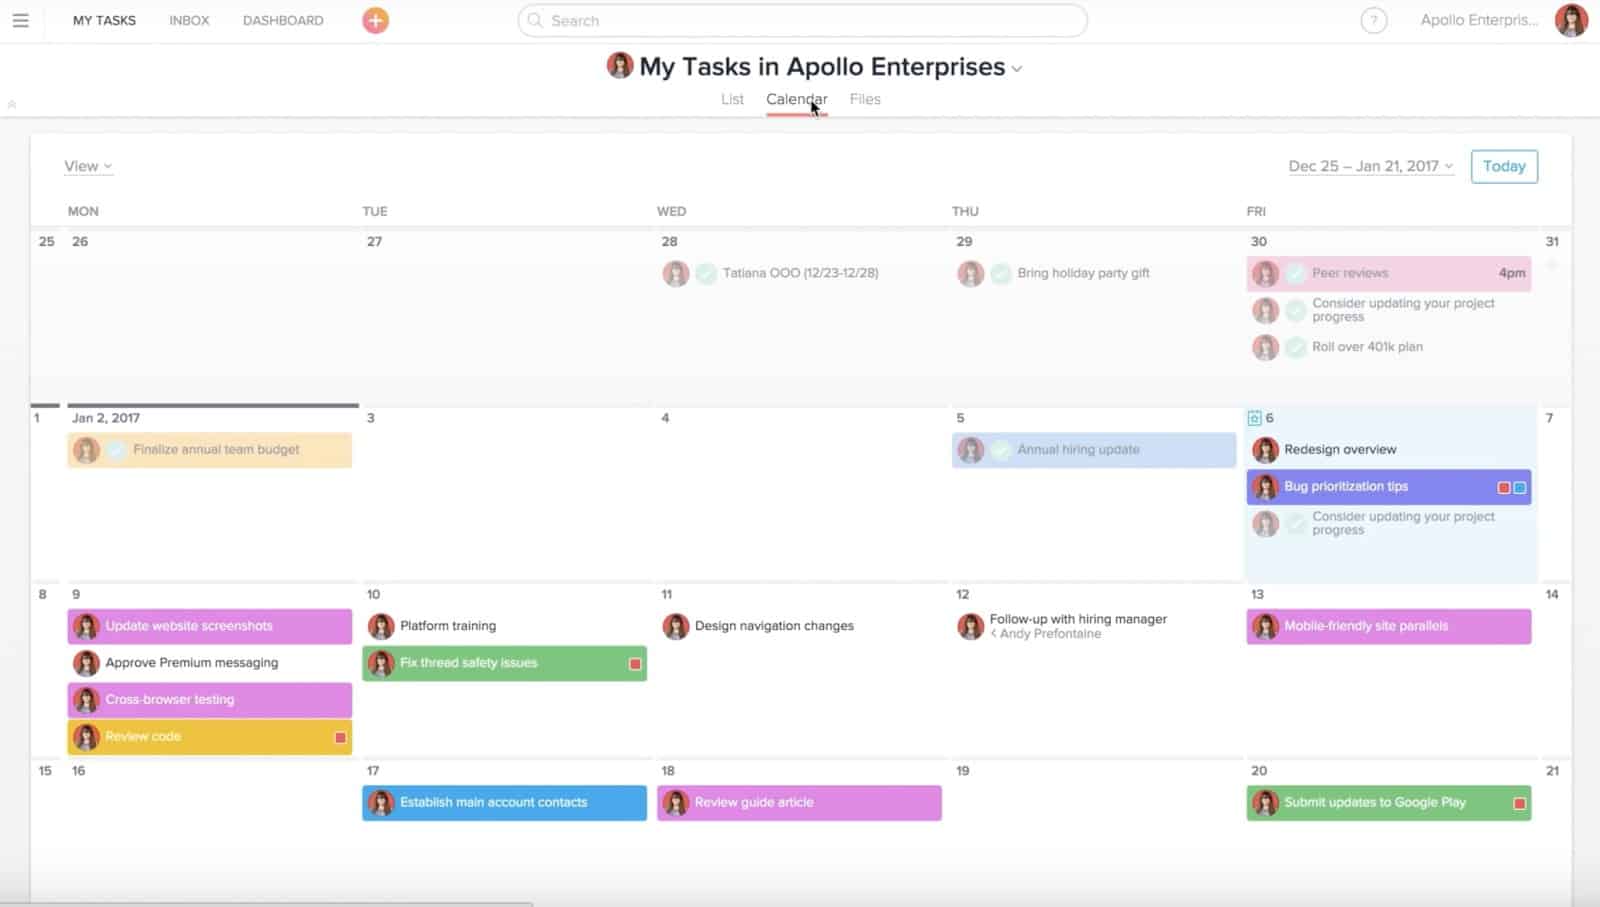
The tasks are color coded, so you can see which ones belong to multiple projects.

If you want to move a task’s deadline to another date, simply drag and drop the task to your preferred date.

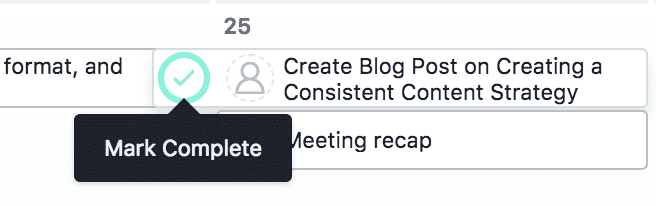
To mark a task complete, click the checkmark.
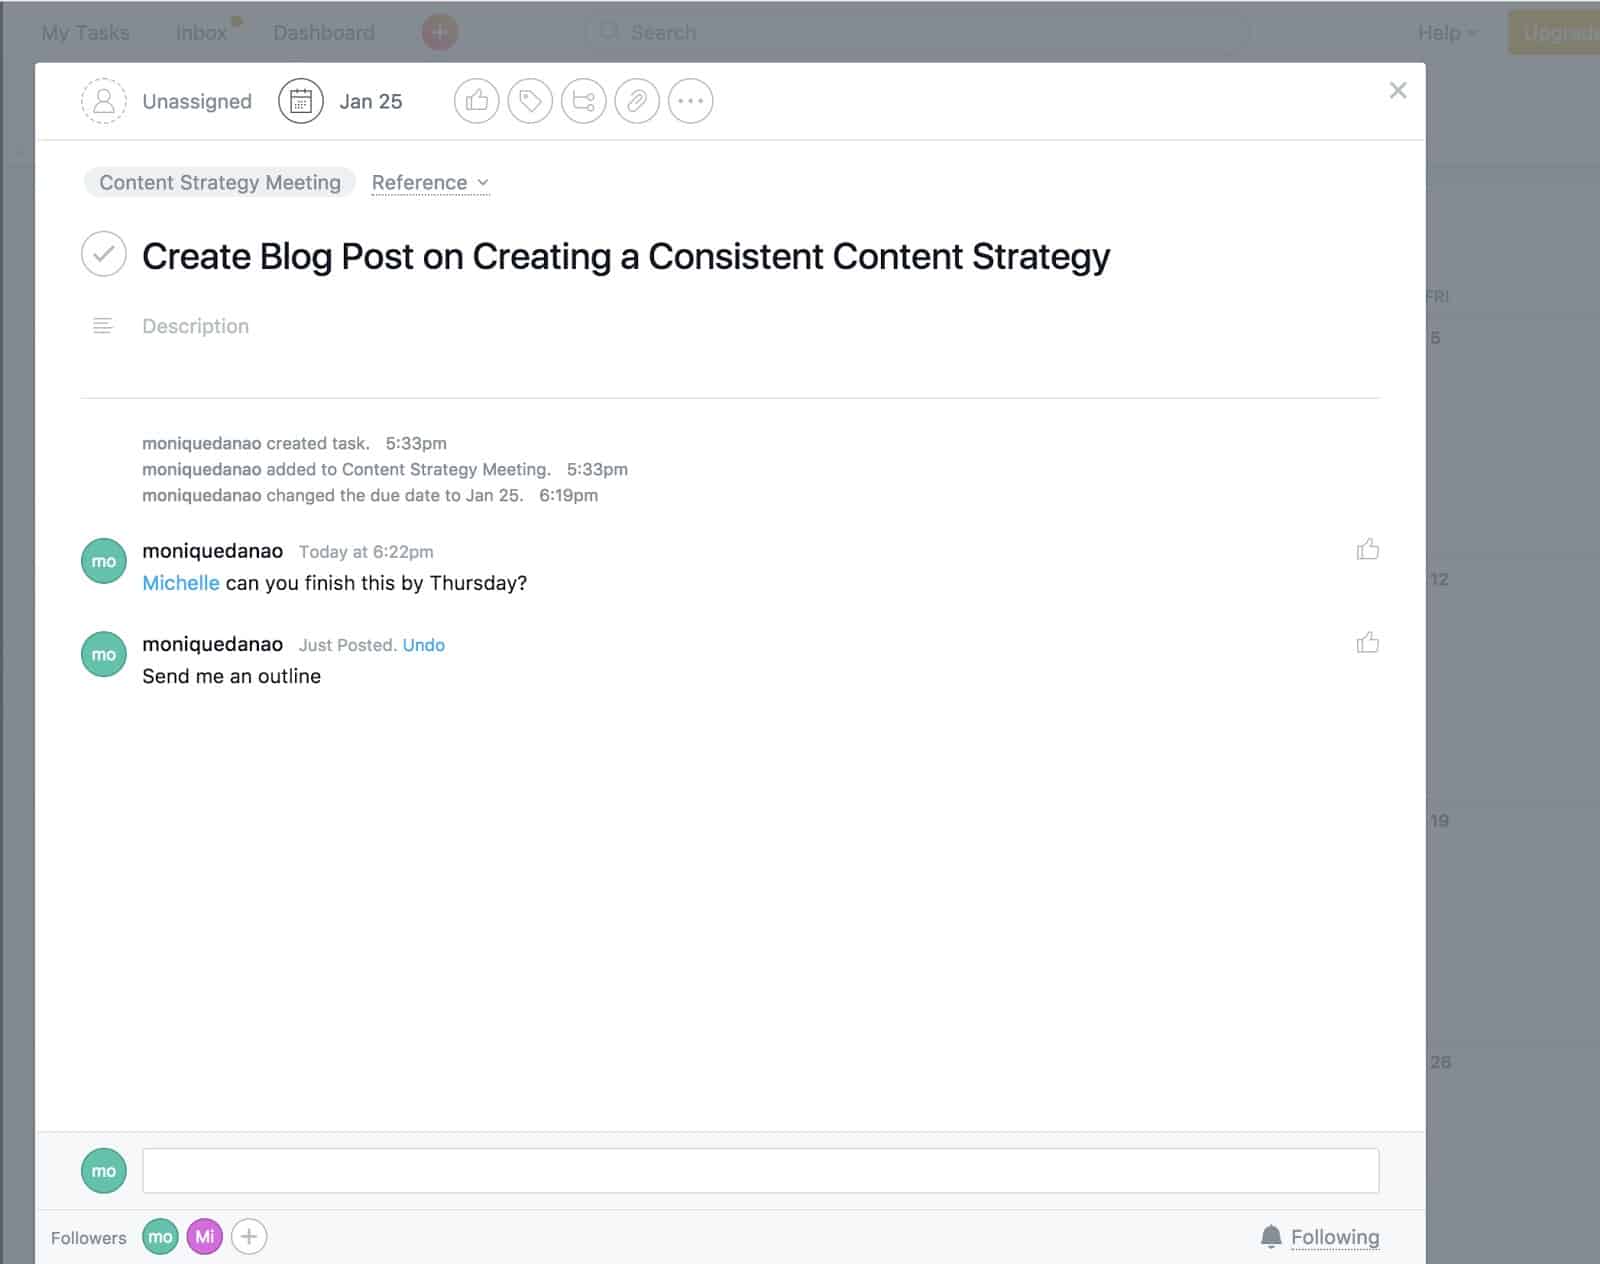
You can also view team members’ tasks using the “Team Calendar” view. Team calendars are great for organizing your team and giving senior managers access to everyone’s daily or weekly goals and objectives. The team calendar can be found in the left sidebar. You can click on tasks to view their details, add project descriptions, comment, or attach files.
You can also double click a due date in the calendar to create a new task.
9. Using team conversations
You can start a conversation with your entire team or with those working on a specific project.
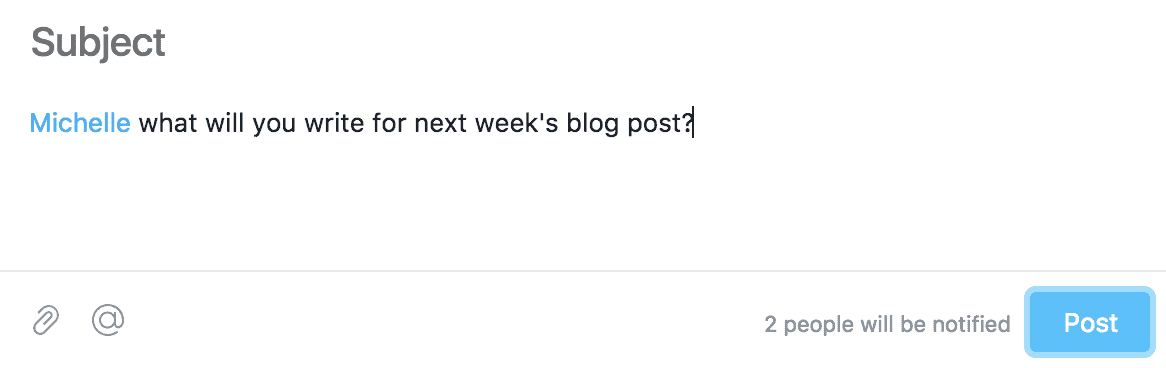
To start a conversation, click “Team Conversations” on the sidebar. Enter the subject line, provide additional info in the body, @mention people that aren’t part of the project but who you want to include in the conversation, and click “Post.”
You can also create a task in the conversation by selecting the “+” button and clicking “Add New Task.”

10. Managing user permissions
Task permissions
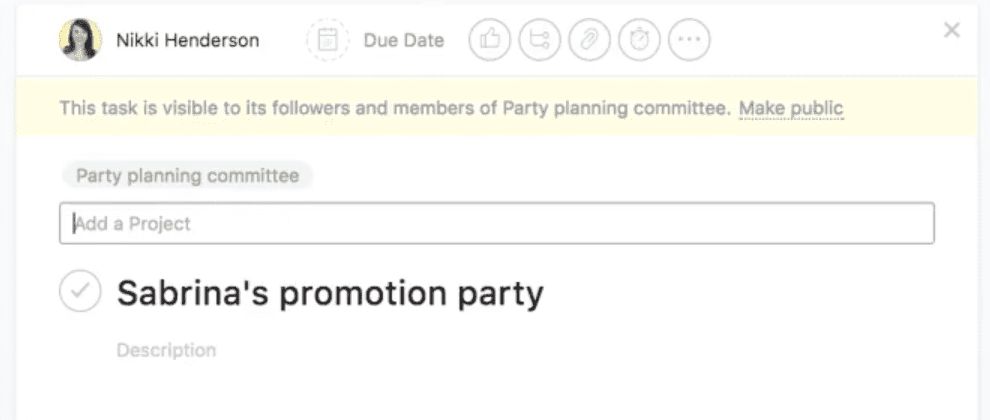
If you want to create a private task that only you can view, do it in “My Tasks.” There will be a message that states “This task is private to you.”

You can also add team members as followers so they can view the task as well.
Project permissions
You can also create private projects. Click “Create a project,” and play with the three privacy options at the bottom of the window.
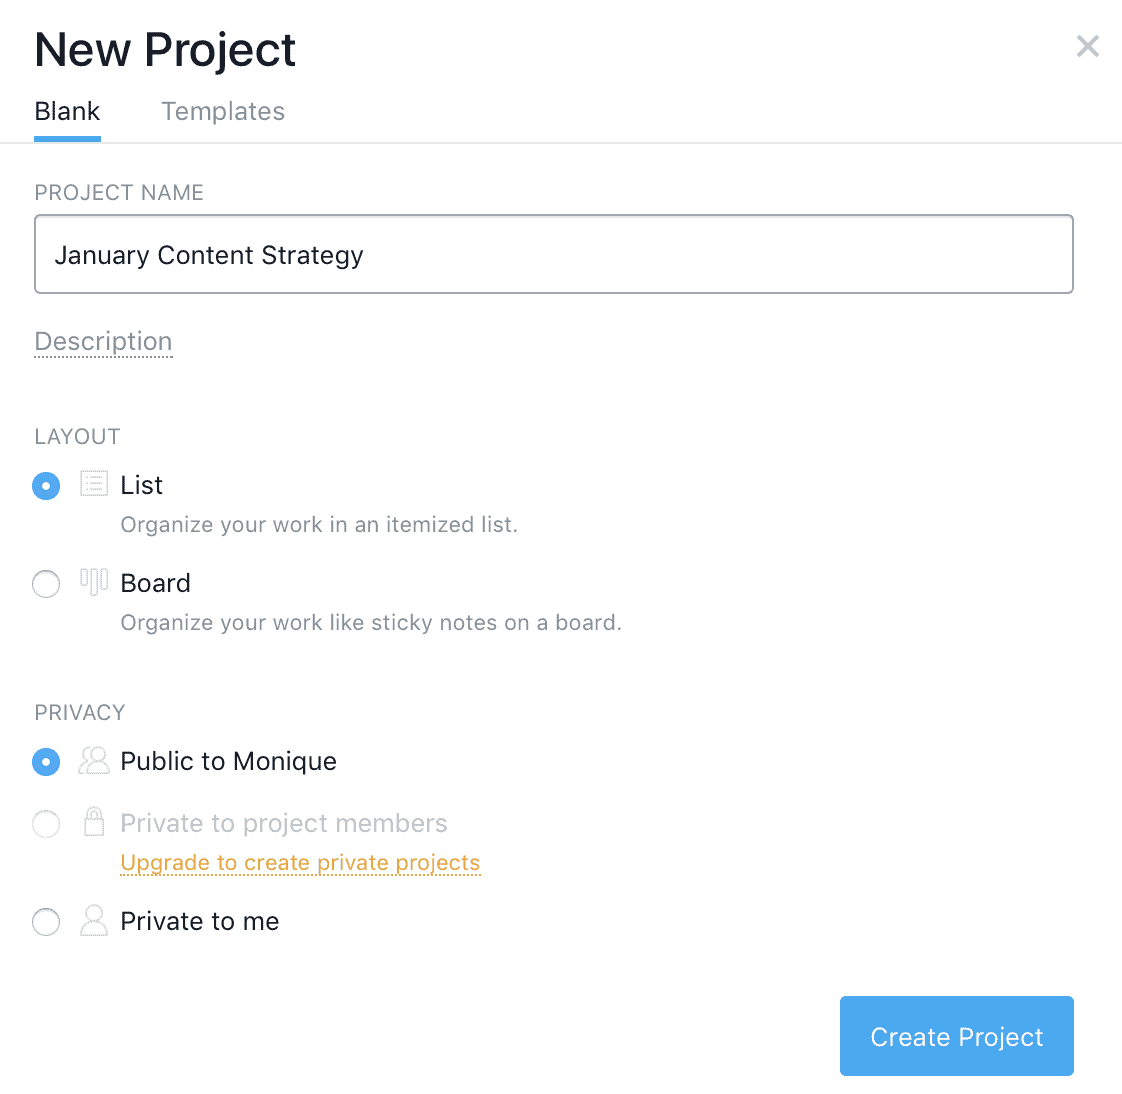
The public to team option makes the project viewable for everyone. In the “Private to Project” option, only project members can view the project, and in the “Private Only to Me” option only you can see it.
Team permissions
Likewise, you can also create private teams. Click the “+” icon on the top pane and select “Teams.”
At the bottom of the window, you’ll find three options: membership request, hidden, and public to organization. In the “Membership by Request” option anyone in the organization can find and search for the team. However, they need to request access. Meanwhile, in the “Hidden” option no one can find the team, unless they are invited. Lastly, in “Public to Organization” anyone can find the team and view public projects without requesting access.
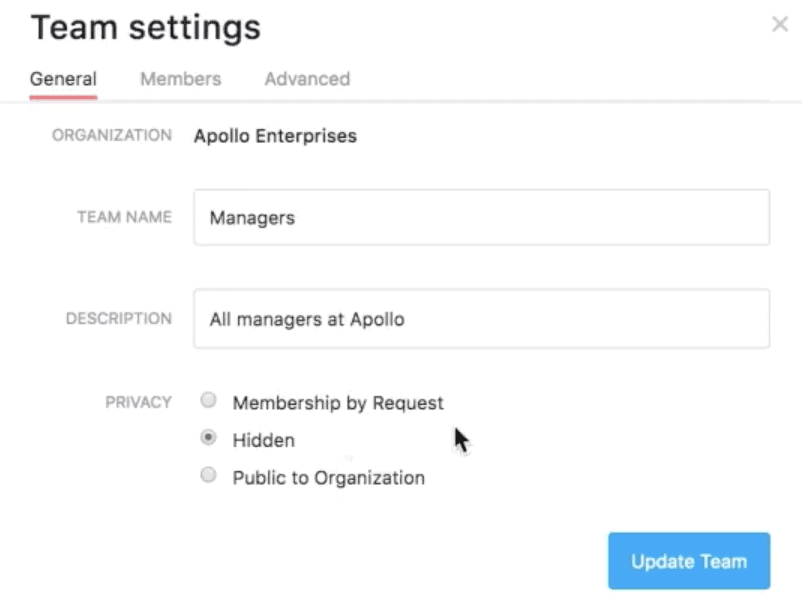
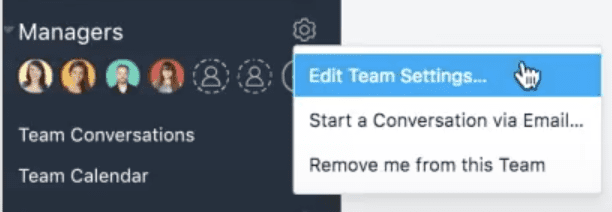
You can change team settings at any time by clicking the gear icon and selecting “Edit Team Settings.”
11. Using workspaces
A workspace is a group of people that collaborate on projects and tasks. They don’t require members to have the same company email domain. If you sign up for Asana through a personal email addresses (for example Gmail), you’ll automatically be placed in a workspace.
Workspaces have two types of members: workspace members and limited access members. Workspace members have full access to all projects, tasks, and conversations. They can also rename workspaces, upgrade or downgrade to a premium plan, become the billing owner, invite or remove people, and convert people to members or limited access members.
By contrast, limited access members cannot access or edit project information unless it’s shared with them.
To make someone a member or a limited access member, hover over their name in the workspace settings.
Creating a workspace
Creating workspaces is super easy.
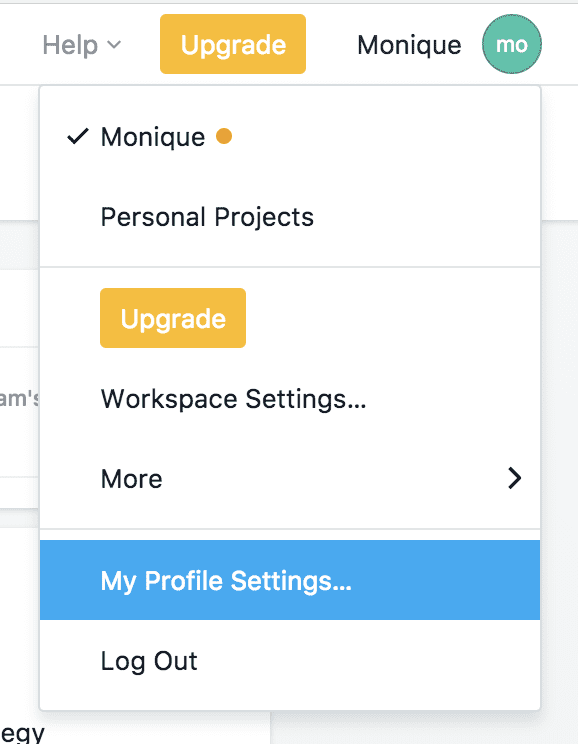
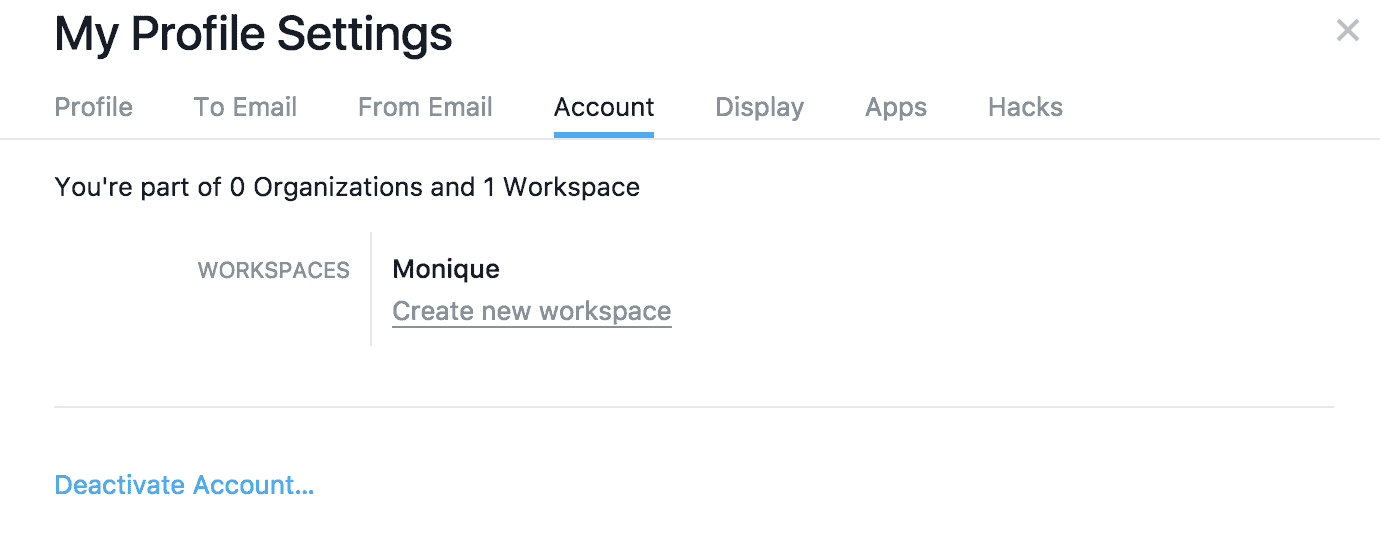
Simply select your profile photo and click “My Profile Settings.” Next, select the Account tab and click “Create a New Workspace.”
How to integrate Asana with other tools
Learning how to use Asana is great, but what about slotting it in with your tool stack? Without the right integration, you can spend hours just copying and pasting information from tool to tool so everyone’s in the loop. Just because a tool is great for your needs doesn’t mean it works for another team. No one should be forced to use a tool that doesn’t fit their workflow.
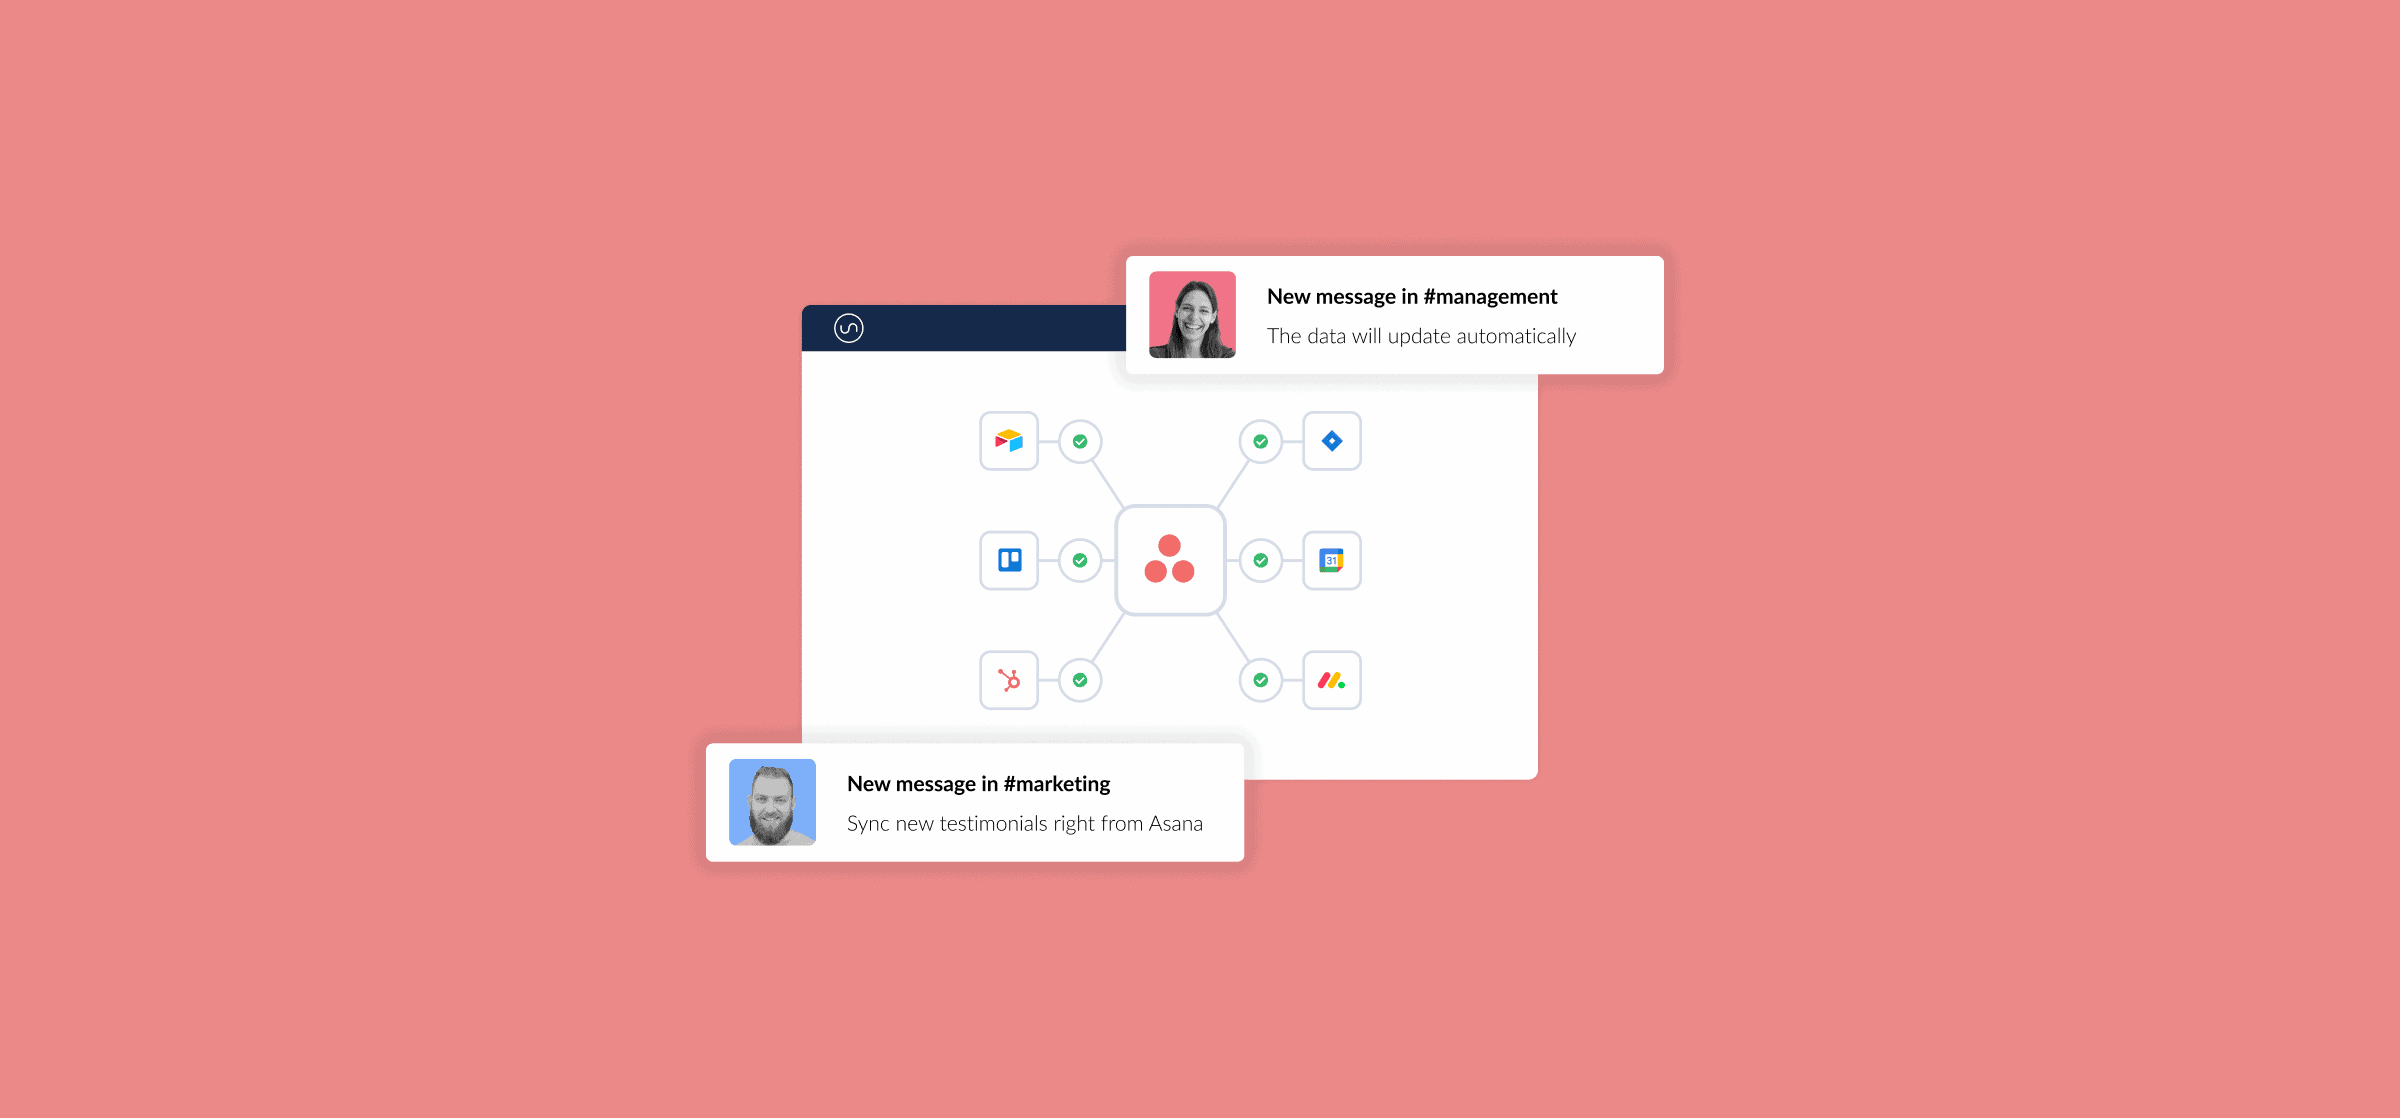
Want to save time and effort? Try Unito. Unito has the deepest two-way integrations for some of the most popular tools on the market, including Asana, Airtable, Trello, Google Sheets, and more. We even have step-by-step guides to help you connect Asana to Google Calendar or a spreadsheet.
Sync data across tools seamlessly, use rules to filter out irrelevant information, and map fields so everything ends up exactly where it needs to go. All of that in just a few minutes.
You can also use our Flow Preview App for Asana and see all your Unito flows without leaving Asana. You can learn more about Unito’s Asana integration — and the Flow Preview App — here.