
How to Use a ClickUp-Airtable Integration (2 Methods)
ClickUp and Airtable are both examples of tools that can do just about anything. But sometimes, ClickUp’s “one app to replace them all approach” isn’t quite suited to managing databases and spreadsheets, while Airtable doesn’t have the project management features your teams need. That’s why teams often need to set up some kind of integration between the two tools.
You can do this in two ways: embedding your Airtbale base in a ClickUp list or using a Unito flow to get a true two-way sync. Here’s your guide to doing both.
First method: Embed an Airtable base in ClickUp
You can embed an Airtable base in a new ClickUp view in just a few clicks. That allows you to keep essential Airtable data within reach right next to your ClickUp projects so everyone has the context they need to do their best work. Here’s how.
Step 1: Get an embeddable link for your Airtable
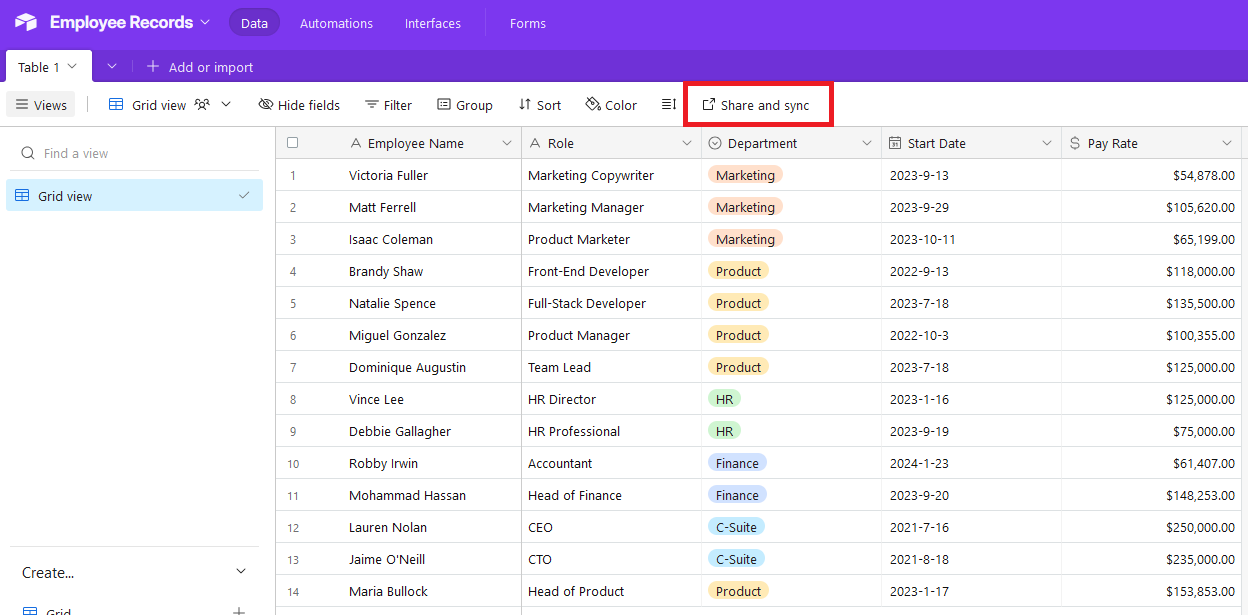
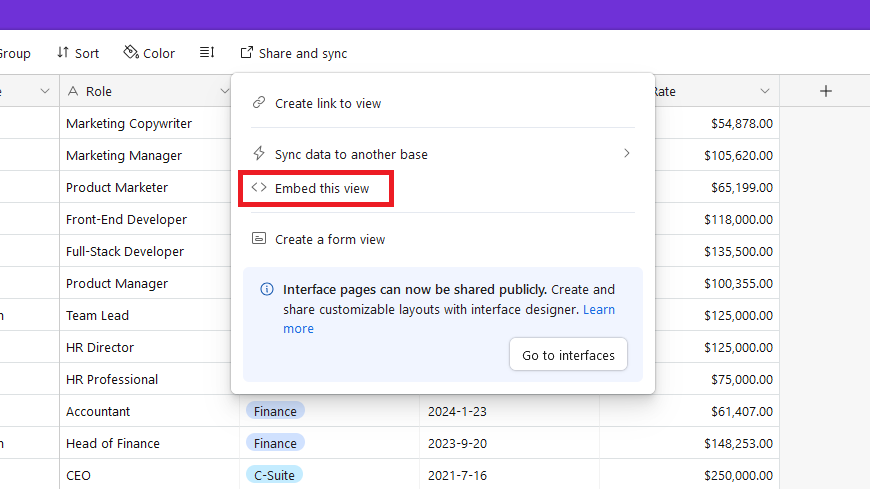
Go to Airtable and hit Share and sync. The Share and sync menu is your go-to for sharing your Airtable base in messages and other platforms. Hit that button and then hit Embed this view.
You’ll get this screen.
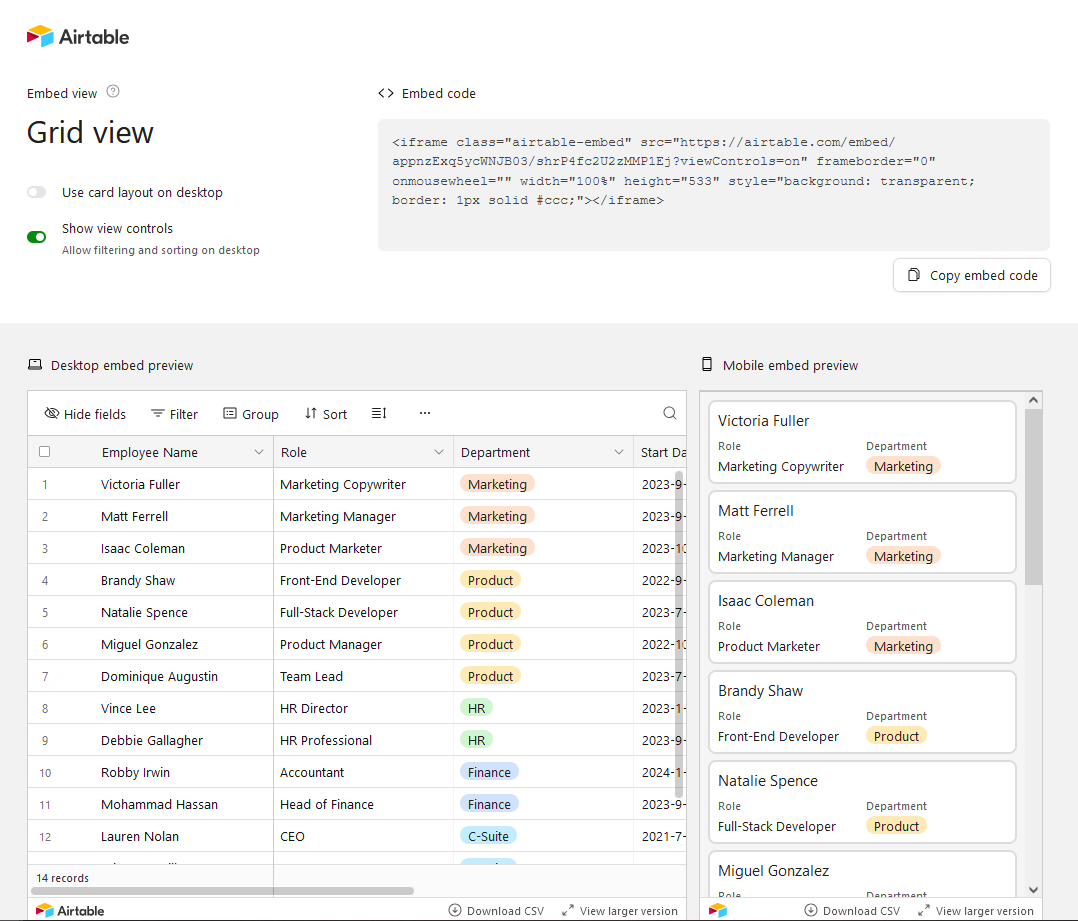
Hit Copy embed code to get the code you need for this ClickUp integration.
Step 2: Embed your Airtable base in ClickUp
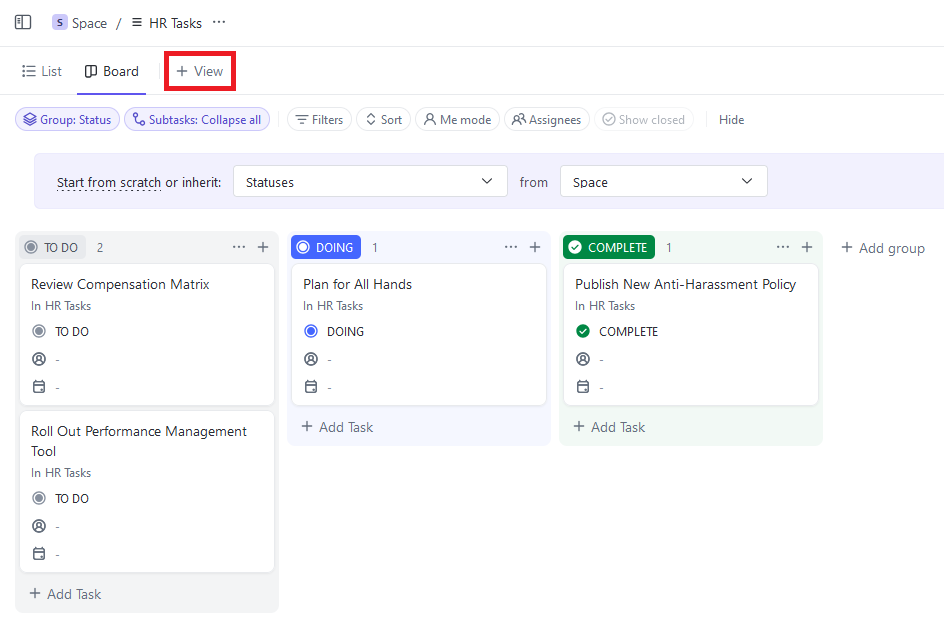
Now that you have your embed code, go to the ClickUp list you want to add your Airtable base to and hit + View to add the view that will hold your Airtable base.
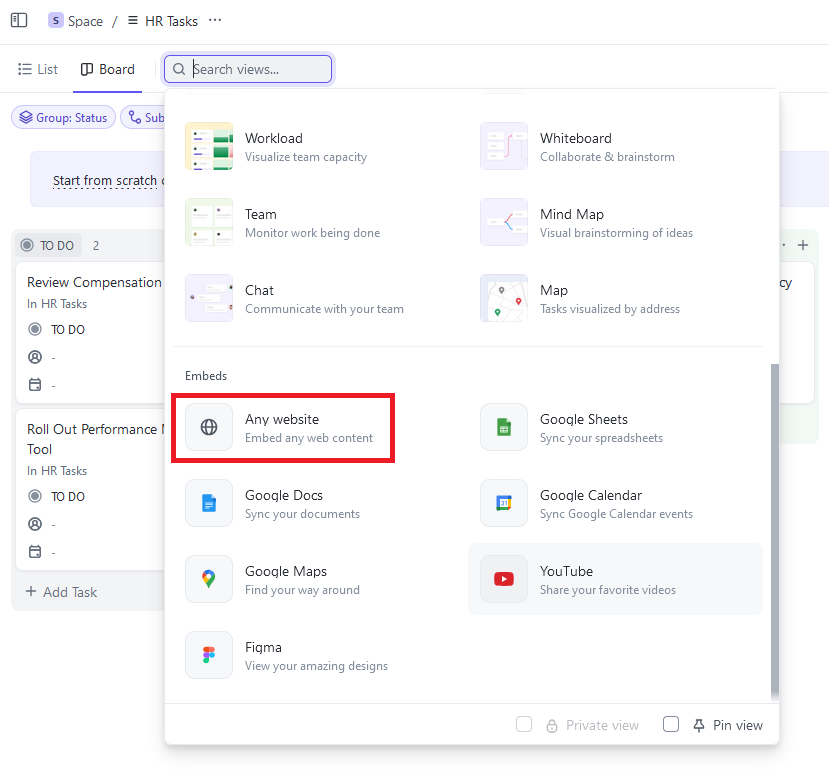
Scroll down until you see the Embeds header, then click Any website.
In the next panel, select Embed HTML under the Edit source header, then paste the code you copied from Airtable in the Enter HTML field.
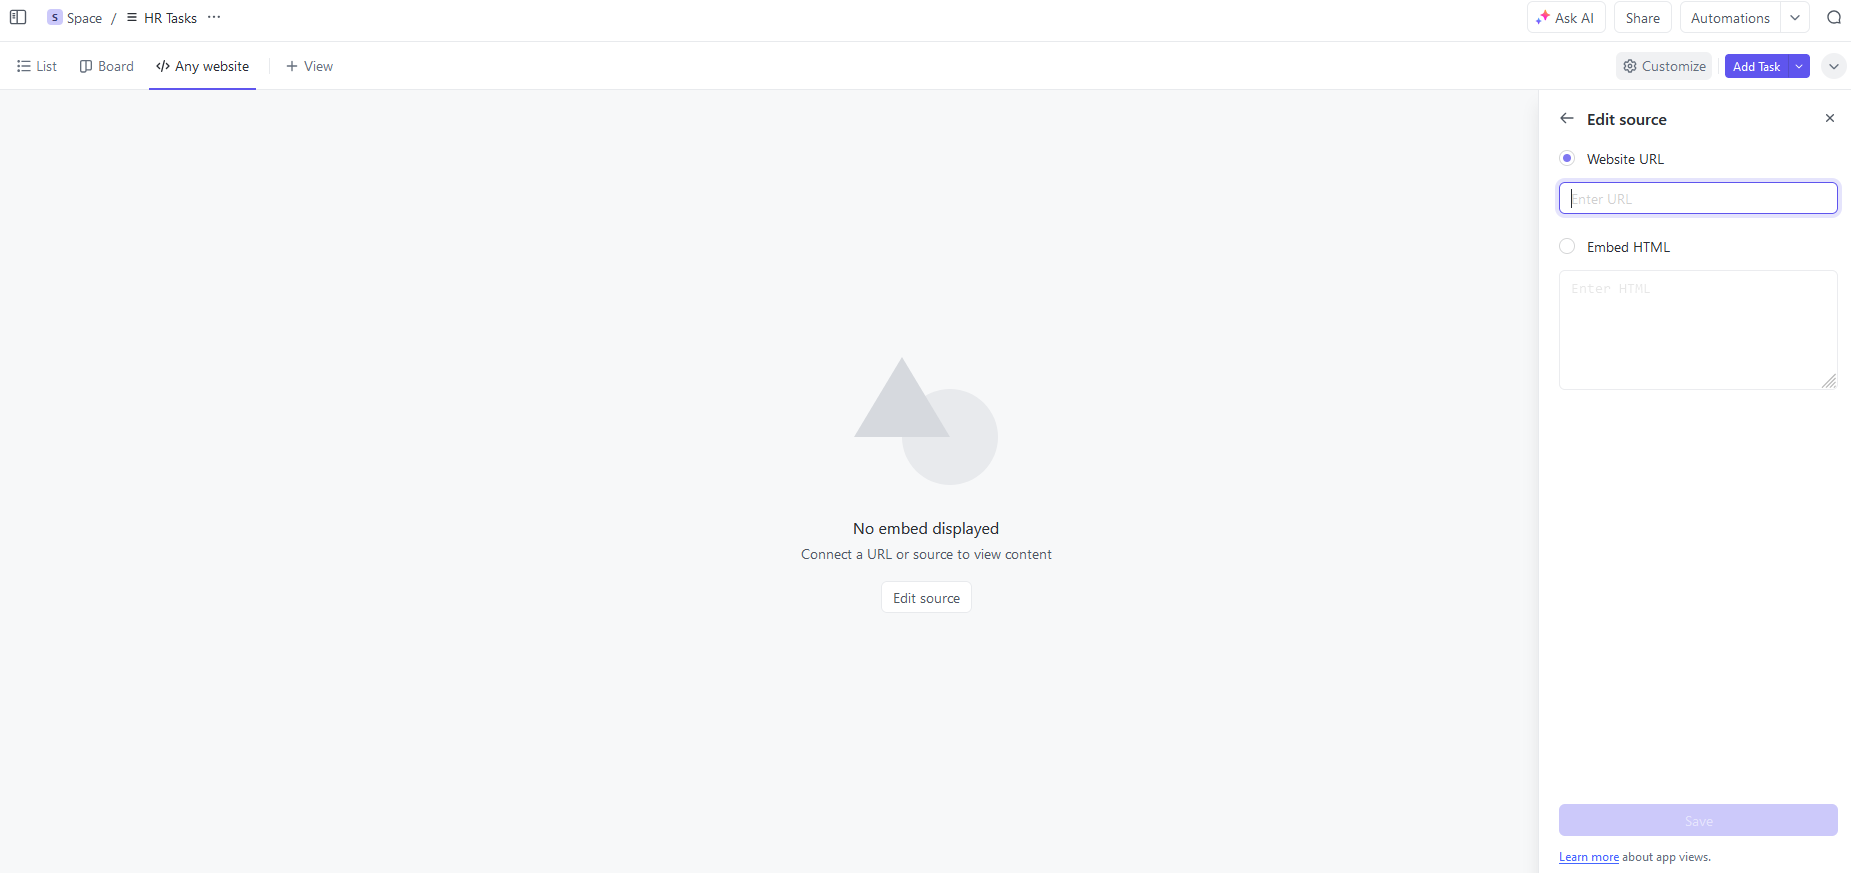
Hit Save.
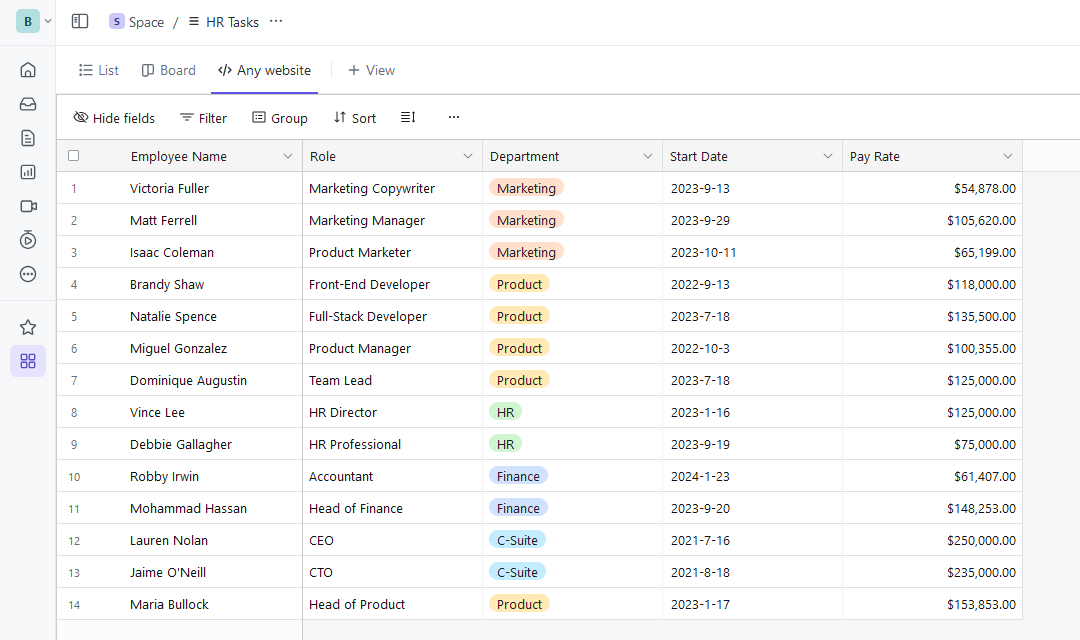
And just like that, you’ve got your Airtable base in ClickUp! You can even filter, group, and sort records the way you would in Airtable!
Limitations of this method
While setting up your Airtable and ClickUp integration is simple with this method, it does come with some significant limitations. Here are some that might be dealbreakers:
- It doesn’t work the other way: While this method allows you to put your Airtable data in ClickUp, that’s all it can really do. If you wanted to get your ClickUp tasks to show up as Airtable records, you’ll need to use a different method. Airtable doesn’t offer a similar embed solution for ClickUp tasks.
- It’s read-only: You can sort and filter the records in your embedded Airtable view, but you can’t make any changes to them. Whether you want to quickly fix data entry errors or add new records, you’ll have to go into Airtable to take care of it.
- It’s not quite real-time: Any changes you make in Airtable will update any embed links you’ve created. But you won’t see those changes happen in your embedded ClickUp view unless you refresh the page. This isn’t a huge issue, until you really need the data you’re working with to be up to date.
If any of these are dealbreakers for you, don’t worry. There’s a better way.
Second method: Use Unito’s ClickUp-Airtable integration
Unito is a no-code two-way integration solution with some of the deepest integrations for the most popular tools on the market, including ClickUp, Airtable, Google Sheets, Asana, Excel, Jira, and more. With a single Unito flow, you can automatically sync records from an Airtable base with tasks in ClickUp, and vice-versa.
Even better, whenever you make any updates in ClickUp or Airtable, they’ll automatically get synced to the other tool. Here’s why Unito is the best way to integrate Airtable with ClickUp:
- It’s two-way: Whether you want to represent ClickUp tasks as Airtable records or add records to your ClickUp projects, you can get it done with Unito. It’s the deepest two-way integration solution for these tools, and it only takes minutes to set up.
- Read and write: Make changes to a ClickUp task that’s synced to an Airtable record and you’ll see those changes carried over. No read-only views with Unito.
- No refreshes necessary: Most Unito plans sync updates in real-time, meaning you don’t need to refresh ClickUp or Airtable every time you need up-to-date data. What you see is what’s in the other tool.
Ready to start? Here’s how you can build a Unito flow to integrate ClickUp lists with Airtable bases in just a few minutes.
Step 1: Connect ClickUp and Airtable to Unito
At this stage, you’ll pick the ClickUp list and Airtable base you want to pull data from. You may also need to go through a few extra steps to properly authorize your tools before you can sync data from them.
Step 2: Build your rules
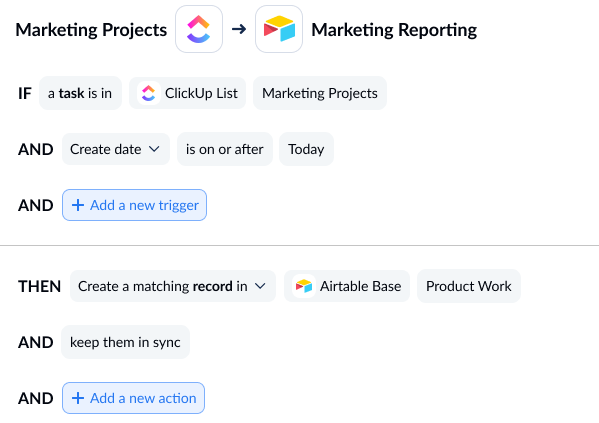
Unito rules allow you to filter out the ClickUp tasks and Airtable records you don’t want to sync. You could, for example, filter out all tasks with a specific label or Airtables with a certain option in a dropdown field.
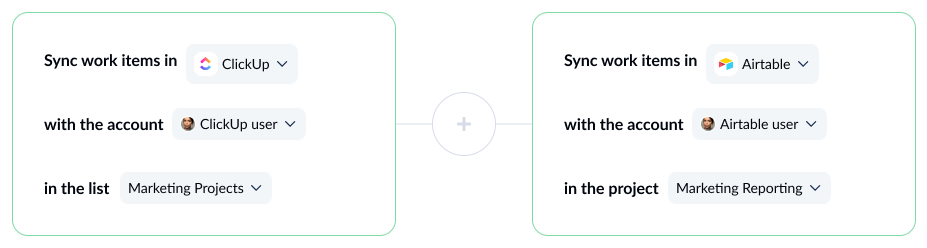
Step 3: Map your fields
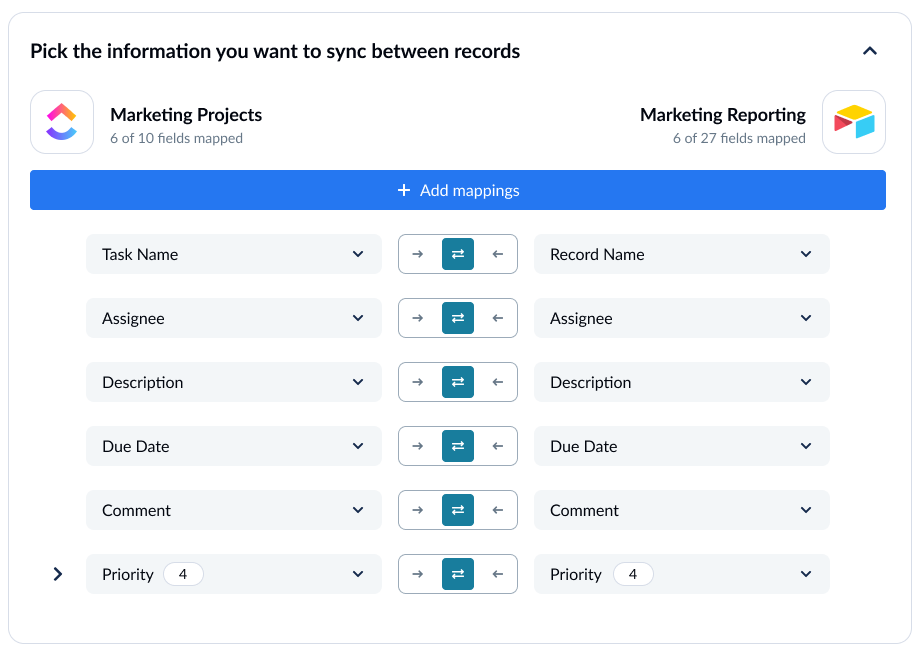
Field mappings tell Unito where you want data to go between tools. This ensures everything’s in the right place, even in tools that work completely differently. Unito can usually map these fields automatically for you, but you can customize mappings by adding the fields you want to match up on either side of this screen.
And that’s it! Now just launch your flow and watch as data’s automatically synced between ClickUp and Airtable.