A Complete Guide to Wrike Integration
Managing complex projects involves coordinating between multiple collaborators across business functions. Not only that, but the data and context needed to complete these projects rarely lives exclusively in your Wrike projects. Many project managers find themselves becoming the go-between for multiple platforms, spending just as much time copying and pasting data and scheduling meetings as any other project management tasks.
That’s where Wrike integration comes in.
What is Wrike?
Wrike is a popular project management tool for all sorts of projects, used by organizations of all sizes. On top of its productivity, reporting, and collaboration features, Wrike also offers built-in AI agents and AI assistants. It’s one of the most robust project management tools on the market.
What is Wrike integration?
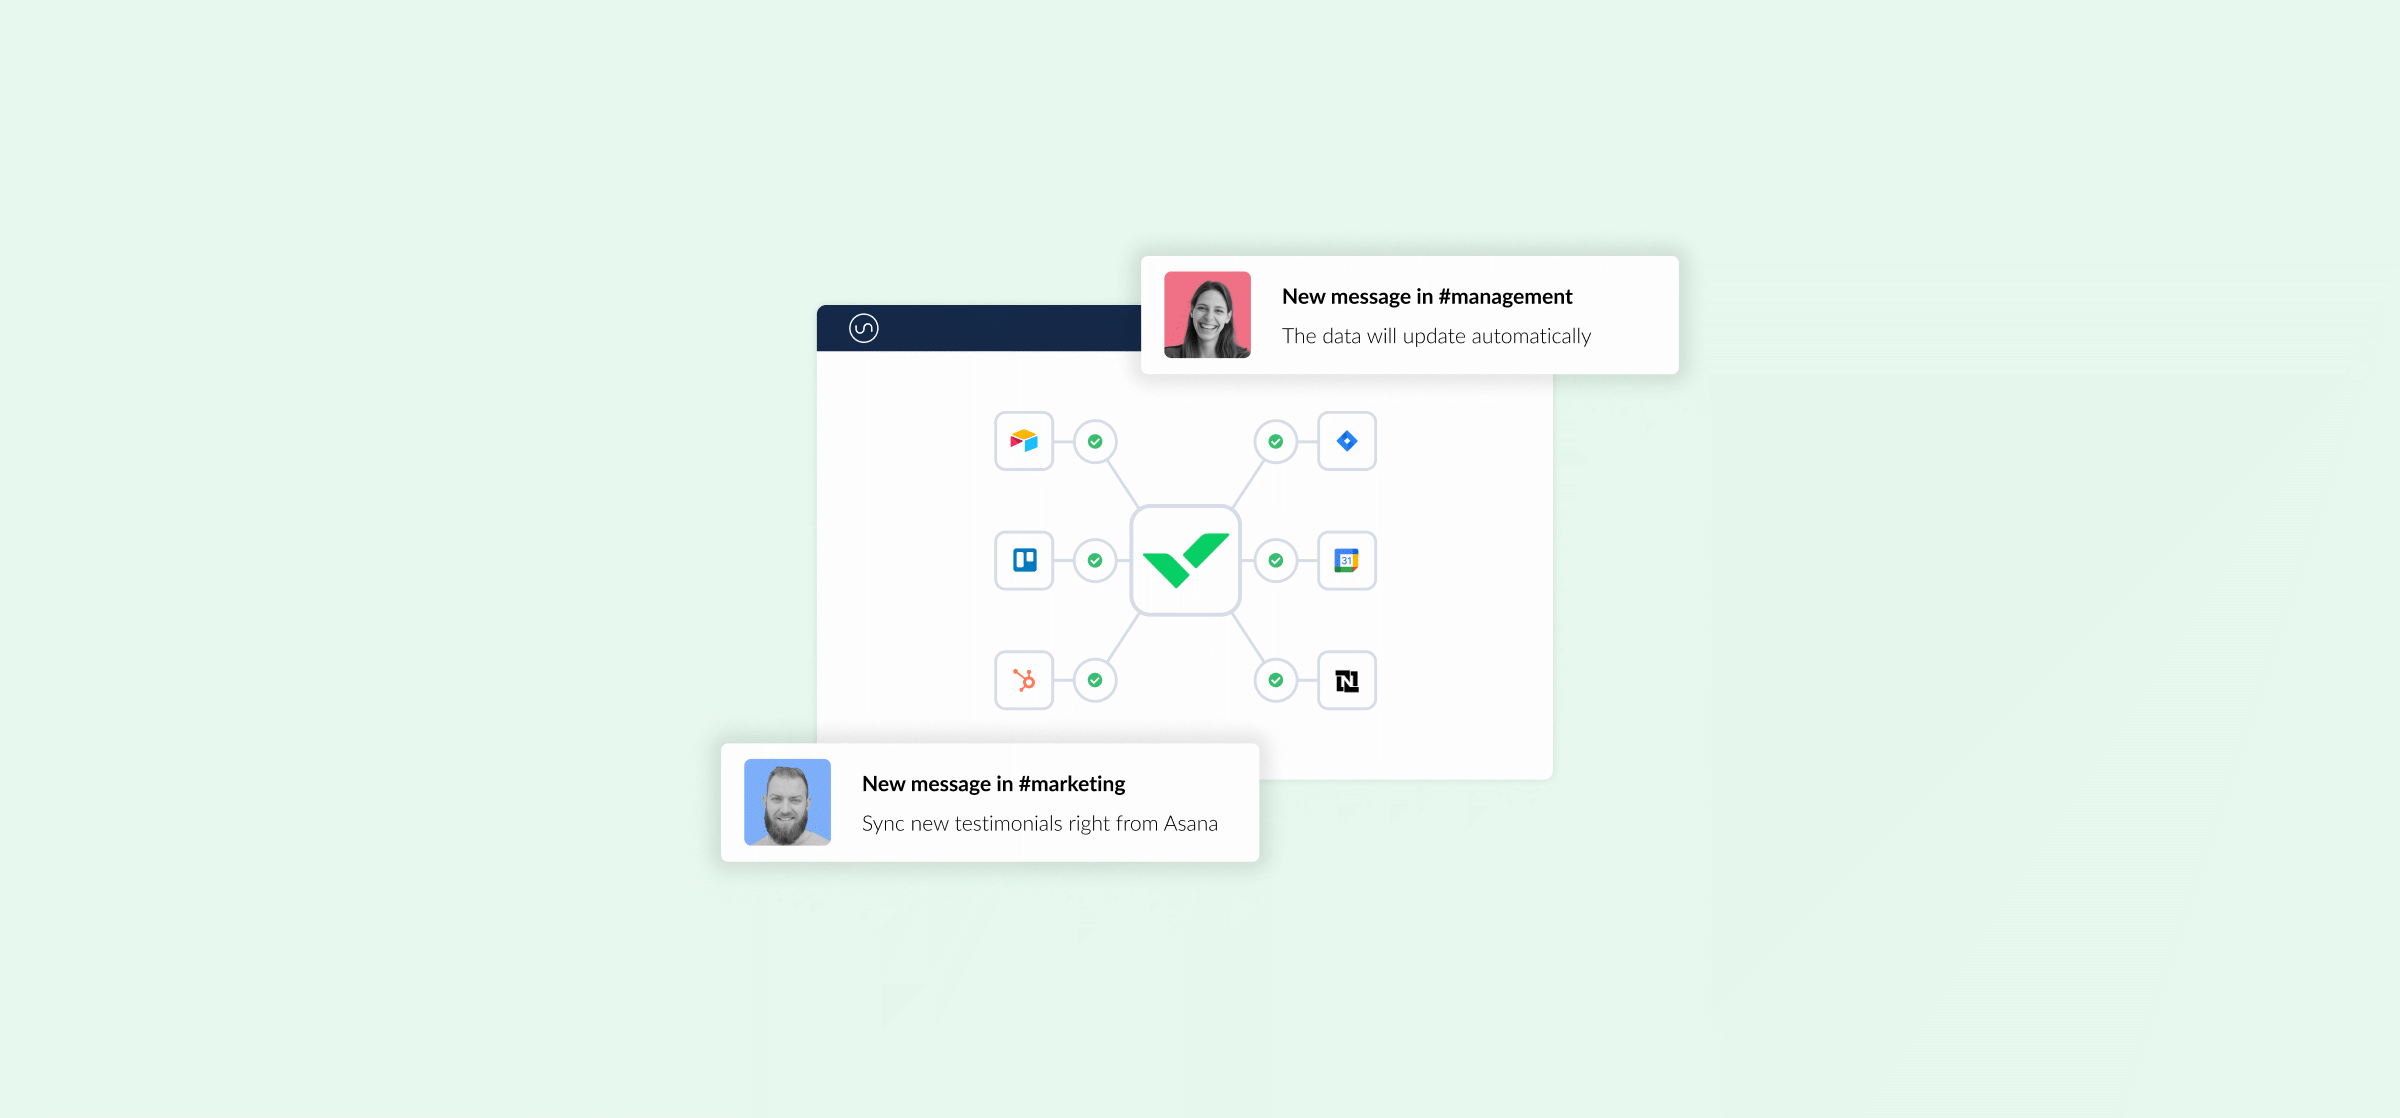
A Wrike integration connects Wrike projects with work happening in other tools. This can bridge the gap between collaborators in cross-functional projects, improve reporting, and even unlock completely new workflows. All without any added administrative work.
Popular integrations for Wrike include:
- Software development tools like Azure DevOps, GitHub, and GitLab.
- Databases and spreadsheets like Airtable, Excel, and Google Sheets.
- Customer support and sales tools like HubSpot, ServiceNow, and Salesforce.
- Other project management tools like Jira, Asana, and Smartsheet.
Why does Wrike integration matter?
Project managers often integrate Wrike with other tools to get the following benefits:
- Increased productivity: When projects involve multiple teams and their tools, you end up paying a hidden cost called “productivity drag.” Constant meetings, copying-and-pasting data between tools, and frequent follow-ups for missing context are all examples of productivity drag. They make every task and project take longer. Integrations can eliminate meetings and other productivity drains
- Better reporting: Project managers need to both get an overall view of the projects they’re responsible for and share that view with different stakeholders. When essential project work is scattered across multiple tools, a Wrike integration can centralize all that work in a single Wrike report, instead of forcing manual transfers into spreadsheets.
- Alignment across teams: Few projects happen entirely in Wrike, especially when working with cross-functional teams. For most organizations, the status quo involves frequent status updates, reports, and meetings. But project managers who use Wrike integrations can keep teams aligned by ensuring the same, up-to-date project information is in all relevant tools, without any of the manual work that usually involves.
- Full context: Even if project work only happens in Wrike and a few extra tools, there might be a ton of relevant, contextual data scattered in other platforms. A Wrike integration can centralize any data you need in one place, so consulting everything from knowledge base articles to spreadsheets can be done from Wrike.
4 types of Wrike integration
Wrike integrations fall into two broad categories: built-in and third-party. Built-in integrations allow you to access pre-built integrations straight from the Wrike team, which is a frequent first step for teams who’ve never deployed any integrations. Third-party integrations have a lot more variety, including everything from two-way syncing platforms to no-code automation tools.
Wrike Sync
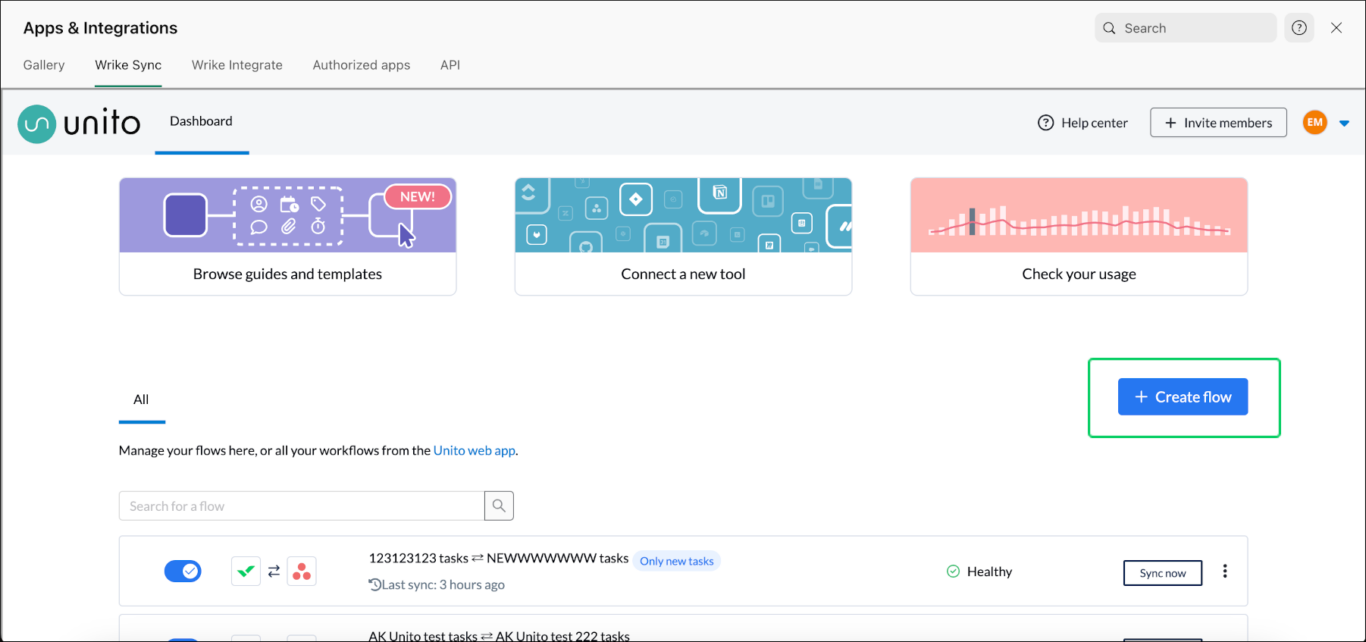
Wrike Sync is a built-in, two-way sync integration solution for Wrike. It’s a no-code solution with real-time, automatic updates. It supports 22 integrations, including software development tools, spreadsheet tools, CRMs, and calendar tools. It’s available as an add-on for most Wrike plans, while the Apex plan includes it.
For most project managers working in Wrike, Wrike Sync is a strong place to start for integrations. Two-way sync functionality means you’re getting true, seamless collaboration between tools. If you’re often running cross-functional projects, then Wrike Sync might be the integration solution for you.
Note that Wrike Sync is powered by Unito, though it’s available right in your Wrike projects.
Wrike Datahub
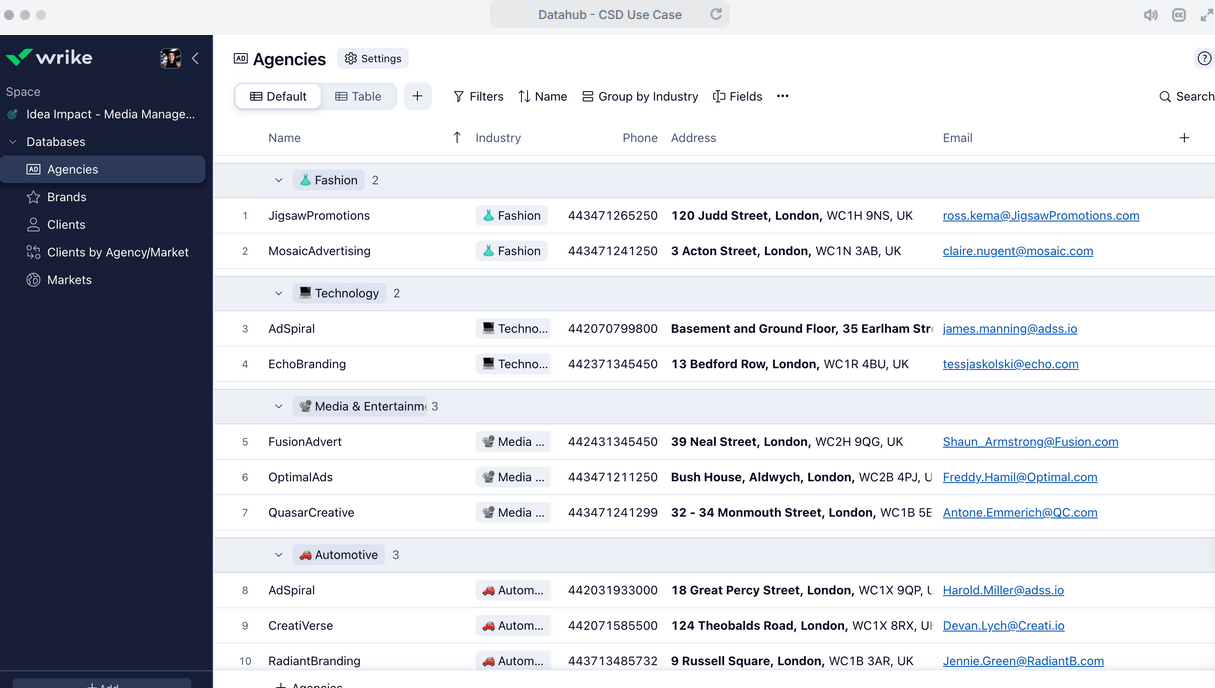
Wrike Datahub lets Wrike users build databases that centralize data from other tools and dispatch it to projects and tasks throughout their Wrike workspace. It’s a data warehouse, allowing it to serve as the single source of truth for your Wrike projects. From there, you can use referential fields to cite data from Datahub and, no matter where those fields are, they’ll be updated as the data changes in Datahub.
Wrike Datahub is only available with Wrike’s Pinnacle plan, or as a paid add-on. It might be out of reach for some organizations, price-wise, but it’s no-code functionality means you don’t need significant technical resources to use it.
Automation tools
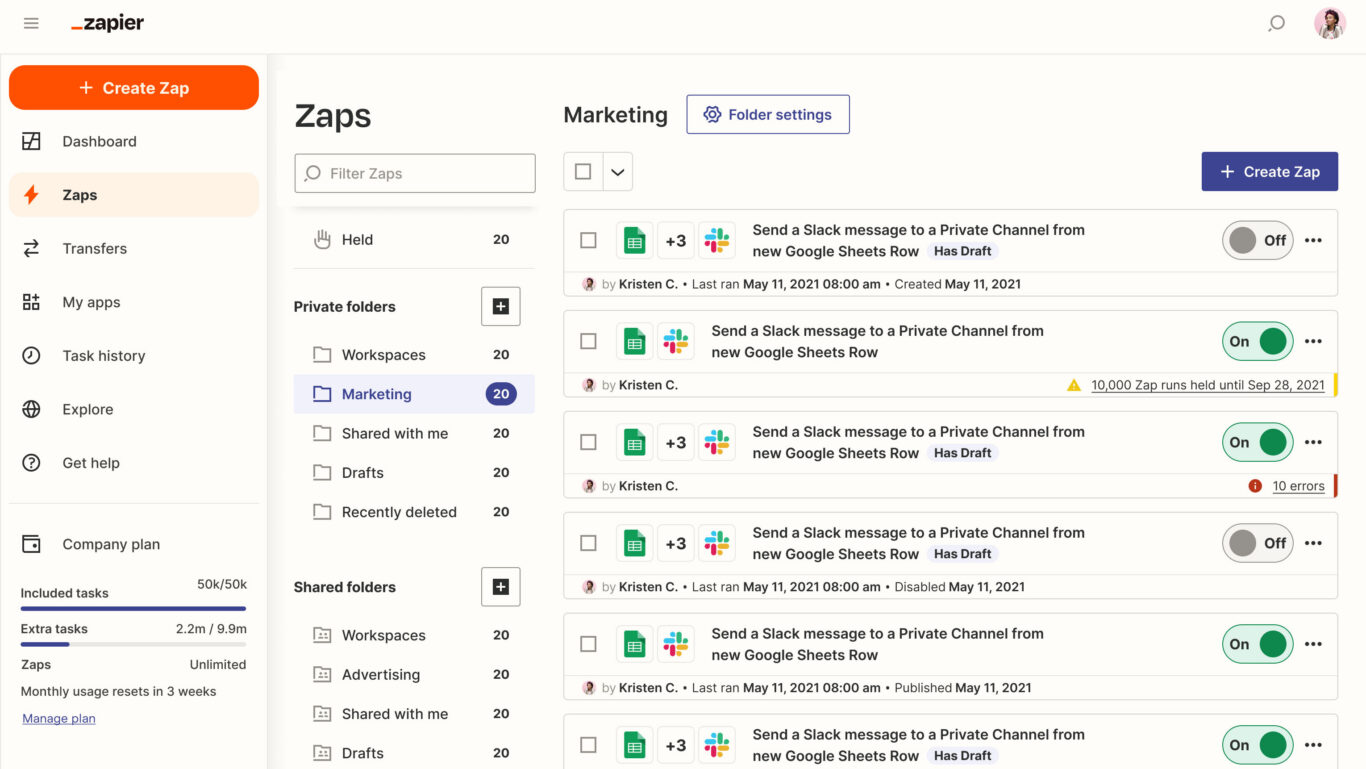
Automation tools like Zapier and Workato use simple logic to power a range of integrations across hundreds, if not thousands, of tools. You choose a trigger to kickstart the automation and an action to automate. For example, when a work item is created in one tool, you could use one of these automations to automatically create a matching work item in a different tool. You can also use automations to update fields like due dates, add comments, and more.
These automation tools have one significant limitation, however: they’re one-way. A single automation can only take one action, from Tool A to Tool B. If you wanted that same action to happen from Tool B to Tool A, you’d need a separate automation. Some of these tools allow you to chain multiple automations to support more complex workflows, but that comes with maintenance and frequent troubleshooting.
iPaaS
An iPaaS platform allows you to build integrations for Wrike and other tools in one place, meaning you don’t need to patch together integrations from multiple sources. Some of these platforms are no-code, meaning any business user can spin up their own integrations in minutes. Others are low-code, meaning you can build some integrations without any code, but you really get the most out of them when you know how to code.
Many iPaaS solutions offer two-way syncing, meaning data flows back and forth between Wrike and other tools. This is best for seamless collaboration, though not all iPaaS tools can handle all the integrations you need or the amount of data you work with.
How to integrate Wrike with Unito
Here’s a look at how an integration between Wrike and other tools works with Unito.
Step-by-step integration guide
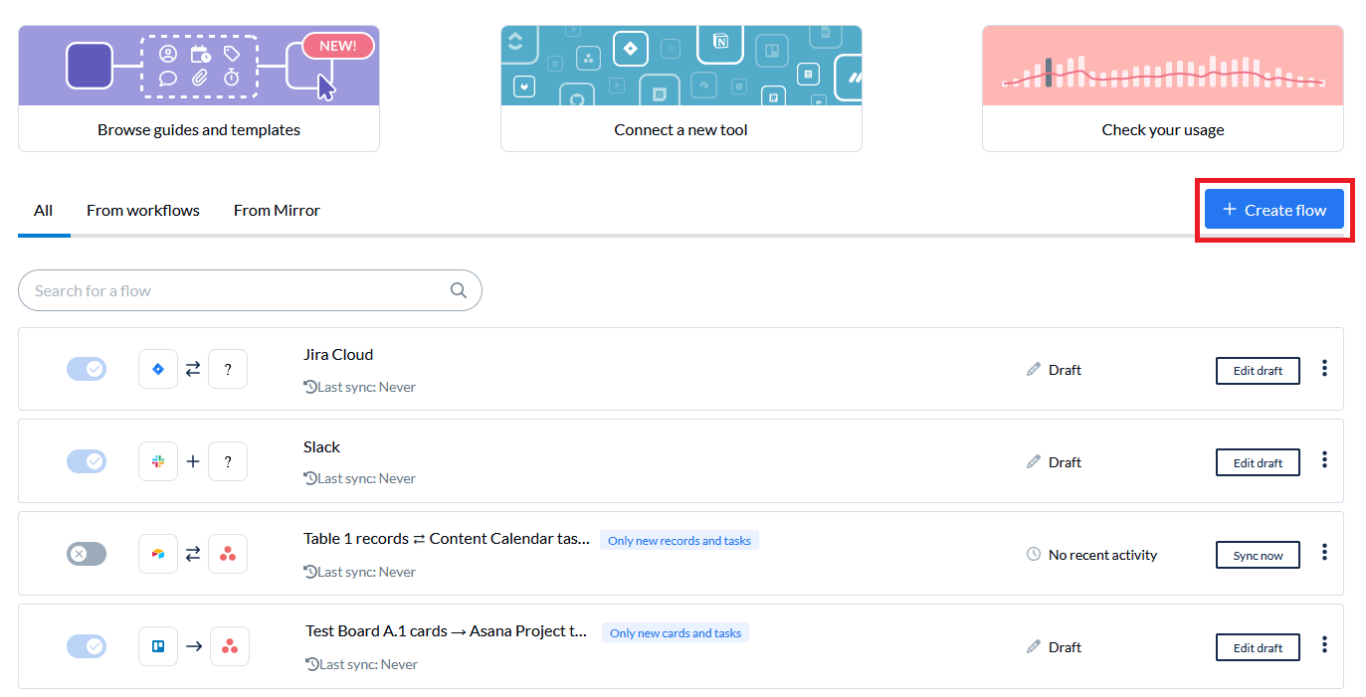
- Connect tool accounts to Unito: After signing up for Unito, click +Create Flow and connect Wrike and the tool you’re integrating it with to Unito.
- Choose flow direction: Flow direction tells your Unito flow where you need new work items created. Most Unito flows are two-way, meaning they automatically create work items in both connected tools.
- Set rules: Unito rules use trigger-action logic to filter out work items you don’t want synced or automate certain actions. To build a rule, choose a trigger Unito should look for and the actions it needs to take.
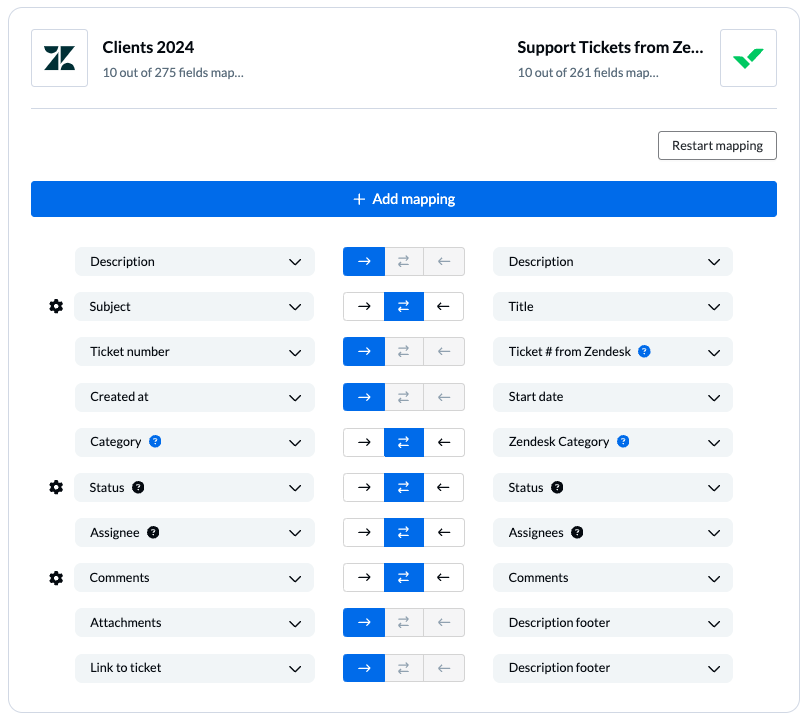
- Map fields: In most flows, Unito can automatically map fields in Wrike with fields in other tools. From there, you can customize field mappings to match statuses across tools, send data from some fields to fields specific to your workflow, and more.
- Launch your flow: Once you map your fields, your flow is ready to launch. After an initial sync, Unito will check for changes in real-time.
Want to know more? Check out these tutorials for syncing Wrike with other popular tools:
- Syncing Wrike with Jira
- Connecting Wrike with Microsoft Excel
- Integrating Wrike with Azure DevOps
- Syncing Wrike with ServiceNow
- Connecting Wrike with Asana
- Integrating Wrike with NetSuite
Challenges to watch out for when integrating Wrike
If you’ve never integrated Wrike before, you should be aware of these potential challenges.
Integration overlap
Wrike has robust built-in integrations, and it’s also a popular integration option for third-party solutions. This range of options is typically a good thing, except when you find yourself patching together multiple solutions, often without realizing it. This is especially the case in larger organizations. When different departments source integration solutions independently, a company might have multiple solutions to perform the same integration tasks, leading to inefficient budget spend and potential conflicts between these integrations.
Deployment time and resources
Every integration solution requires some time and technical resources to deploy. But the time and resources required can vary widely between tools, even within the same category. A simple tool automation might be quick and cheap to deploy initially, but require significant resources to maintain as you chain automations. Similarly, a fully-featured, enterprise-grade solution might demand more time and resources for the initial setup, but function relatively independently from there.
Real-time integration vs. batch integrations
Some integration solutions support real-time data transfers, getting you about as close to seeing work happen in multiple tools simultaneously as possible. Others transfer data in batches, from every few minutes to every few weeks. Not all workflows need real-time integrations, but you need to know which type of technology an integration solution supports before you start deploying it.
How to keep Wrike integrations secure
Integration solutions can be the weak link in your data security or a hard target, depending on the solution you choose and the practices you establish around it.
Compliance
All software tools need to comply with data privacy and security regulations, and the same is true of integration solutions. That said, not every solution has the same level of compliance with these regulations. The best way to get a sense of a solution’s suitability for your data security requirements is to research its certifications. General frameworks, like SOC 2 Type 2 and ISO 27011, should be checked first. If you operate in specific jurisdictions or industries, you should then check more specific frameworks like HIPAA or GDPR.
Access control
Access control is a discipline that achieves two things:
- Limiting who has access to a tool.
- Documenting what a user can do once they have access to that tool.
Most integration solutions have at least some level of access control beyond simple login credentials. Role-based permissions, for example, allows an administrator to apply these controls broadly based on roles (e.g., admin, builder, viewer) instead of doling out permissions on an account-by-account basis. Matching these measures to your security needs is essential to prevent potential security issues.
Data handling and scope
Not all the data your organization handles is equal. Some is proprietary, some is confidential, and some would lead to disastrous consequences if it leaked. Having a formal process for determining what data should and shouldn’t be transferred with an integration can potentially avoid leaks, breaches, or data being synced to unauthorized systems.
Best practices when integrating Wrike
When rolling out your first Wrike integration, follow these best practices:
- Start with a small pilot project between a few Wrike tasks and work items in another tool. This allows you to test integrations and adjust them before deploying them across your entire workspace.
- Evaluate the results of your pilot project before implementing integrations at scale. Look for situations where integrations have saved essential time, where they’ve stumbled, and where your teams had to change the way they worked.
- Consider whether the integration you choose needs to be broadly accessible to business users or whether they should need technical knowledge to use.
- Review the integrations you use once a year. Compare them to other vendors. See if they still stack up, or whether you’d be better served by a different type of integration.
- Use built in Wrike integrations when possible to enhance any third-party integrations you deploy.
Ready to integrate Wrike?
Meet with Unito product experts and see what a two-way integration can do.