The Ultimate Beginner’s Guide to Basecamp
Do you remember the game telephone? You’d relay a message down a line of kids by whispering to the person next to you, and by the end the message would be completely different from the start. If this is how your projects feel at work, you might want to consider using Basecamp.
Basecamp is a work management and collaboration tool that helps you organize projects and communications. It’s benefits are clear: it keeps you and your work organized, making it clear what tasks are due and gathering all the information you need to execute on them; it brings everyone in your team and company onto the same page, allowing you to communicate more efficiently in a single place; and it allows you to maintain control over projects while easily sharing specific information and deliverables with clients.
If you’re just getting started with the tool, this beginner’s guide to Basecamp will help you spend more time getting stuff done and less time trying to sort out the moving pieces.
Continue reading to learn more about:
- The different parts of your Basecamp dashboard
- Key Basecamp features you need to know to get started successfully
- How to create a project in Basecamp
Getting started with Basecamp
Now that you understand some fundamental ways Basecamp can benefit your business, it’s time to get started actually using the tool. We’ll start by taking a look at the main areas of the tool, and then show you Basecamp’s key features. And if you don’t already have an account, you can try Basecamp for free for 30 days.
The Basecamp dashboard
Basecamp gives you three ways to organize projects and stay on top of whatever’s going on with your clients and team. These are: the HQ, Teams, and Projects.
HQ
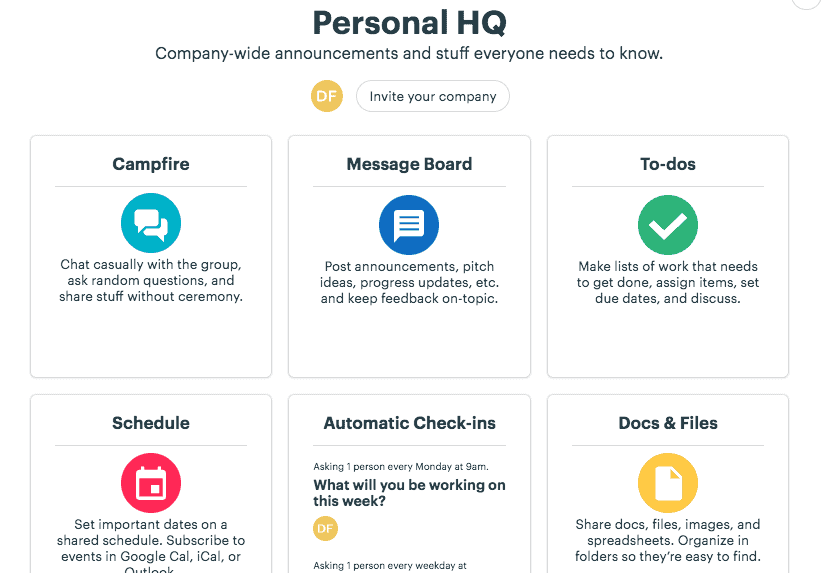
When you first log in to Basecamp, you’ll land on the HQ (Headquarters) first. This is automatically set up once you create your account. It’s recommended that you invite everybody in your company to the HQ so they can all see relevant message board posts, company-wide announcements, and documents like the holiday calendar or technology-usage policies.
Teams
The Teams section is where you can organize people in the company by department or role. This create a hub where team members can share important information, announcements, updates, or participate in chats — saving time and making teams more efficient. In this hub team members can also keep track of items on the to-do list and project schedules, and find assets they need in the reference materials portal.
Projects
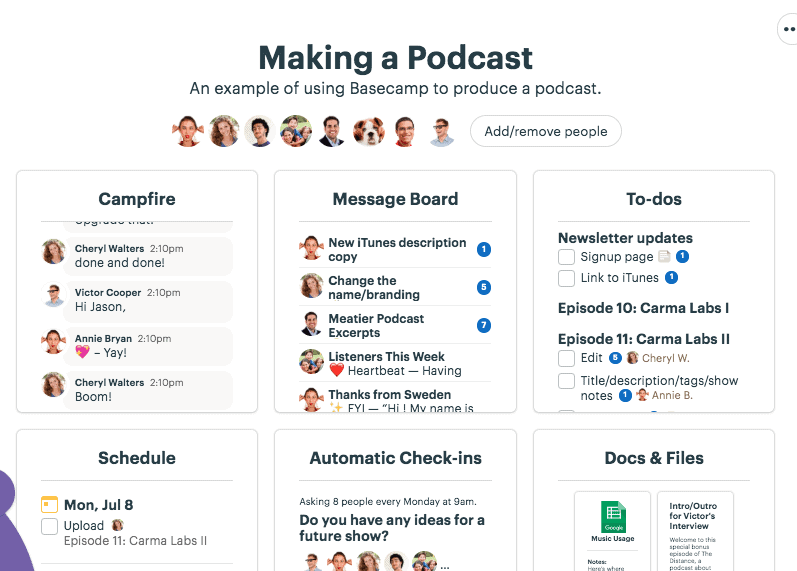
The Projects section is the final component on your Basecamp home page. This is where individuals with different roles can come together for the purpose of projects (like for a multidisciplinary squad). This lets all the people who are working on a specific project share tasks, timelines, and files. It also allows teams to message each other, ease communication and stay aligned until the project’s completion.
The menu bar at the top of your page will stay with you as you navigate Basecamp. It lets you easily review account activity and find whatever you need no matter what page or section you’re on.

Home
The home button (shaped like a tent) will take you back to your main home page whenever you need to see your HQ, Teams, or Projects sections.
Pings
Pings are direct messages and conversations with other users in the account. They don’t need to be tied to any Teams or Projects assignments.
Hey!
The Hey! button will alert you to any notifications from any workspace (Teams, Projects, HQ) you’re connected to. If you see an orange badge next to your Hey! button, you have a notification.
Activity
The Activity button will show you all of the, you guessed it, activity on your account. This means you’ll see any to-dos, late assignments (oopsies), upcoming deadlines, and other assignment information and reports.
Find
Use this button to search for anything in your Basecamp account. Search for a project component completed by a certain teammate, a logo you really need for a client package, or anything else that lives in Basecamp.
Key Basecamp features you need to know
Once you’re aware of the basic components of Basecamp, you can get familiar with the key features that will quickly become second nature.
To-dos
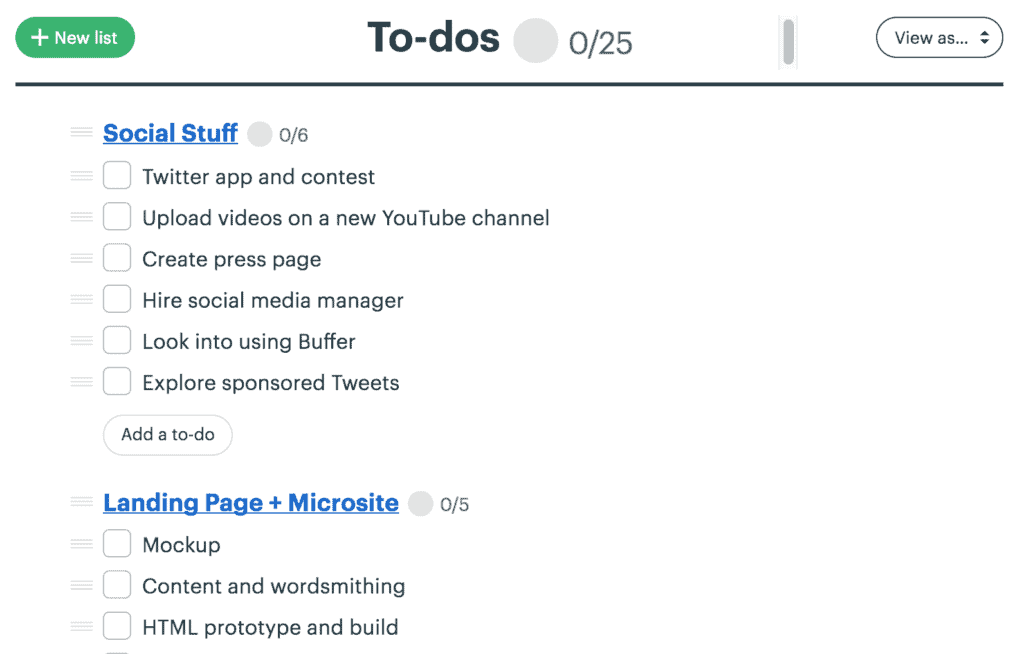
To-do lists might seem like a basic way of keeping track of what needs to get done, but that’s why they work so well. Listing your personal tasks or your team’s tasks where everyone can see them helps not only clear your mind and organize priorities, but gives everyone visual goals and next steps.
In Basecamp, you can assign items on to-do lists to one or more people, add notes and files, comment, and track work.
Campfire
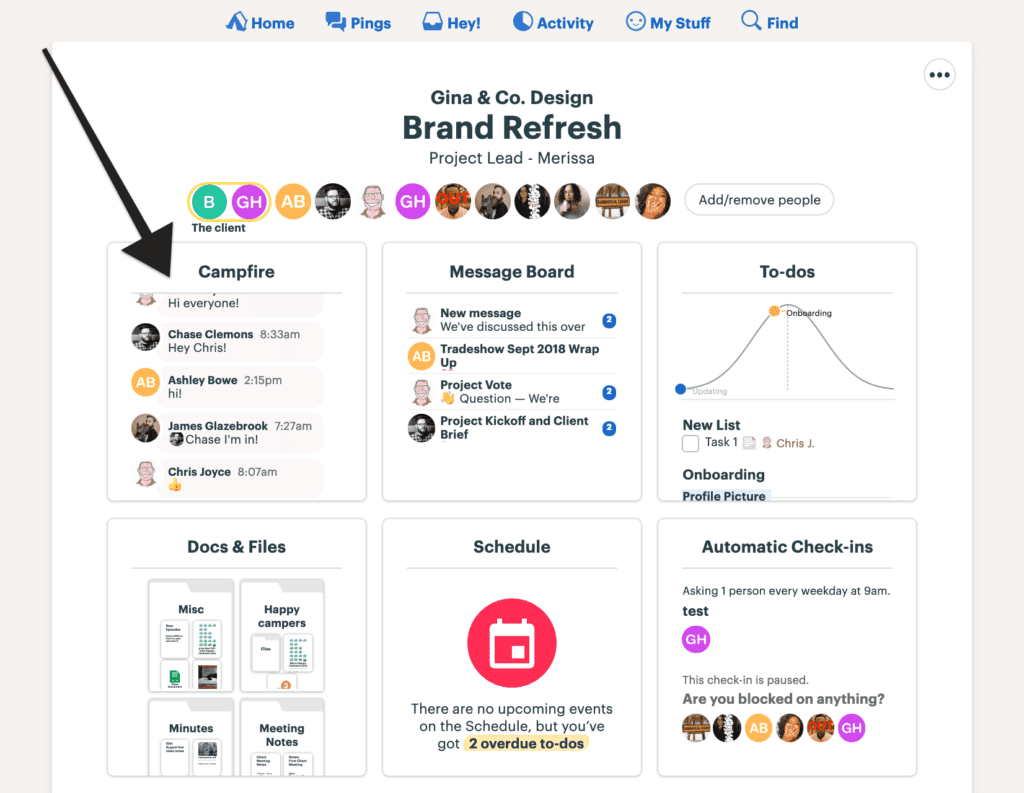
When you don’t want to start a thread or post a message, Campfire lets you chat in real-time. This is great for quick questions, and is especially handy if you or your company don’t have a separate chat app like Slack.
Every Project, Team, and HQ has its own Campfire room, making it extra helpful for organizing communication.
Message boards
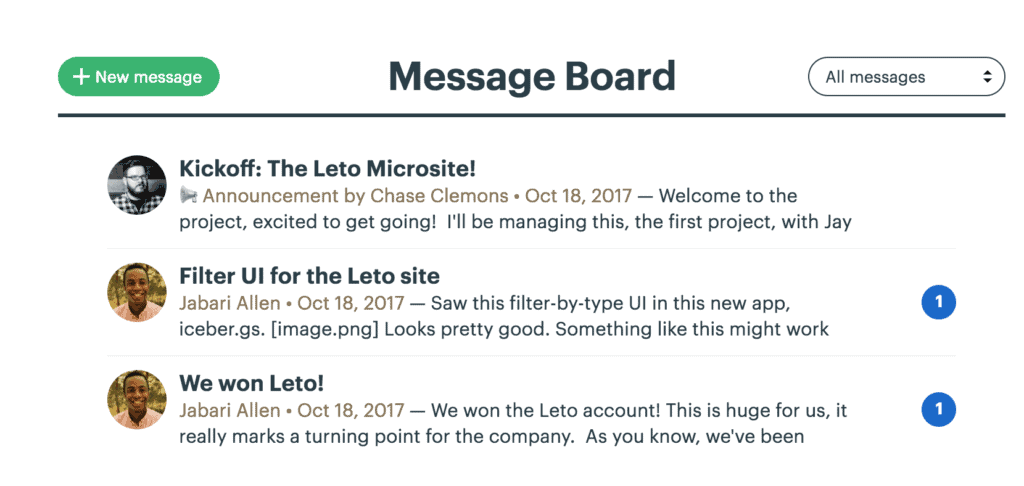
The Message Boards tool is helpful when you have a piece of content like a team announcement or big project update that needs to be seen by everyone on a Team or Project and requires a more permanent home. You can take your organization to the next level and categorize messages posted to the Message Board (ie. Announcement, Question, etc.), along with leave comments or reactions to other users’ posts.
Schedule
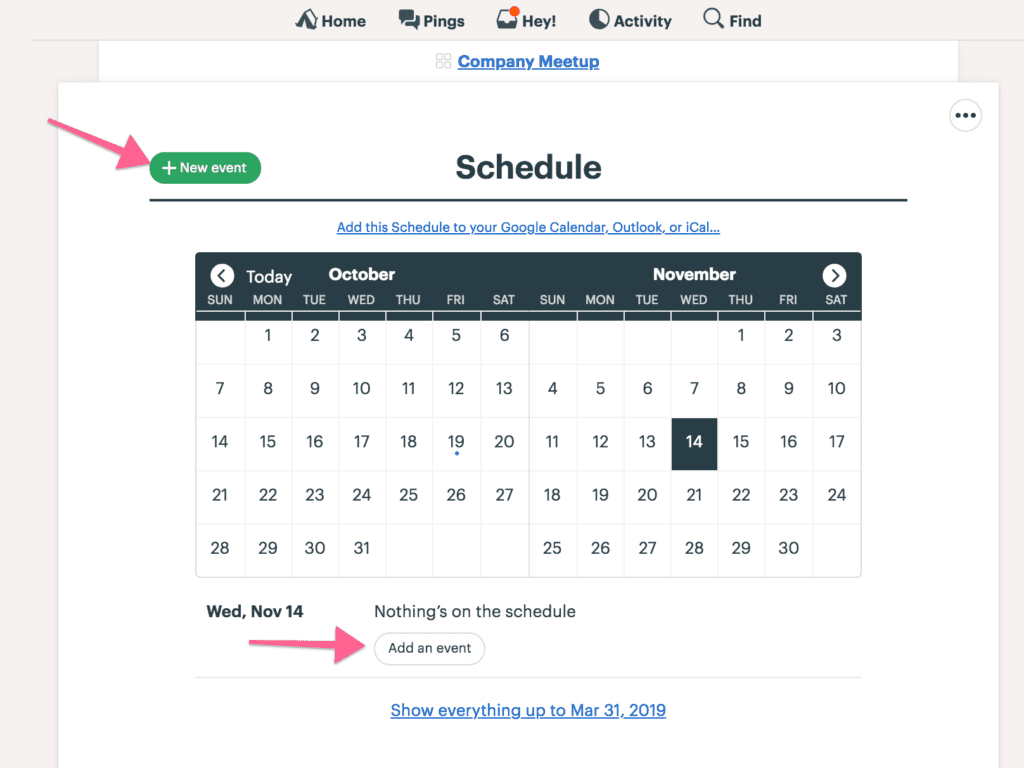
A project without a schedule is basically just a dream. Thankfully, every project in Basecamp has a dedicated schedule where everyone can see what’s coming up, what’s past due, and what’s been successfully completed.
Automatic check-ins
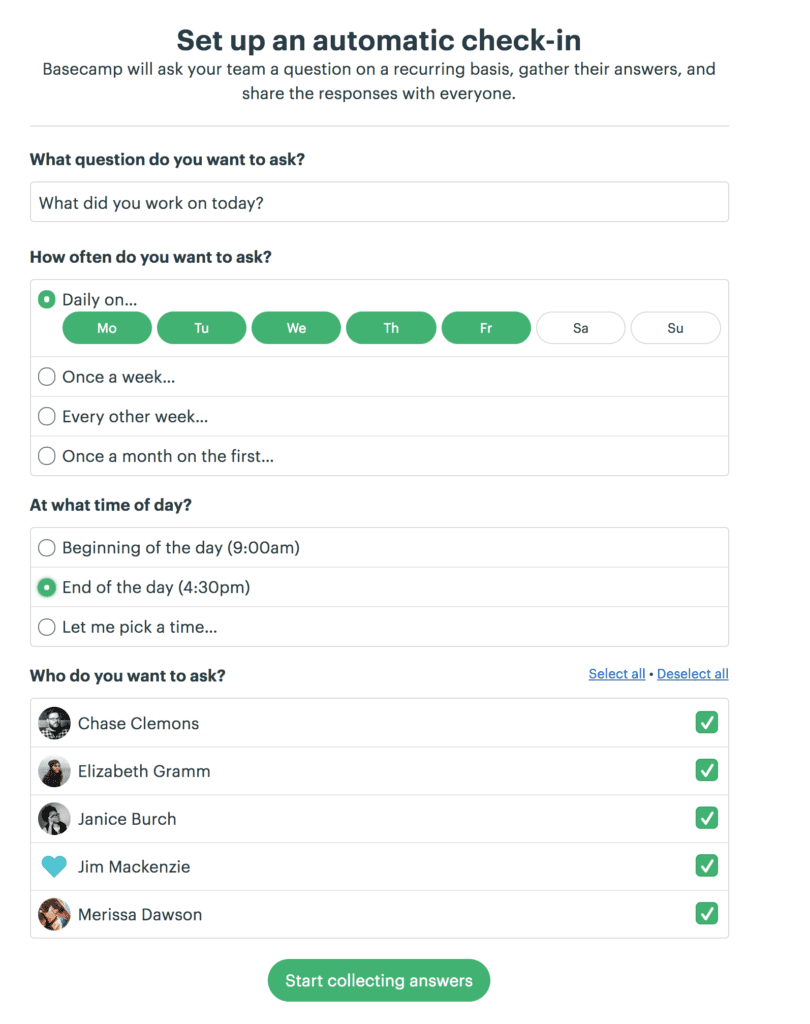
Find yourself closer to inbox zero than ever before. Basecamp’s automatic check-ins feature lets you create recurring questions that will be sent to your team on a regular basis of your choosing. For example, you could schedule an automatic check-in question like “What is your top priority this week?” or “What is your biggest blocker this week?” to be sent out to your team every Monday morning. Responses are visible to everyone, so you could also include more casual and friendly questions that will let teammates get to know each other better.
Docs and files
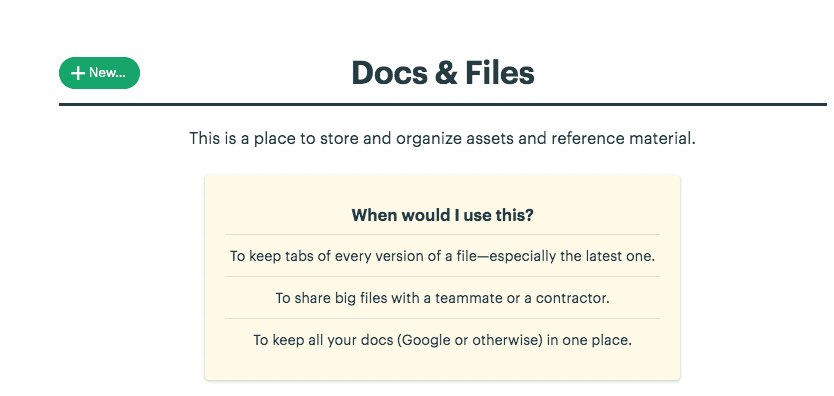
Sometimes just trying to find the right file or hunt down a document can take more time than the work itself. The Docs & Files feature in Basecamp gives your team one set location to upload (with easy drag and drop), store, and access key files for every project. Every file includes a complete version history (say goodbye to millions of documents titled V1 to V15) and you can color code to your Type-A heart’s content.
While there are a ton of other features to discover in Basecamp, digging into these features will have you and your team more organized in no time.
Putting it into practice: How to create a project in Basecamp
Now that you have an understanding of the benefits and elements of Basecamp, it’s time to apply this knowledge. If you want to organize a project in basecamp, follow these simple steps:
1. Go to your homepage and scroll down to where the “Projects” heading is. Click the “New” button with the green plus sign.

2. Name your project. You might want to use your client’s name or another name that everyone involved with can easily recognize.
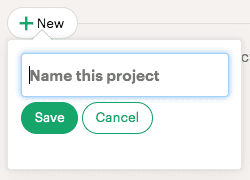
3. Once you’ve created the project, it will appear in your Projects section.

4. Start adding the appropriate people to the project by clicking on the “Invite some people” button.

5. At this point, you’ll want to add important milestones, events, meetings, and deadlines to the calendar. Click on the ‘Schedule’ section to start.
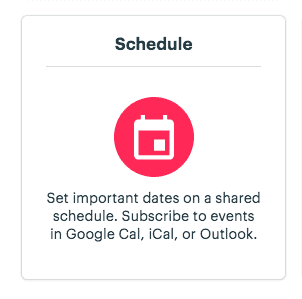
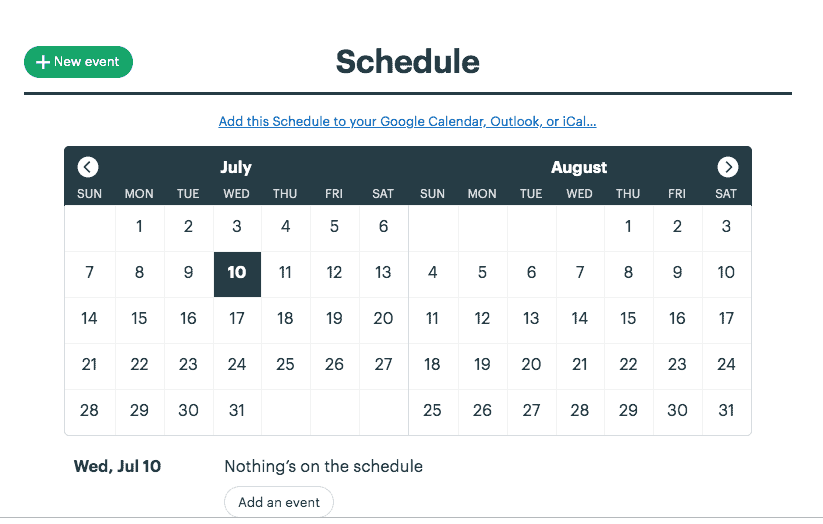
6. Once you see the calendar, click on the green ‘New event’ button and enter the appropriate details.
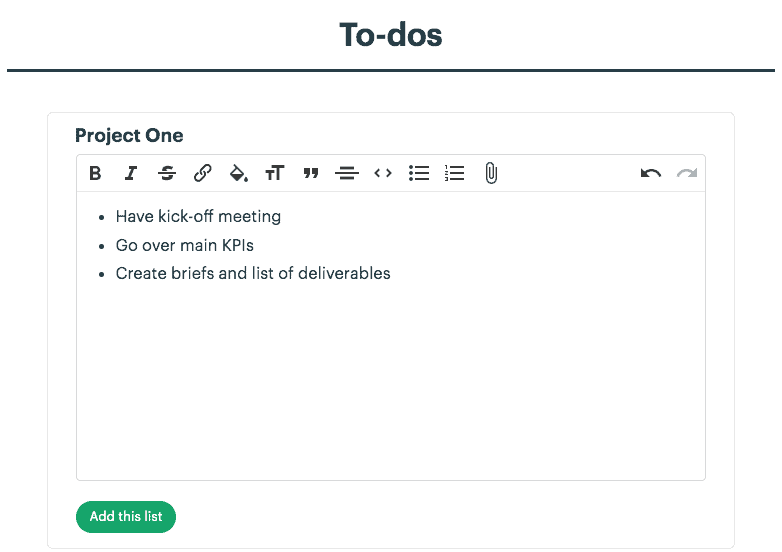
7. You can also set some To-dos to align with your calendar entries. Click on the ‘To-dos’ button on the project page and create your to-do list. Once this is created, you can assign items to certain people and check tasks off as they’re completed.
8. The rest of your project setup follows the same format. From your project homepage, you can start a Campfire discussion, post key information to the Message Board, and start uploading any relevant documents to the Docs & Files area. If you need help with any of these tasks, Basecamp has a simple help tool that is standing by.
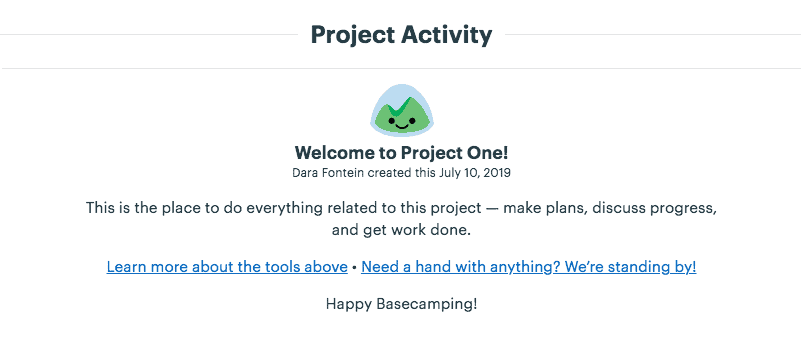
That’s all there is to it. Basecamp is known to be one of the easiest solutions for project management. Try it out and see if it works for you.
Pro tip: Using Basecamp like a pro
Learning how to use the tool is just the first step. Next, you need to start thinking like a pro. Basecamp pros make sure to limit the number of notifications they get, use emojis to communicate things quickly, and use project updates liberally. That’s just the tip of the iceberg, though.
Get more tips here.
How to integrate Basecamp with other tools
Learning how to use Basecamp is great, but what about slotting it in with your tool stack? Without the right integration, you can spend hours just copying and pasting information from tool to tool so everyone’s in the loop. Just because a tool is great for your needs doesn’t mean it works for another team. No one should be forced to use a tool that doesn’t fit their workflow.
Want to save time and effort? Try Unito. Unito has the deepest two-way integrations for some of the most popular tools on the market, including Basecamp, Asana, Trello, Google Sheets, and more.
Sync data across tools seamlessly, use rules to filter out irrelevant information, and map fields so everything ends up exactly where it needs to go. All of that in just a few minutes.
Want to see it in action?
Here's how The Taproom uses Unito to sync important work between Basecamp and Trello.


