A Beginner’s Guide to Airtable
Spreadsheets get a bad rap. While those who love them are happy to use them, everyone else wishes they could do more with their spreadsheets without spending hours just figuring them out. With Airtable, you get the best of spreadsheets without the learning curve.
In this beginner’s guide, you’ll learn how to navigate Airtable’s interface, how to create a new base from scratch, and how to use Airtable’s templates.
Let’s get started.
The dashboard
Here’s what your dashboard will look like once you get through Airtable’s fantastic onboarding process.
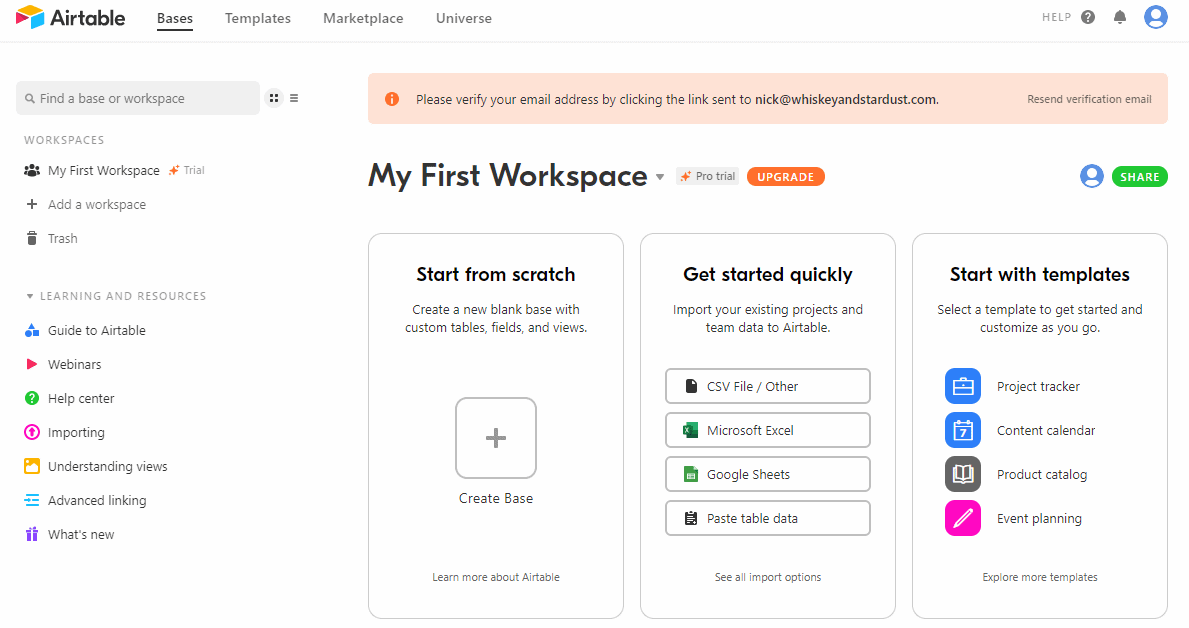
Alright, there’s a lot here. Let’s go over each bit of your dashboard.
Top navigation

Starting from the top, you’ll find a navigation bar with Bases, Templates, Marketplace, and Universe:
- Bases: “Base” — short for database — is Airtable’s word for what another tool might call a spreadsheet. No matter what you’re looking to create with Airtable, you’ll be doing it in a base. Clicking here will take you to your workspace. This is where you’ll find all your bases after you’ve created a few.
- Templates: Not sure where to start? Airtable has a whole database full of templates you can use. You can find templates for setting up a blog calendar, product launch, video production, and just about anything else you can think of.
- Marketplace: Do you need a little more from your base? Airtable’s marketplace is filled with apps, integrations, and other tools designed to satisfy even the most selective power user.
- Universe: Airtable Universe is Airtable’s community. Here, you’ll see users like you sharing their projects and templates. You can find opportunities for collaboration, templates tailored to your use case, and more.
You can go back to your workspace — and your bases — by clicking on Bases or the Airtable logo at any time. Now let’s have a look at the menu on the left.
Left-hand menu
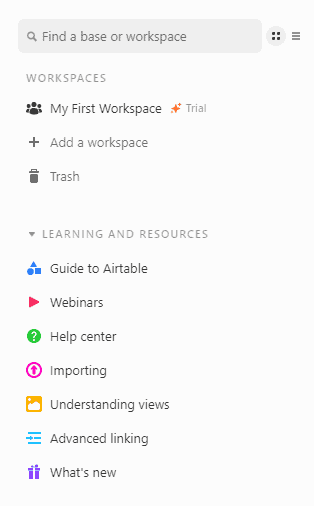
The menu to the left of your dashboard has three main elements: the search bar, Workspaces, and Learning and resources. Here’s what you can expect from each section:
- The search bar: When you’ve created a few bases — or you become part of multiple workspaces — the search bar becomes the fastest way to find what you’re looking for.
- Workspaces: If you’re part of an organization that uses Airtable, you’ll probably be in multiple workspaces. For example, Unito has workspaces for our data team, product teams, marketing team, and more. In this menu, you can quickly switch from workspace to workspace. You can also access the Trash, where you’ll find bases and workspaces deleted in the last seven days.
- Learning and resources: Once you’ve got the basics down, you can look here for additional tips and guides from Airtable. You’ll find Airtable’s help center, webinars, and more resources to help you succeed.
With these menus covered, time to dive into your workspace.
My first workspace
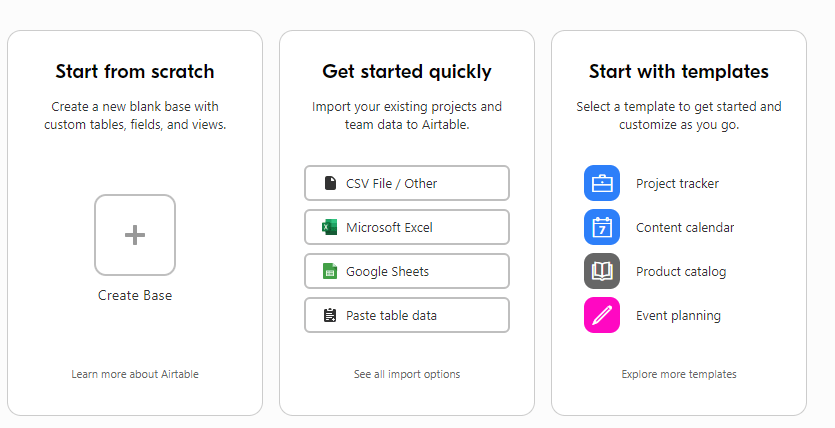
When you first sign up, Airtable will automatically create a workspace for you and invite you to create your first base. You can do this in one of three ways: start from scratch, import a project, or use a template. Creating a base from scratch gives you the most control over your project, but it might be more difficult if you’re just starting out.
Airtable’s import option lets you use pre-existing data from a number of sources, including a CSV file, Microsoft Excel, Google Sheets, even work management tools like Trello and Asana. Alternatively, you can use one of Airtable’s templates, tailored for specific use cases.
Let’s see what it’s like creating a base both from scratch and from a template.
Creating your first base
From scratch
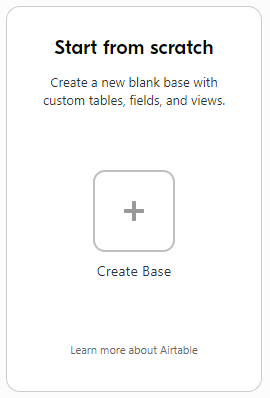
First, make sure you’re starting on the dashboard. From here, you’ll want to click on Create Base.
You’ll get a pop-up asking you to name your base and give it a color. You can also use an icon to differentiate it from the other bases you’ll add to your workspace.
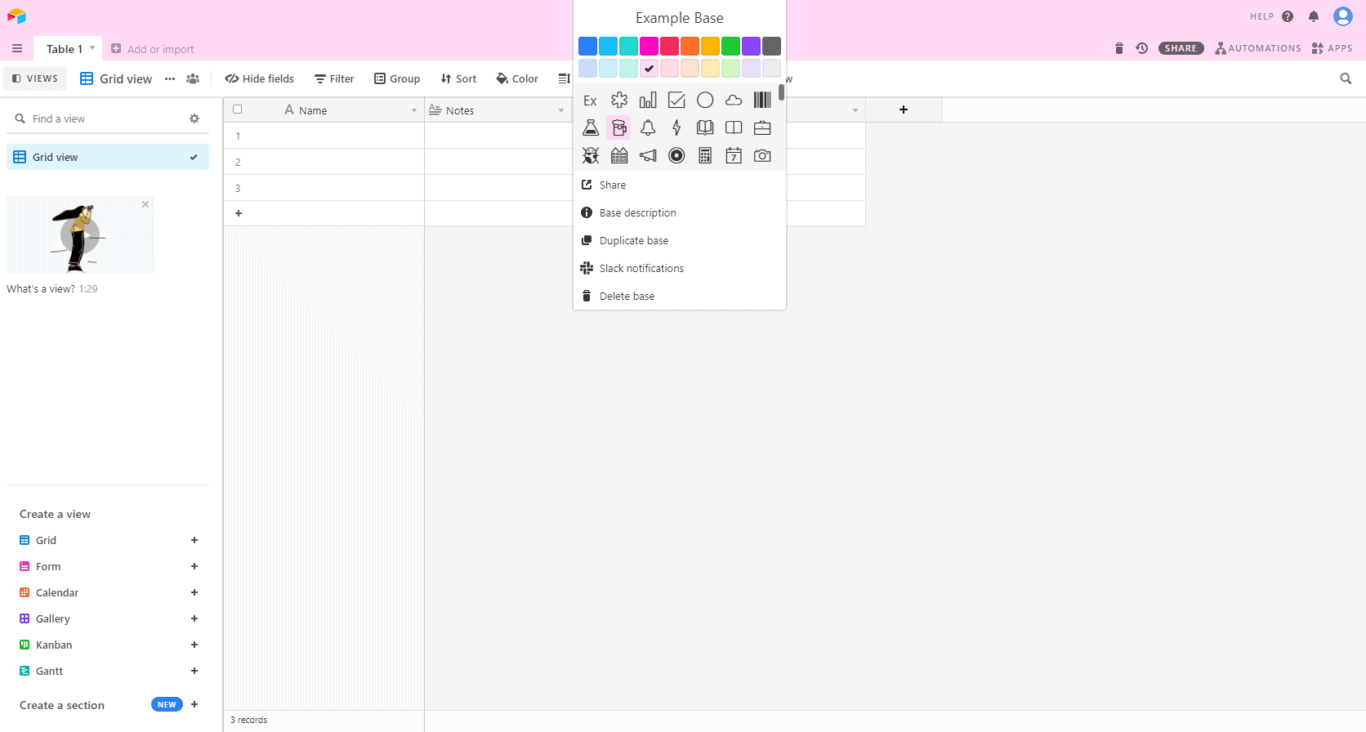
And that’s it! That’s all it takes to create a new base in Airtable. Now a default base will have just four columns: name, notes, attachments, and status. You can use these fields to create a basic database, say to track tasks for a team. But since adding new fields to Airtable is super simple, let’s add due date and assignee fields. You can add these fields by clicking on the small plus at the far right of your columns.

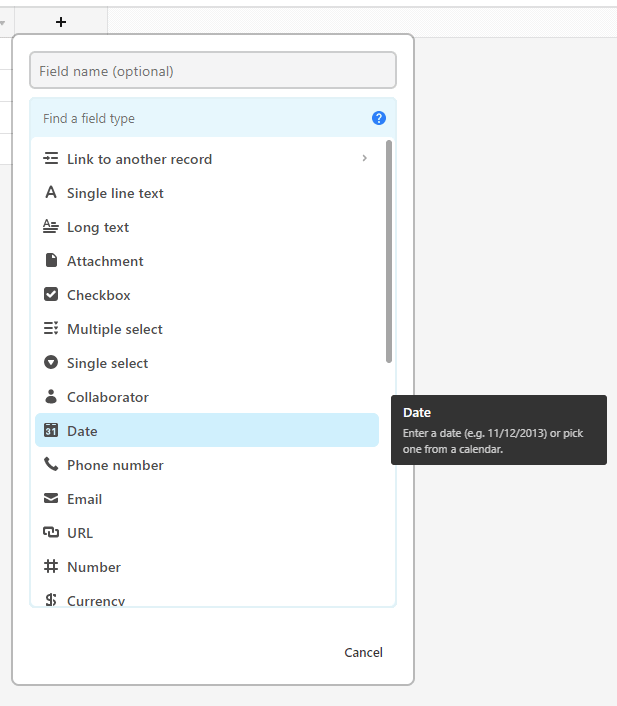
For my due date, I’ll just add a date field.
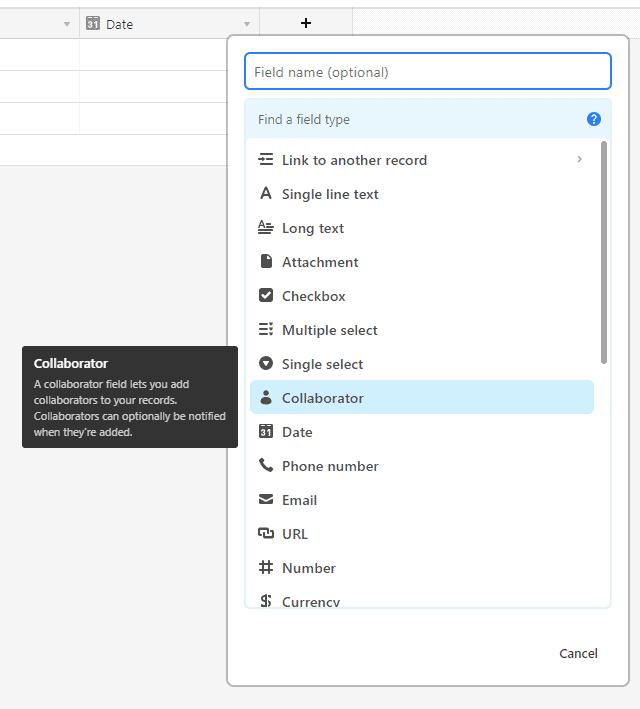
Then, for assignee, I’ll add a collaborator field.
Now I’ll just fill each field with task information.
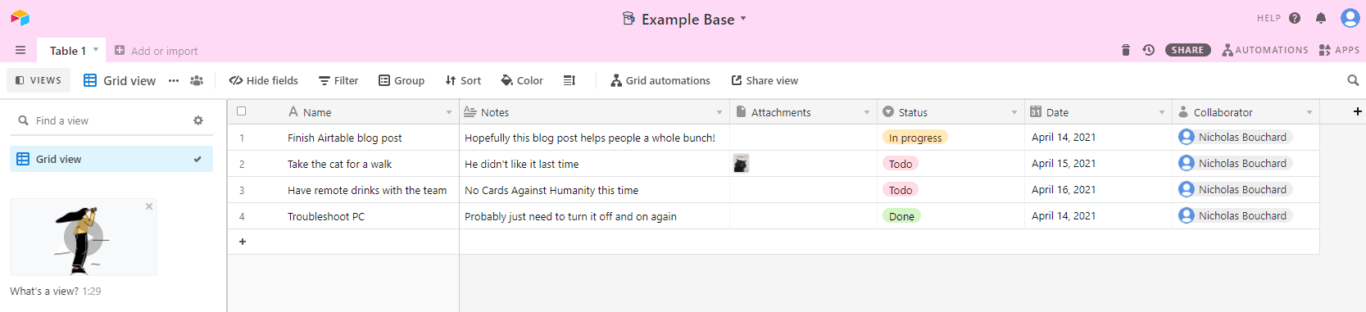
And just like that, I’ve created a simple way to keep tabs on my personal tasks. If my workspace had more than one collaborator, I could keep a whole team’s tasks here. Airtable also has different views you can add to change the way you see crucial information. Say, for instance, I wanted to use a Kanban view to track these tasks.
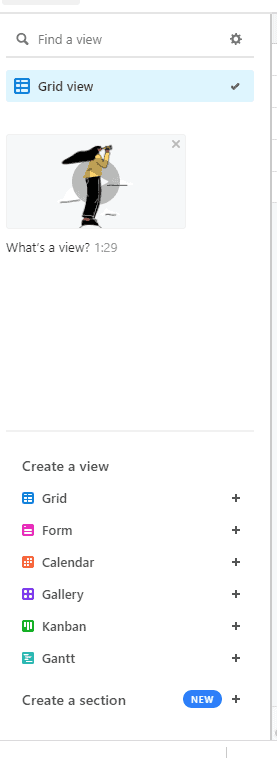
Since Airtable knows this is my first base, it has helpfully put these options at the bottom left. If I click on Kanban and choose to group my tasks by status…
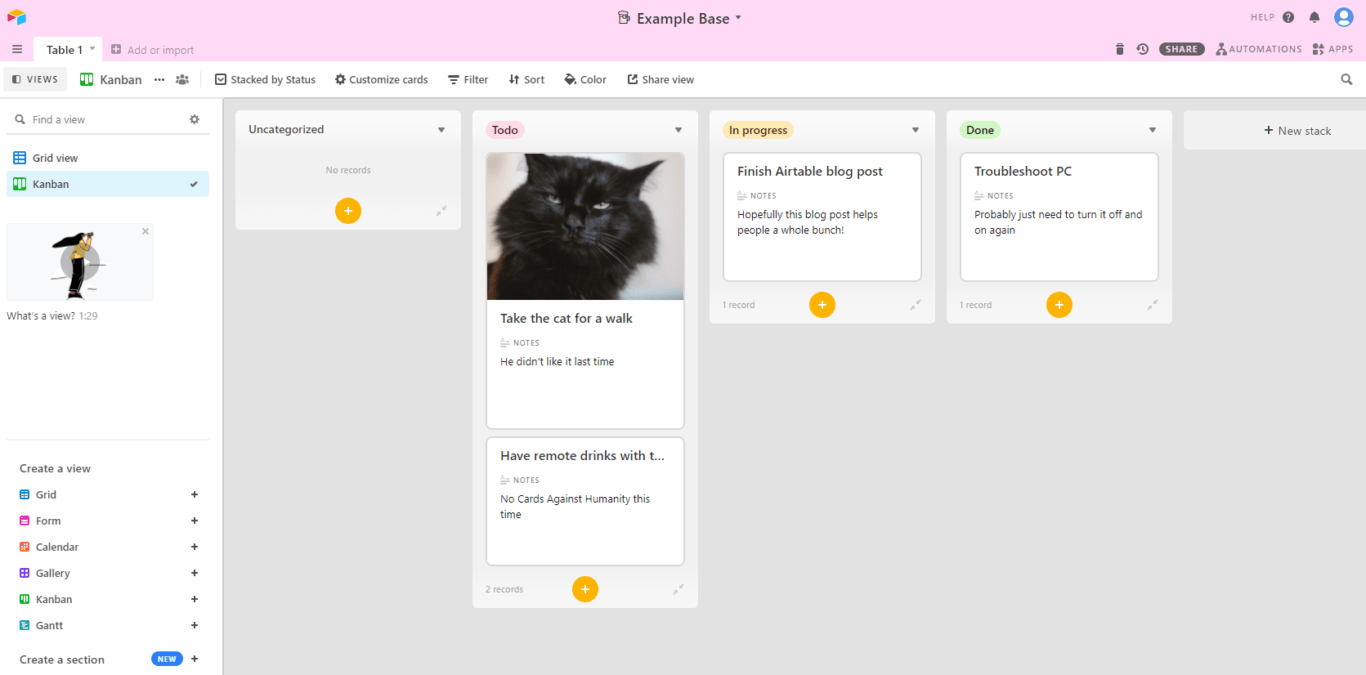
Just like that, my tasks are organized on a Kanban board! That’s the kind of thing that makes Airtable so much more powerful than a regular spreadsheet tool.
Now, what if my use case is a bit more complicated, and I don’t want to take extra time to set things up? That’s where templates come in.
Creating a base from a template
Let’s say you’re planning an important virtual event for your organization. You want to stay organized, and you’re using Airtable to do so. If you go back to your workspace, you’ll see that Airtable has a template just for event planning.
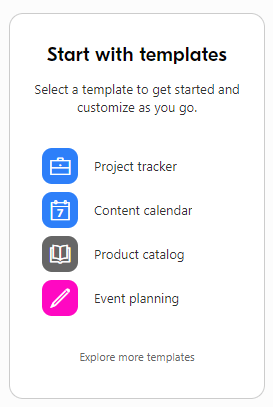
Click on that template.
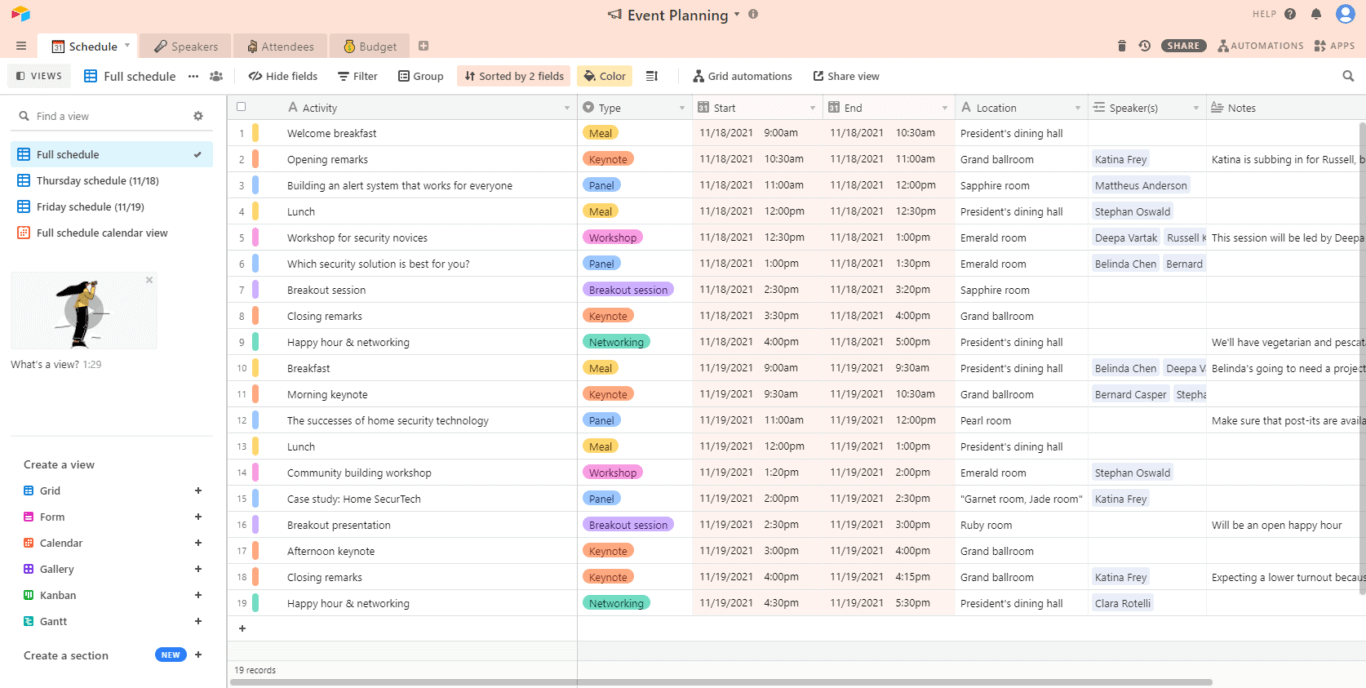
And just like that, you get a fully featured base with multiple views, all the right fields created, and even some example records to show you how the template is used. Airtable even has a quick tutorial that walks you through these features.
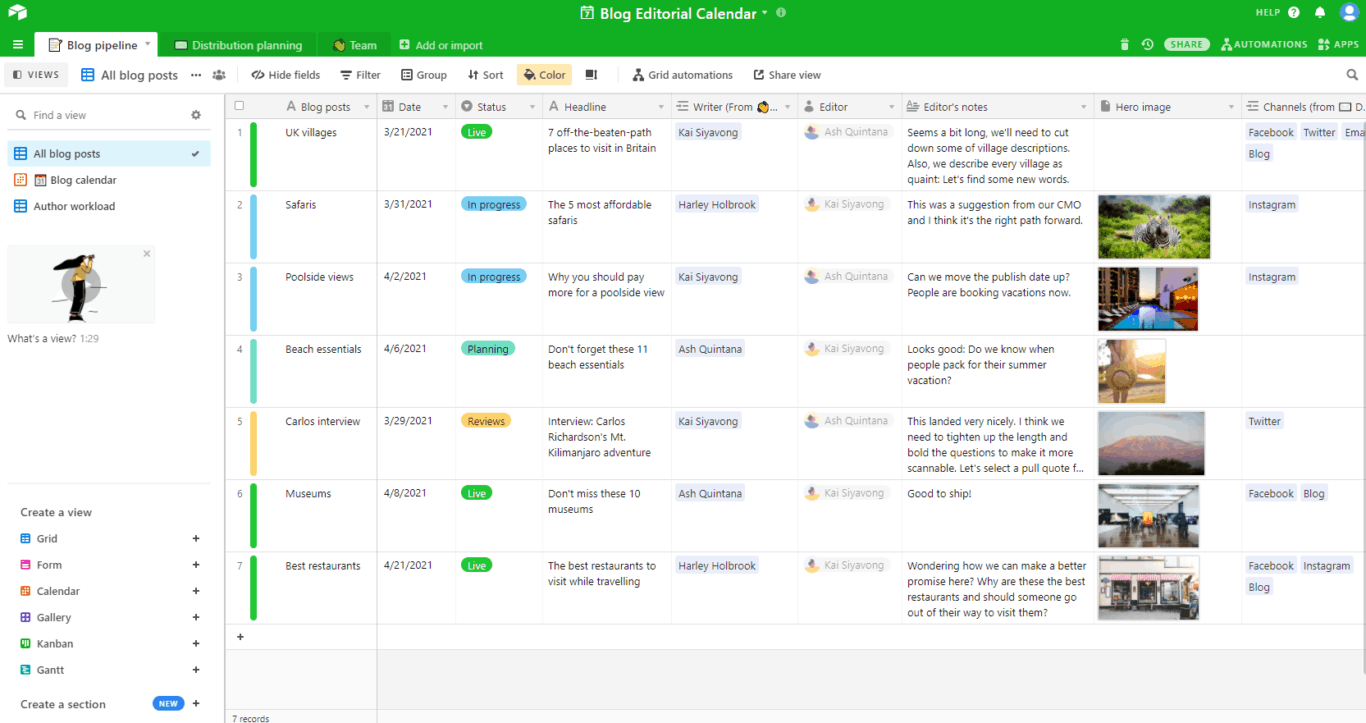
There are a ton of templates to choose from that can cover every aspect of your organization. Need an editorial calendar for your blog?
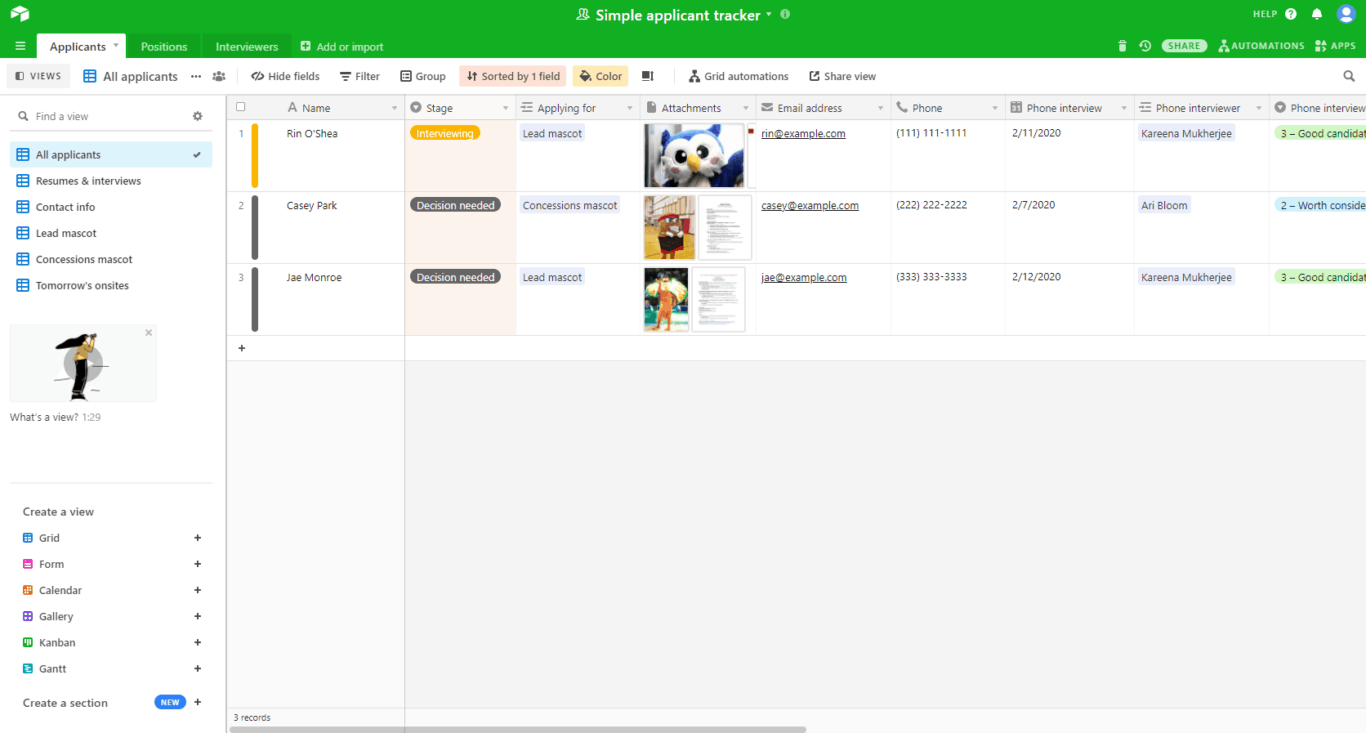
Done. What if you’re a recruiter looking for a way to track applicants?
No matter your use case, Airtable’s templates give you the ability to set up a base that works for you in just a few clicks.
Pro tip: Using Airtable templates
One of Airtable’s greatest strengths is its flexibility, but that can also make getting started pretty daunting. With Airtable’s templates, you can get started faster and turn the tool into your platform of choice for just about anything. The best templates can turn Airtable into a reporting tool, an asset management platform, a content catalog and more.
Check out 16 of the best Airtable templates
How to integrate Airtable with other tools
Learning how to use Airtable is great, but what about slotting it in with your tool stack? Without the right integration, you can spend hours just copying and pasting information from tool to tool so everyone’s in the loop. Just because a tool is great for your needs doesn’t mean it works for another team. No one should be forced to use a tool that doesn’t fit their workflow.
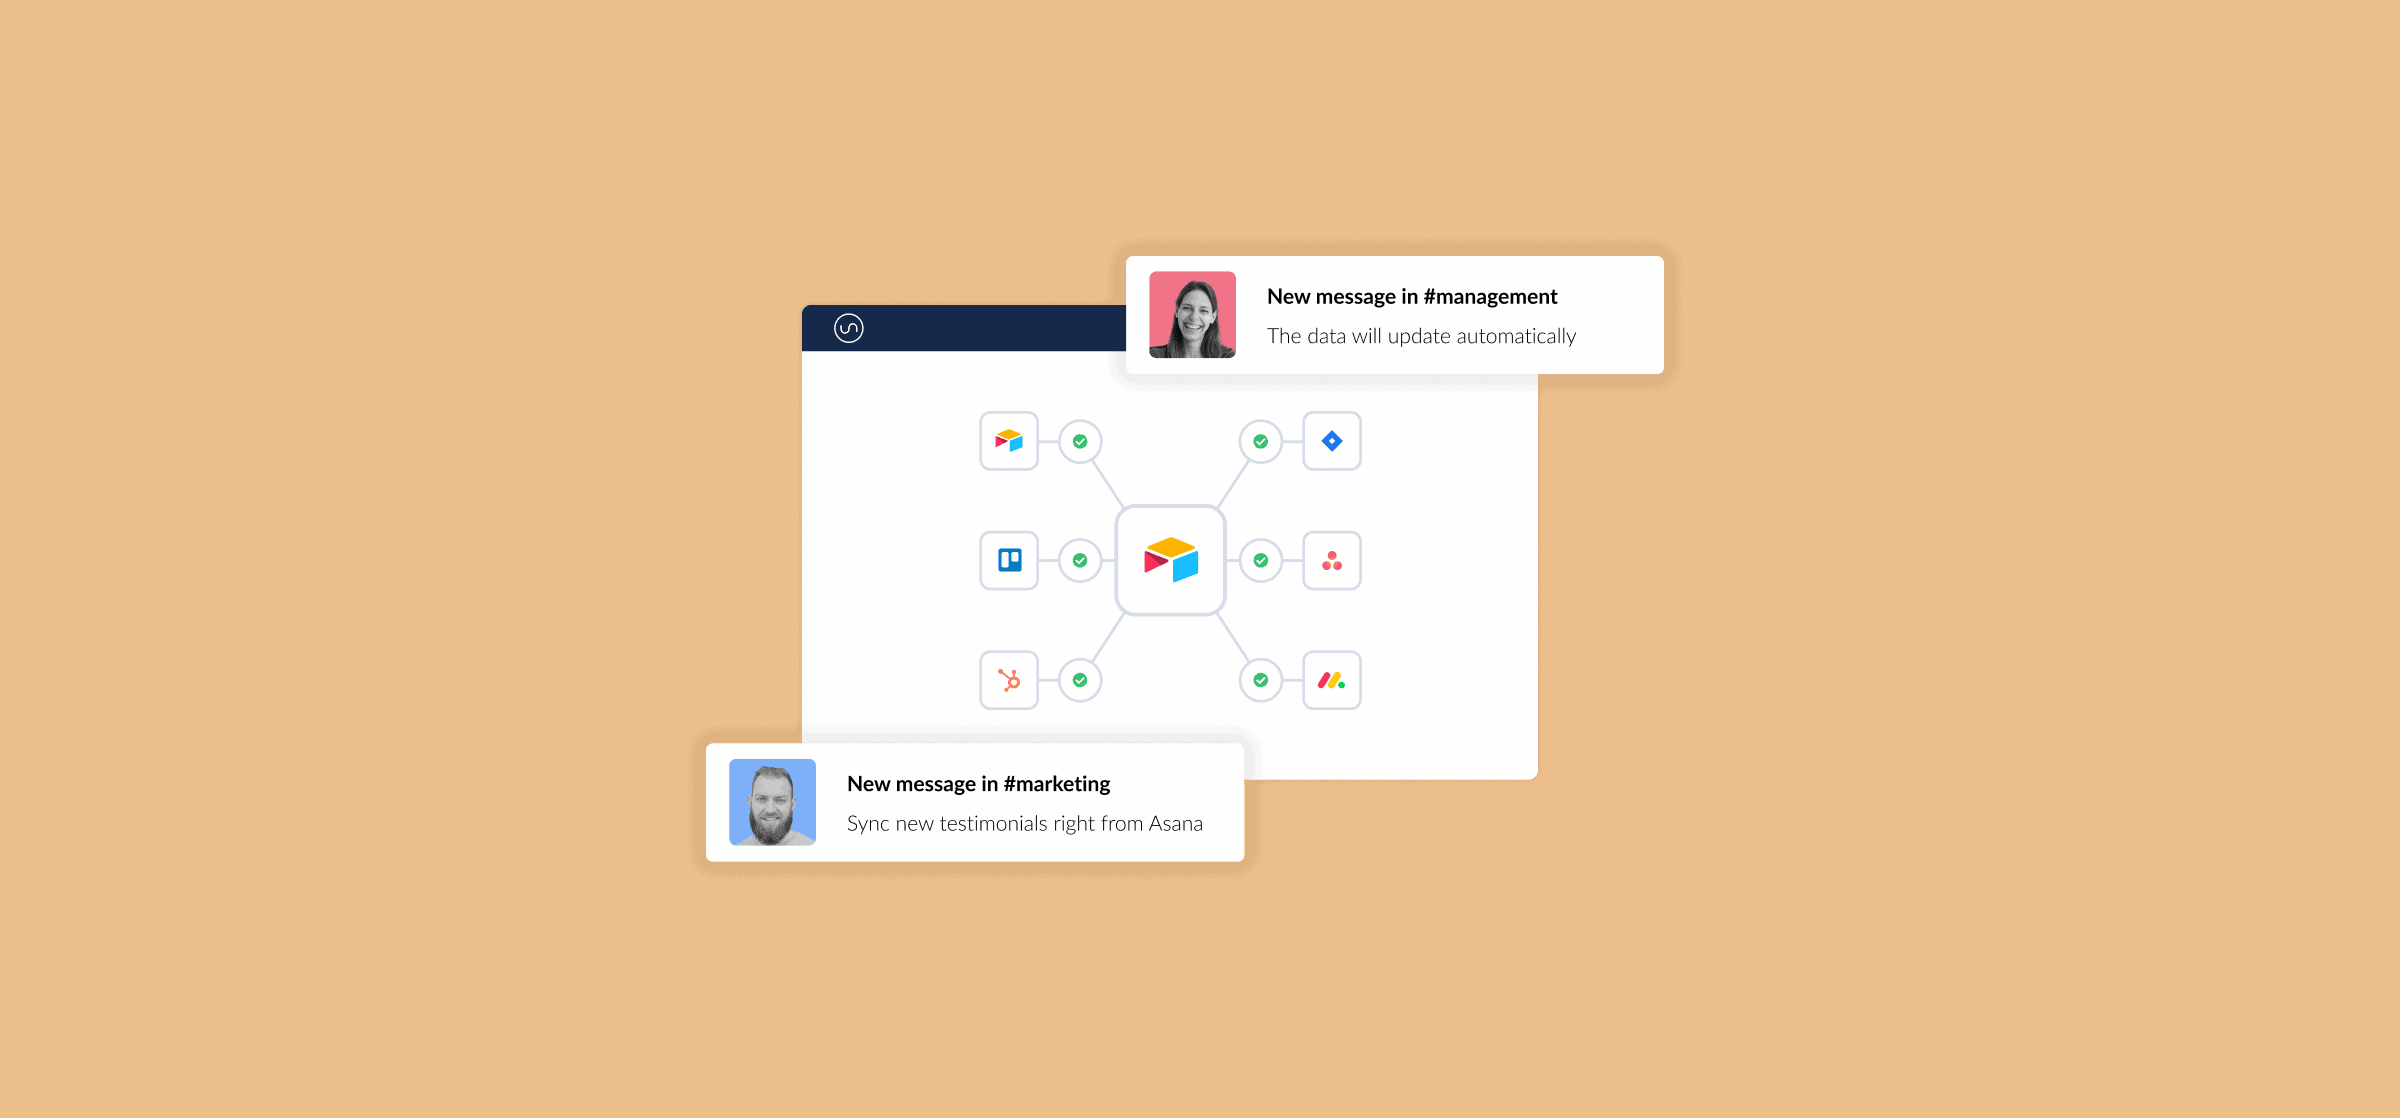
Want to save time and effort? Try Unito. Unito has the deepest two-way integrations for some of the most popular tools on the market, including Airtable, Asana, Trello, Google Sheets, and more.
Sync data across tools seamlessly, use rules to filter out irrelevant information, and map fields so everything ends up exactly where it needs to go. All of that in just a few minutes.
Need to integrate Airtable with your tool stack?
Try Unito for 14 days, absolutely free.